What Temperature Should I Pour Soy Wax Into Silicone Mold?
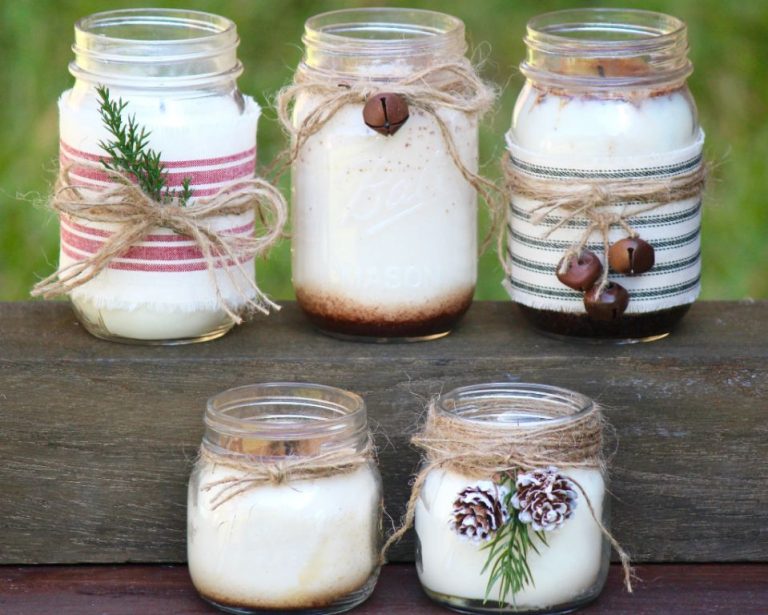
Soy wax is a popular candle making wax derived from soybean oil. It has many benefits over paraffin wax, such as being made from a renewable resource, burning cleaner, and being more environmentally friendly (Source). Soy wax is also often blended with other waxes to modify its properties. Silicone molds provide a convenient way to pour soy wax and create candles in a variety of shapes and sizes.
The melting point of soy wax is important to understand when working with silicone molds. Pouring the wax at the right temperature will ensure proper setup and release from the mold. This article provides recommendations for ideal soy wax pouring temperatures when using silicone candle molds. The goal is to help candle makers achieve the best results with fewer failed attempts and less wasted materials.
Soy Wax Melting Point
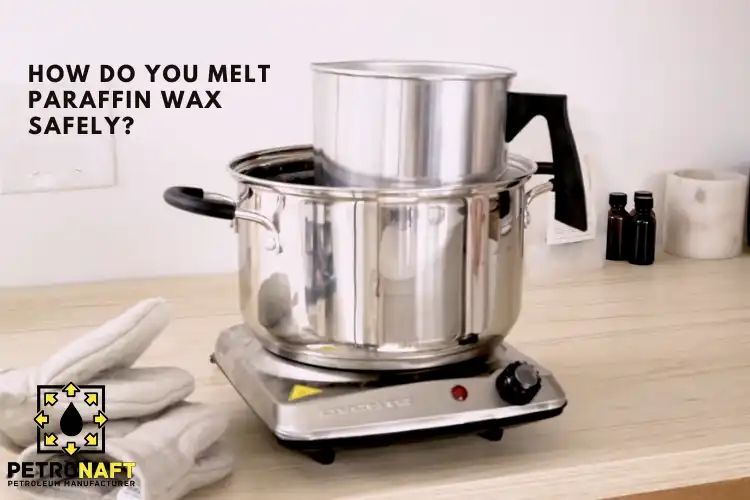
Soy wax has a lower melting point than paraffin wax, which is commonly used in candle making. The melting point of soy wax ranges from 120-170°F, while paraffin wax melts at 135-145°F.1 This lower melting point is beneficial for soy wax candles.
The relatively low melting range of soy wax allows it to liquefy at lower temperatures. This means soy wax can be poured into molds and containers at lower temperatures around 130-150°F. Paraffin wax needs to be heated to a minimum of 150°F before pouring.
The lower melting point also enables soy wax to pool out nicely across the candle’s surface when lit. This helps soy wax candles achieve full melt pools for an even burn. Paraffin wax’s higher melting point means it can struggle to melt properly when burned.
Pouring Temperature Recommendations
According to the Brambleberry guide on soy candles, manufacturers generally recommend pouring soy wax between 135-165°F to achieve proper viscosity and cooling. Smaller containers and molds require cooler temps on the lower end of this range, around 130-140°F, to avoid issues with wet spots as the wax begins to set up. Larger molds and containers can handle slightly hotter pour temps up to 150-165°F to maintain fluidity across the entire candle. Pouring wax too hot risks frosting, poor adhesion, and scent throw issues. Too cool, and you may get textured tops, sink holes, and incomplete fills, especially with intricate molds.
The main trade-off is between wax viscosity and cooling rate. Hotter wax flows and fills better but also cools more slowly, which can lead to cosmetic defects. Cooler wax sets up faster, minimizing sink holes and frosting, but has thicker viscosity that makes precise filling more difficult. Finding the right balance for your specific mold and environmental conditions is key.
Aiming for an Ideal Viscosity
Viscosity is a fluid’s resistance to flow. For soy wax, an ideal viscosity for pouring into molds is around 6-7 centipoise (cP) according to industry experts (https://link.springer.com/chapter/10.1007/978-981-19-9509-5_55). This viscosity level allows the wax to flow smoothly into all crevices of the mold without being too thin.
Properly cooled soy wax should have a creamy, thick texture – thick enough to hold its shape when poured slowly, but still liquid enough to settle smoothly across the mold. If the wax is too thin and runny, it may not hold intricate mold designs properly. If it’s too thick, it may set too quickly before filling the entire mold.
To achieve the right consistency, carefully follow the manufacturer’s instructions for melting point temperatures. Typically, soy wax should be heated to 185-190°F to reach an optimal viscosity for mold pouring. Overheating above 200°F can make the wax too thin, while underheating may leave it too thick. If your pour is not turning out right, try adjusting the temperature in 5 degree increments until the wax viscosity improves.
Allowing for Proper Cooling
Proper cooling is crucial for achieving the best results when pouring soy wax into silicone molds. Here are some tips for setting up your workspace and process for ideal cooling:
Set up your candle making area in a room temperature environment between 70-76°F. This temperature range prevents the wax from cooling too rapidly or too slowly. Make sure the area is free of drafts as air currents can cause uneven cooling. You may want to work near an interior wall rather than an exterior wall or window.1
After heating the soy wax to the proper temperature, let it rest for 5-10 minutes before pouring into the molds. This allows air bubbles to dissipate so the finished candles will have a smoother appearance. It also prevents pouring the wax while it’s too hot, which can cause sinkholes or frosting.2
Make sure your silicone molds are at room temperature before pouring in the wax. If the molds are cooler than the wax, the wax will start to solidify too quickly leading to incomplete fills or cracks. Warm the molds briefly with your hands if needed.
Avoiding Common Mistakes
There are a few common mistakes that can occur when pouring soy wax into silicone molds. Rushing the pour before the wax has adequately cooled is a frequent error. Soy wax should be around 135-165°F before pouring, allowing it to thicken to the proper viscosity. Pouring too hot can lead to an excessively thin wax that doesn’t properly set in the mold (https://craftiviti.home.blog/2019/07/23/9-common-candle-making-mistakes-and-how-to-avoid-or-fix-them/).
Overheating the wax is another problem to avoid. Soy wax should not exceed 185°F, or you risk changing the wax chemistry through oxidation. This can alter scent throw and lead to frosting or cracking as the wax cools and sets up. Allow the wax to cool to the target temperature range before pouring into molds (https://www.candlescience.com/wax/soy-wax-trouble-shooting-guide/).
Pouring soy wax into cold molds can also be an issue. Allow silicone molds to reach room temperature before pouring to prevent too rapid cooling and setting. Similarly, do not pour wax that is too cool for the mold temperature. Allow the poured candles proper cure time as well. Insufficient cooling and curing can result in wet spots, sink holes, and othercandle flaws.
Tips for Tricky Molds
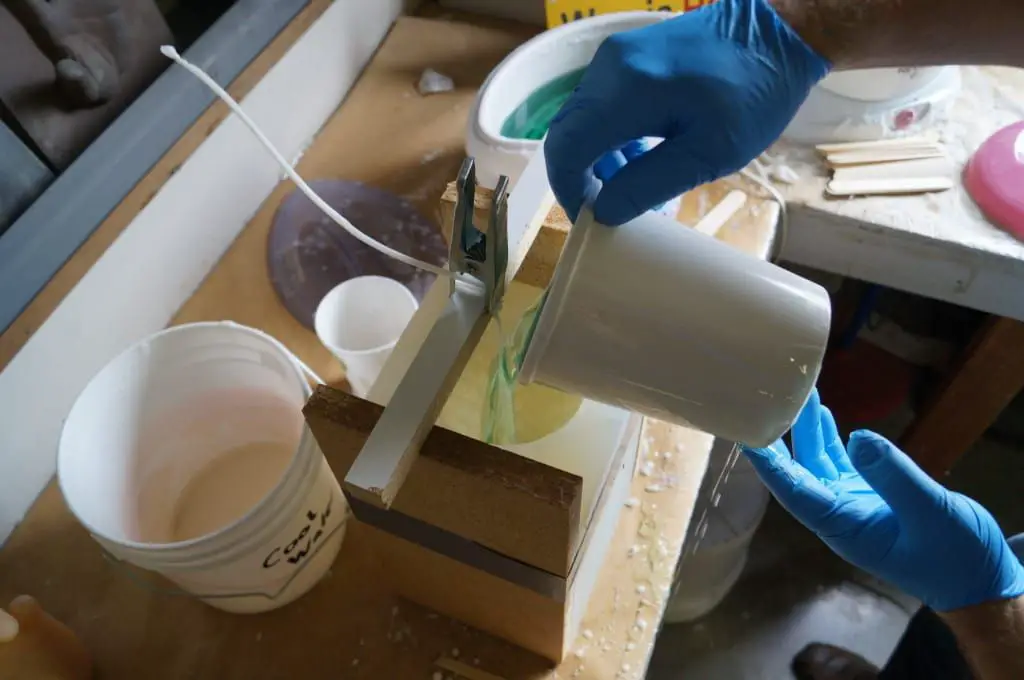
Certain ornamental or 3D silicone molds can prove more challenging when pouring soy wax. Complex shapes with small spaces or thin walls may require special techniques:
For intricate candle molds like seashells or geometric frames, a slightly higher pour temperature around 135-140°F can improve soy wax flow into all crevices of the mold. Allowing the wax to cool down too much raises the viscosity and makes it harder for the wax to fully fill the mold.
Using a pipette or eyedropper can help deliver precise amounts of wax into hard to reach spots. Simply fill the pipette with melted soy wax and gently release drops into narrow openings as needed.
Take extra care when pouring into multi-layered or 3-D molds. Tilt and rotate the mold to evenly coat all interior surfaces before the wax starts to set up.
Check for unfilled spots and top up with additional wax as necessary once the first pour has cooled and begun solidifying.
Be patient when unmolding, allowing the candle time to fully harden before attempting to remove it. This prevents warping or damage, especially with ornate designs.
Following these tips will lead to better filled molds and more detailed candle designs.
Source: Making Candles with Candle Molds
Achieving Optimal Soy Wax Melt Pool
The melt pool of a soy wax candle refers to the melted wax that forms a pool as the candle burns. A proper melt pool is essential for the candle to burn evenly and efficiently. The melt pool should be an ideal depth – not too shallow so the candle struggles to remain lit, but not so deep that the wax runs down the sides or the flame becomes drowned. Generally, a melt pool depth of 1/2″ to 1″ is recommended for most candles.
The temperature that you pour the soy wax into the mold greatly influences the melt pool. Pouring at too low of a temperature creates a shallow melt pool, while pouring at too high of a temperature results in a melt pool that is too deep. Most experts recommend pouring soy wax between 135-145°F to achieve an optimal melt pool depth for the average candle [1]. Adjusting your pour temperature within this range allows you to fine tune the melt pool. Cooler temperatures produce shallower pools while hotter temps create deeper pools.
If you notice hollow spots or tunneling forming in the melt pool as the candle burns, this is a sign that the wax was likely poured at too high of a temperature. The wax cooled too quickly on the outside while still molten in the center. Pouring around 130-135°F can help remedy this issue. Always allow your candle to fully cool and cure before lighting to prevent sinkholes.
Storing Leftover Soy Wax
Proper storage is crucial for preserving leftover soy wax for reuse. Soy wax is hygroscopic, meaning it can absorb moisture from the air over time. Absorbed moisture can cause issues when remelting the wax, such as foaming, frosting, and cracking. To prevent moisture absorption, store any unused soy wax in an airtight container. Glass jars with tight-fitting lids work well for storage.
According to The Harlem Candle Company, allowing the leftover wax to cool to room temperature before storage is recommended: “Once the melted wax collects at the bottom of the jar, allow it to cool down to room temperature, then place it in the freezer for a few hours.” [1] Freezing helps extend the shelf life by preventing oxidation. Thawed wax can then be remelted as needed.
When remelting soy wax for reuse, gently heat using a double boiler method to preserve the integrity of the wax. Microwaving may overheat the wax, resulting in discoloration. Proper storage helps leftover soy wax retain its original properties, allowing for reuse in future candle making or other soy wax crafts.
Conclusion
In summary, the ideal temperature range to pour soy wax into silicone molds is between 170-180°F (77-82°C). This range allows the wax to fully melt and have a smooth viscosity, while also enabling proper cooling and release from the mold.
The key factors for success are using an accurate thermometer, allowing the wax to come to the proper temperature before adding fragrance, and giving the candles time to cool before removing from the mold. Rushing the process can lead to problems like frosting, wet spots, and poor adhesion.
For beginners, take your time and don’t worry if your first few candles aren’t perfect. Making candles is an art that takes practice. Focus on achieving the right pour temperature and letting the candles cure completely before burning. With experience, you’ll be able to master the soy wax pouring process and make gorgeous candles.