How Do You Make A Simple Mason Jar Candle?
Mason jars, formally known as canning jars, have been used for over 100 years to preserve fruits, vegetables, jams, sauces, and more through the canning process. In recent years, mason jars have also gained popularity as arts and crafts containers for DIY projects. One such popular project is making candles in mason jars.
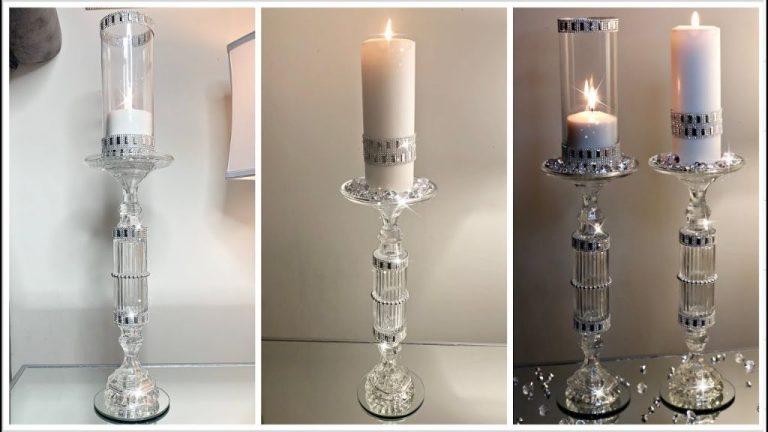
Mason jar candles, as the name suggests, are candles made by placing wax and a wick inside a mason jar. The glass jar allows the candlelight to shine through and makes for an attractive decoration. Mason jars candles have increased in popularity in recent years because they have a rustic, homemade aesthetic that fits well with farmhouse, country, and shabby chic home décors. They can be customized with different wax colors, scents, and decorations on the outside like twine, ribbons, dried flowers, etc. Mason jar candles also make great gifts.
Compared to traditional candles, the wide mouth opening of mason jars makes these candles easy to light and extinguish. The glass helps the candle burn evenly all the way to the bottom. And being contained in glass, the candle can double as a decorative element before and after burning. With countless ways to customize the look, mason jar candles have become a DIY crafting staple.
Materials Needed
Creating your own mason jar candles is an easy craft that only requires a few standard materials:
- Mason Jars – You’ll need a mason jar, specifically a wide mouth 8 oz jar works best. Make sure it’s completely clean and dry before use. See this article for more on jar options.
- Wax – For best results, use soy wax or paraffin wax flakes. You’ll need about 6 ounces of wax per jar candle. Refer to this guide for how much wax to use.
- Wicks – Get pre-tabbed wicks that are made for container candles. A 6″ wick works well for an 8 oz mason jar. See this source for wick sizing.
- Fragrance Oils or Essential Oils – Use .3 ounces of oil per 6 ounces of wax. Fragrance oils work best but essential oils can also be used. See this DIY candle guide for oil tips.
- Dye (optional) – Liquid candle dye can be added if you want colored candles. Use sparingly, start with just a few drops.
Prepare the Jar
The first step is to thoroughly clean the mason jars you plan to use for your candles. Make sure to wash the jars with warm soapy water and rinse them completely. Examine the jars closely to check for any cracks, chips, or flaws that could impact the structural integrity once the hot wax is poured in (How to Make Mason Jar Candles in 10 Easy Steps).
It’s also important to take measurements of the interior dimensions of the jars. You’ll need to know the diameter of the opening as well as the height. This will allow you to purchase the properly sized candle wicks and calculate how much wax you’ll need to fill each jar.
Choosing Your Wax
When making mason jar candles, you have a few options for the type of wax to use. The most common candle waxes are paraffin, soy wax, and beeswax. Each has its own benefits and drawbacks to consider.
Paraffin wax is commonly found in store-bought candles. It’s inexpensive and easy to work with. Paraffin melts at a low temperature which makes it ideal for container candles like mason jars. However, paraffin is a petroleum byproduct which some prefer to avoid. It can also produce more soot as it burns compared to natural waxes.1
Soy wax is growing in popularity as a natural, renewable alternative to paraffin. It’s made from soybean oil. Soy wax blends well with fragrance oils and produces less soot when burning. The drawback is soy wax is trickier to work with and requires higher melt temperatures. It also tends to be more expensive than paraffin.
Beeswax is completely natural wax made by honeybees. It has a delightful honey scent and texture. Beeswax is compatible with essential oils and produces a brighter flame with very little soot. The downside is beeswax is the most expensive option and can be challenging for beginners to work with. It also has a lower melting point which may impact burn time in candles.2
For simple mason jar candles, paraffin or soy wax are good beginner choices. Those on a budget may opt for paraffin while makers concerned about the environment often prefer soy. Beeswax can be attempted by more advanced candle makers.
Wick Selection
Choosing the proper wick thickness for your mason jar candle is crucial for optimal burn and fragrance dispersion. As a general rule, the wider the candle diameter, the thicker the wick should be. For a basic mason jar candle, here are some wick size guidelines:
For a 4oz mason jar, use a CD or ECO 1 wick. This provides a smaller flame for the narrower jar.[1]
For a 8-12oz mason jar, go with a CD or ECO 4-6 wick. This gives a flame sized proportionally for the wider jar.
For a 16oz and larger mason jar, use a CD or ECO 10-12 wick. The thicker wick supports the wider wax pool needed for big jars.
Always trim your wick to 1⁄4” before lighting to prevent sooting and ensure a bright even flame. Adjust your wick as needed for ideal results. With the right wick, your mason jar candle will burn clean and even from top to bottom.
Adding Fragrance
Adding fragrance is an important step in candle making that allows you to add appealing scents. You’ll want to use fragrance oils rather than essential oils for making mason jar candles. Fragrance oils are blended fragrances designed specifically for candle making, while essential oils can produce more unwanted sooting in the candle (1).
When adding fragrance, it’s best to follow the usage recommendations provided by the manufacturer. Most fragrance oils recommend adding between 6-10% by weight. Start on the lower end around 6% to ensure you don’t overpower the candle. You can always add more later. Make sure to stir thoroughly after adding the fragrance so it fully incorporates into the wax before pouring (2).
Add the fragrance after the wax has melted and cooled down slightly to between 180-185°F. This helps prevent losing some of the scent due to high heat. Always handle fragrance oils carefully and avoid skin contact as some can cause irritation.
Sources:
(1) https://lonestarcandlesupply.com/dos-and-donts-of-candle-making/
(2) https://www.wikihow.com/Add-Scent-to-a-Candle
Coloring the Wax
There are two main types of dyes that can be used to color candle wax – liquid dyes and solid dyes like crayons, dye blocks, or dye chips. Liquid dyes are easier to incorporate into the wax and give a more uniform color, while solid dyes can create unique marbling or swirling effects.
With liquid dyes, only a small amount is needed to achieve bright, vivid colors in the candle. Start with 1/8 teaspoon of dye per pound of wax, adding more if you want a deeper shade. It’s best to add liquid dye when the wax is fully melted before pouring the candles. The dye quickly incorporates throughout the wax. Popular brands like CandleScience and Brambleberry offer a wide range of liquid candle dyes.
For solid dyes, more will be needed to achieve bold colors. Grind flakes between your fingers as you sprinkle them over melted wax, or shave crayon pieces directly into the wax. The color will swirl and marble instead of dispersing evenly. Dye chips are harder to find than crayons, but offer richer tones. Test colors first, since intensity varies.
Pouring the Wax
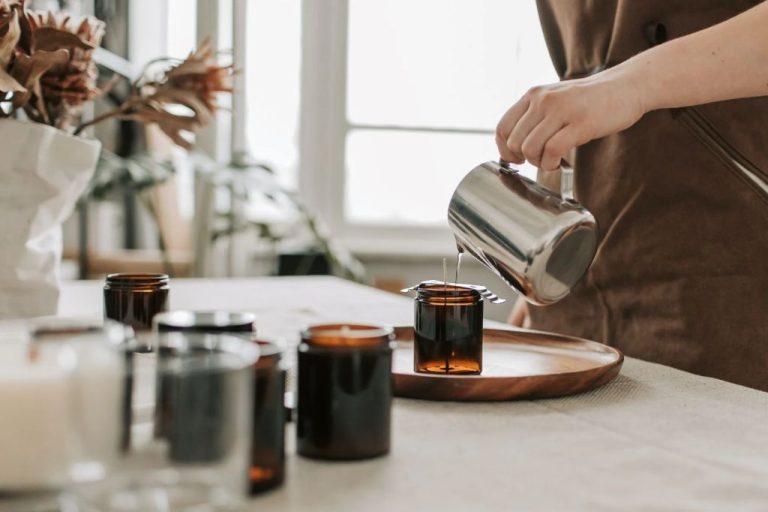
Once you have chosen your wax, wick, fragrance, and color, it’s time to melt and pour the wax into the jar. First, melt the wax using a double boiler or candle making wax melter, heating it 5 to 10 degrees above the manufacturer’s recommended pouring temperature. For example, if the pouring temperature is 130°F, heat the wax to 135-140°F before pouring. Going slightly above the recommended temperature ensures proper pouring viscosity.
Next, carefully pour the melted wax into the jar, going slowly and steadily to prevent splashing or overflow. Fill the jar leaving at least 1/4 inch of headspace. The wax will shrink slightly as it cools and cures. Let the wax sit for a minute or two before straightening the wick if needed. According to lonestarcandlesupply.com, pouring too fast or at the wrong temperature can cause issues like sink holes or frosting. Following the manufacturer’s guidelines helps ensure the wax fills the jar smoothly and properly.
Cooling and Curing
After pouring the wax into the jar and inserting the wick, it’s important to let the candle properly cool and cure before lighting and using it. Cooling helps the wax set up while curing allows time for the fragrance oils to properly blend with the wax.
Let the candle sit undisturbed as it cools, which can take 6-8 hours. Do not move or mess with the candle during this time. Once cooled, you can trim the wick if needed. Then allow the candle to cure for 1-2 weeks before lighting, with 2 weeks being ideal especially for soy wax candles (Source). Curing allows time for the wax to fully harden and become stable while also letting the fragrance oil molecules fully bind with the wax (Source). Trying to rush this process can lead to issues like wet spots, sink holes, and poor fragrance throw when burning the candle.
During the curing process, store the candle in a cool, dry, dark place with the lid off so the wax can breathe. Then once cured, you can affix the lid and trim the wick one final time before enjoying your homemade candle!
Finishing Touches
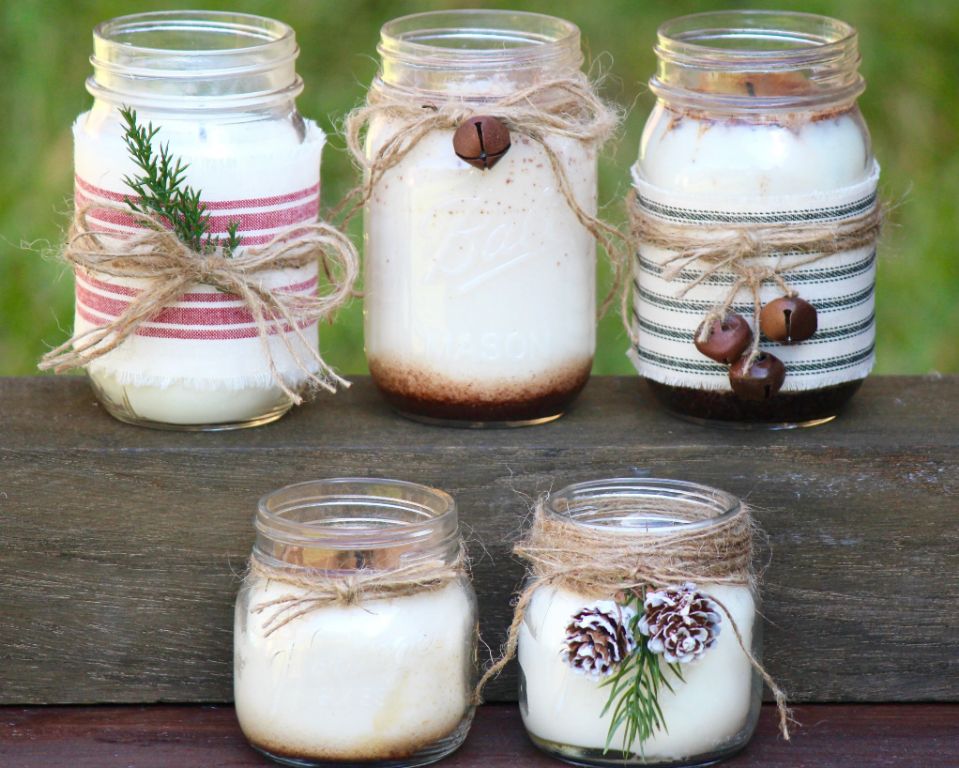
After the candle wax has fully cooled and hardened, it’s time to add any final decorative touches. Some ideas for decorating your finished mason jar candle include tying twine or raffia around the neck of the jar, affixing labels, adding dried flowers or herbs, drizzling the outside of the jar with wax for texture, painting or glittering the jar, and more. Get creative with different materials to make your candle match your style and personality.
To tie twine around the jar, cut three equal-length pieces and tie them around the neck of the jar, knotting them together. Trim the ends to your desired length. For a rustic look, use burlap fabric strips instead (from https://shescraftyandsheknowsit.com/theblog/crafts/diy-mason-jar-soy-candles/).
You may also want to affix a label to the outside of the jar identifying the candle scent. Print labels on paper, fabric or sticker sheets, or hand letter the scent name directly onto the jar. See ideas at https://www.pinterest.com/candlemonth/diy-candle-jar-decorating/
Herbs like rosemary, lavender or mint and dried flowers pair nicely with candles. You can tie them around the jar neck or glue them onto the outside of the jar. Just be sure they won’t catch fire once the candle is lit.