What Temperature Do You Melt Wax In The Oven?
One of the most common ways to melt wax is in the oven. Melting wax allows you to pour it into candle molds or jars to create candles, wax melts, or other wax crafts. The oven provides a controlled, even heat source to melt wax safely and efficiently. By following some simple safety tips and techniques, you can easily melt wax in the oven for all kinds of projects. Preparing the wax and oven properly will ensure the wax melts at the right temperature and consistency for pouring. This guide covers everything you need to know to successfully melt wax in the oven.
Safety Precautions
When melting wax in the oven, it is important to take proper safety precautions. Here are some tips:
Wear oven mitts when handling hot pots and pans of melted wax. The wax can reach temperatures over 150°F and can cause serious burns if spilled on bare skin (Airpure). Always use potholders or oven mitts when removing waxed containers from the oven.
Ensure proper ventilation by opening windows or turning on exhaust fans. Melting wax releases vapors and fumes that can be irritating. According to Airpure, adequate airflow is important when melting wax to prevent buildup of fumes.
Provide supervision for children and pets. As Quora users advise, melted wax can pose burn risks to children and pets if left unattended. Do not let children or pets near the melting wax unsupervised.
Types of Wax
The three main types of wax used for candle making are beeswax, soy wax, and paraffin wax. Each has different properties that impact the melting point.
Beeswax is a natural wax made by honey bees. It has a honey scent and texture. Beeswax has a melting point of 144–147°F (62–64°C) which makes it ideal for container candles or votives. According to The Spruce Crafts, beeswax candles burn brighter and longer than other waxes. However, beeswax is more expensive than other candle waxes.
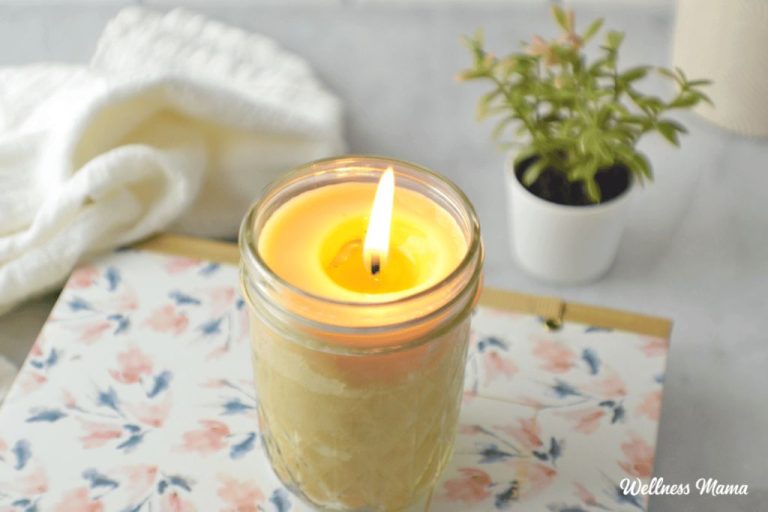
Soy wax is made from hydrogenated soybean oil. It is a renewable and biodegradable wax. Soy wax melts at 115–135°F (46–57°C) making it good for container candles. Soy candles have a lower melting point so they burn slower and cooler than paraffin. Soy wax has little to no scent.
Paraffin wax is a petroleum byproduct made from crude oil. It is the most commonly used candle wax due to its low cost. Paraffin wax melts between 117–150°F (47–66°C). Paraffin wax has excellent scent throw when fragrances are added. However, paraffin produces more soot than natural waxes when burned.
Melting Point Temperatures
Different types of wax have different melting point temperatures that need to be considered when melting wax in the oven. According to https://blendedwaxes.com, some common melting point ranges are:
- Beeswax: 140-150°F
- Soy wax: 115-125°F
- Paraffin wax: 120-160°F
Beeswax has a relatively high melting point between 140-150°F. Soy wax melts at slightly lower temperatures ranging from 115-125°F. Paraffin wax has a wide melting range, from about 120-160°F depending on the type.
Knowing the proper melting point for the specific wax being used is crucial to melt the wax fully without overheating it. Check manufacturer guidelines for exact temperature recommendations.
Preparing the Oven
When melting wax in the oven, it’s important to use the correct heat setting and prep any necessary pans or molds. Most waxes melt between 120-170°F, so it’s best to start with your oven on the lowest temperature setting (often around 170°F) and adjust from there if needed. According to WikiHow, it takes around 10 minutes for wax to fully liquefy at the proper temperature.
Set your oven racks in the middle to evenly distribute heat. Place any molds or containers you plan to pour melted wax into on a rimmed baking sheet to catch any drips. Glass and metal work well for pouring melted wax into candle jars or other containers. Make sure molds and jars are heat-safe before placing in the warm oven.
If melting wax from old candles, break wax into smaller chunks and place in a heat-safe glass or metal bowl. The bowl should be large enough to allow the wax to fully melt with extra room. Refer to Man Made DIY for tips on safely melting old candles in the oven without letting wax smoke or burn.
Melting Process
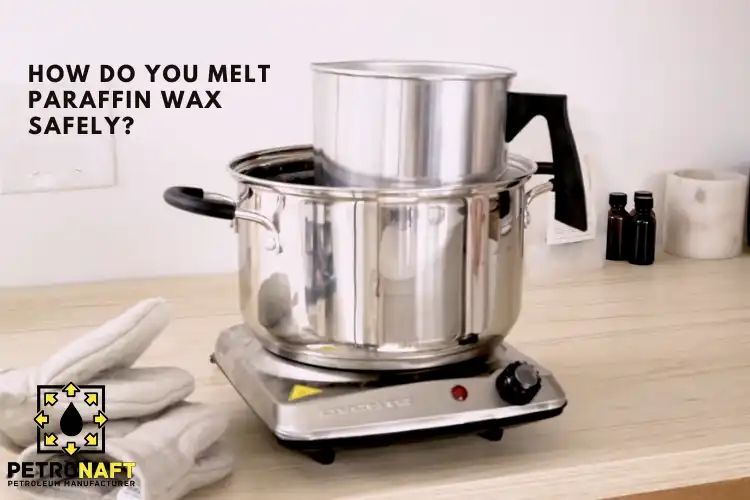
When melting wax, it’s best to work in small batches to maintain better control over the process. Use a double boiler or improvise one by placing a heat-safe glass or metal bowl over a pot of gently simmering water. The steam will allow the wax to melt at a lower temperature, reducing the risk of overheating.
Add a few chunks of wax at a time, stirring continuously as it melts. Using a rubber spatula, scrape the sides and bottom of the container to incorporate all the wax. Melting 1-2 standard candles or a couple cups of wax shards takes around 10-15 minutes. Avoid leaving melting wax unattended.
The wax is fully melted when there are no more solid pieces visible. The liquid should have an even, smooth consistency. Immediately remove the melting container from heat once the wax is completely liquefied. Overheating can burn some types of wax, so melting times will vary.
Adding Scents and Colors
One of the most fun parts of making candles is choosing and adding scents and colors. There are a few different options for scenting and coloring wax:
Liquid Dyes
Liquid candle dyes are highly concentrated and provide vibrant colors with just a few drops per pound of wax. For light colors, start with 1-2 drops of dye per pound. For medium shades, use around 1/4 teaspoon. And for dark rich colors, use up to 1/2 teaspoon per pound [1]. Stir thoroughly after adding to fully incorporate the dye.
Dye Blocks
Dye blocks are concentrated solid blocks of dye that melt into the wax. They come in a variety of vibrant colors. Use 1-2 cubes per pound of wax for lighter colors, and up to 4 cubes for darker shades. Make sure to stir well until the blocks fully melt and blend into the wax.
Fragrance Oils
Candle fragrances are concentrated scented oils that provide wonderful aromas. Use 0.5-1 ounce of fragrance oil per pound of wax. Add the oil after the wax is fully melted, stirring gently to distribute. Adding at higher temperatures helps the scent fully incorporate. Let the wax partially cool before pouring to avoid losing scent from high heat.
Take care not to add dyes or scents when the wax is extremely hot to avoid burning off volatile compounds. Thorough mixing and proper temperature control are key for infusing wax with vibrant colors and lasting aromas.
Pouring and Cooling
Once the wax has been melted, you will need to allow it to cool before pouring. Different waxes have different optimal pour temperatures. According to Lone Star Candle Supply https://lonestarcandlesupply.com/heating-and-pouring-waxes/, paraffin wax should be poured between 135-165°F, while soy wax is best poured between 115-135°F. Cooling the wax before pouring allows for a smoother finish on the candle. Pour too hot, and you may end up with wet spots or sink holes on the finished candle.
After pouring into containers or molds, allow the candles to cool completely before handling or moving them. This ensures the wax has fully set up. Cooling times will vary based on wax type, container size, and room temperature. As a general rule, allow 1-2 hours for small containers like votives or tins, and up to 6 hours for larger pillars and containers according to New Directions Aromatics https://www.newdirectionsaromatics.com/docs/HandlingofPureSoyContainerWax.pdf. Patience is key for turning out professional looking candles.
Storing Leftover Wax
After melting and using wax for projects, you will likely have some leftover melted wax. Instead of throwing it away, that leftover wax can be stored and reused in future projects. Proper storage will keep the wax from losing its scent or altering its color. There are a few key storage tips to keep in mind:
Pour the leftover melted wax into a container made of glass, metal, or silicone. Avoid plastic containers as the wax can interact with the plastic and become discolored or take on a plastic scent. Some good options are mason jars, empty tin cans, silicone molds or cupcake liners, or silicone ice cube trays.
Properly stored wax can last 6 months to 1 year before it starts to lose its scent. Be sure to label the container with the type of wax and date before storing. Store in a cool, dry place away from direct light. Over time, the wax may start to lose its scent or discolor, at which point it’s best to use it up in unscented projects.
Projects
Once you’ve melted the wax, you can use it for a variety of fun and creative projects like candles, wax melts, and lip balm. Some ideas include:
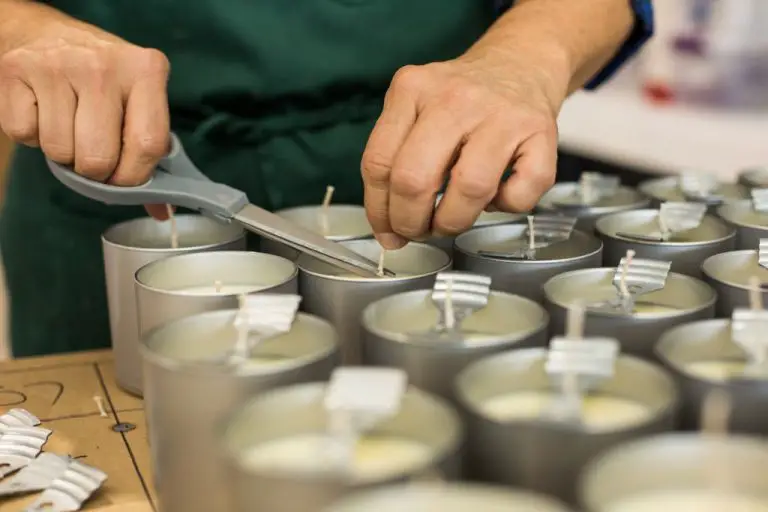
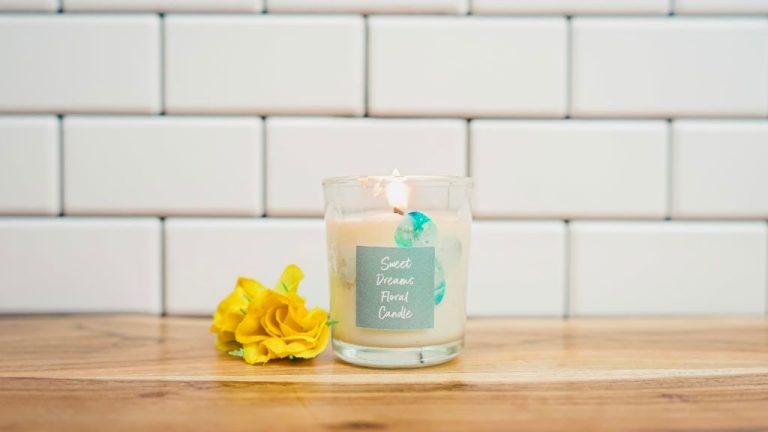
Candles – Reuse old jars or tins and pour your melted wax directly into the container to create homemade candles. You can add scents and colors if desired. Make sure to add a wick before the wax hardens.
Wax melts – Pour melted wax into silicone molds to create wax melts, cubes, or tarts. These can be melted in a wax warmer to scent a room. Popular shapes are flowers, hearts, and circles.
Lip balm – Combine melted wax with other ingredients like coconut oil, vitamin E, and essential oils to whip up homemade, moisturizing lip balms. Allow it to set in small containers or empty lip balm tubes.
The possibilities are endless when you save leftover candle wax for crafts. Refer to this Pinterest board for more inspiration on candles, wax melts, and other decorative wax crafts you can create.