How Long Does It Usually Take To Make A Candle?
Candle making is an enjoyable hobby and craft that allows you to create customized decorative candles. The time it takes to make a candle depends on several factors, including the type of wax used, the candle shape and size, and the curing process. This article will provide an overview of the candle making process and discuss the different steps and techniques that impact the total time for candle creation.
We’ll cover gathering materials, prepping the wax, assembling the candle components, pouring, cooling, testing for quality, adding creative design elements, and allowing time for proper curing. Following the steps outlined here will help you understand how long to expect the candle making process to take from start to finish. With the right information and preparation, you can make customized, high-quality candles while managing the time investment required.
Gathering Materials
Making candles requires gathering a variety of materials and supplies before getting started. Some essential items needed include wax, wicks, fragrance oils or essential oils, dye blocks, pour pots, thermometers, and molds (source). These can be easily procured online or from craft stores catering to candle making.
Wax is a key ingredient and comes in different varieties like soy, beeswax, paraffin, or palm. Paraffin wax is commonly used for its cost efficiency and high melting point. Beeswax produces natural, aromatic candles. Soy wax is a popular eco-friendly option derived from soybeans. The type of wax impacts characteristics like burn time, texture, and fragrance throw. Wicks are fiber strings that run through the candle to draw up wax into the flame. Popular options are cotton, wood, and paper. Wick width must suit the wax type to prevent issues like tunneling.
Additional specialty equipment can optimize the candle making process. A double boiler setup allows gently melting wax at the right temperature. Thermometers help monitor wax temperature for adding fragrance and pouring. Heat guns get rid of air bubbles. Molds in different shapes and sizes create unique candle designs (source). Overall, having the right materials and setup is crucial for efficient, high quality candle production.
Prepping the Wax
The wax is one of the most important ingredients in candle making. There are several types of wax that can be used including paraffin, soy, beeswax, and gel wax. Paraffin wax is most commonly used and comes from petroleum. It has a great capability to hold fragrance and allows for excellent scent throw. Soy wax is made from soybeans and is a renewable resource. It holds fragrance well but does not allow scent to throw as far as paraffin. Beeswax is made by honey bees and has a natural sweet aroma. Gel wax contains mineral oil so the candle burns slower and cooler.
To prep the wax, it should first be melted to a liquid state so it can be mixed with fragrance and dye. The melting point varies for different wax types but is often between 120-170°F. Paraffin can be melted in the microwave, on the stove, or using a wax melter. Soy wax and beeswax should be melted in a double boiler to better control the temperature. The wax should be heated slowly to preserve its quality. Once melted, the fragrance oil and dye can be blended in according to the manufacturer’s recommended ratio, usually around 5-10% fragrance and less than 1% dye. The wax needs to be fully incorporated while still in liquid form before pouring the candles. (video tutorial).
Prepping Wicks
Selecting and preparing the proper wick is an important step in candle making. There are various types of wicks to choose from including cotton, paper, zinc core, and wood core wicks. Each performs differently depending on the wax, fragrance, and container being used.
Cotton wicks work well for most candle waxes and are commonly used in pillar candles and votives. Paper and zinc core wicks are best for container candles as they maintain a straight, upright shape. Wooden wicks make the familiar crackling sound when burning and are a popular choice for soy candles.
Once the wick type is chosen, the wicks need to be cut to size and treated. Wicks are usually cut slightly longer than the height of the finished candle to prevent tunneling. The ends are tied together to keep them taut when embedded in the wax. Before inserting into the wax, wicks can be primed by coating them with wax or a specialized solution so they light easily when the candle is burned (Source).
Taking the time to select quality wicks and prepare them properly results in candles that burn cleanly and evenly down to the bottom of the wax pool.
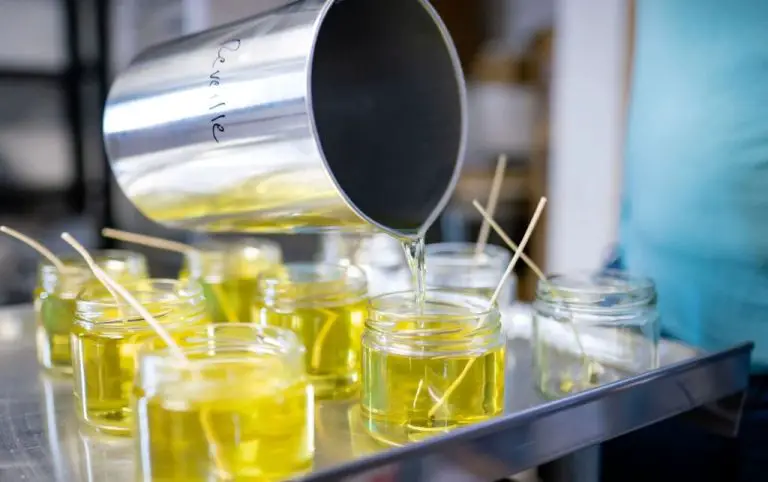
Pouring
The pouring process for candle making requires heating the wax to a precise temperature and carefully controlling the pour into the container or mold. According to Candlemaking 101, the ideal pouring temperature is between 130-135 degrees Fahrenheit. The wax should be heated gradually to avoid scorching it. Once the wax reaches the target temperature range, remove the wax from the heat source and carefully pour it into the waiting container or mold. Pour the wax slowly and steadily in one spot, allowing it to pool at the bottom. This helps prevent air bubbles from forming. If bubbles do appear, use a lighter or heat gun after pouring to pop them. The key is to pour the wax when it is hot enough to be fluid but not so hot that it will shrink excessively when cooling and pull away from the sides of the container.
Cooling
After pouring the candle wax into the container or mold, the next step is allowing adequate time for cooling and setting up. Cooling times can vary greatly depending on the type of wax, vessel, environment temperature, and other factors. According to Container Candle Cooling Time, a typical soy wax container candle may take 1-2 hours to cool enough to be handled and 4-6 hours to fully set up. Paraffin wax generally cools more quickly. The cooling process allows the wax to transition from a liquid state to a solid state. As the candle cools, the wax molecules move closer together as the temperature drops. The wax will pull away slightly from the sides of the container or mold as it shrinks during cooling, which is why it is crucial not to move or disturb the candles during this phase.
Candle makers can utilize a few techniques to accelerate cooling times when needed, such as placing the candles in a refrigerator or freezer for 1-2 hours as mentioned by How do You Keep Your Candles from Sticking to the Molds? However, sudden extreme temperature changes can also cause cracks or breakage, so cooling should ideally be gradual. Proper wick sizing and pouring temperatures help minimize issues like sinkholes and frosting. Though the cooling process requires some patience, it is a necessary and fascinating stage. As Ever sat and watched a candle cool down? It’s really neat! shows through an incredible time-lapse video, observing a candle transform from liquid to solid state firsthand can be mesmerizing.
Testing
Once the candle has cured for the minimum time specified by your wax manufacturer, usually 24-48 hours, it’s time to test the candle before selling or gifting it. Testing is a critical quality control step.
First, trim the wick to 1⁄4 inch before lighting to avoid issues like tunneling. Use wick trimmers designed for candles. Then, burn the candle for at least 2 hours, observing how the wax pools and monitoring issues like smoking, sputtering, mushrooming, etc. Wick issues often relate to wick size – test different wick types to find the optimal one for your wax and vessel.
Fix any issues before selling or gifting. For instance, if the wick is too small, the wax won’t pool properly when lit. Replace with a larger wick. If the flame is too big, presenting a fire hazard, replace with a smaller wick instead. Keep testing until finding the right wick to provide an even melt pool and steady flame. Patience is required, but testing is the only way to ensure a safe, high-quality candle.
See testing procedures at this source for an example.
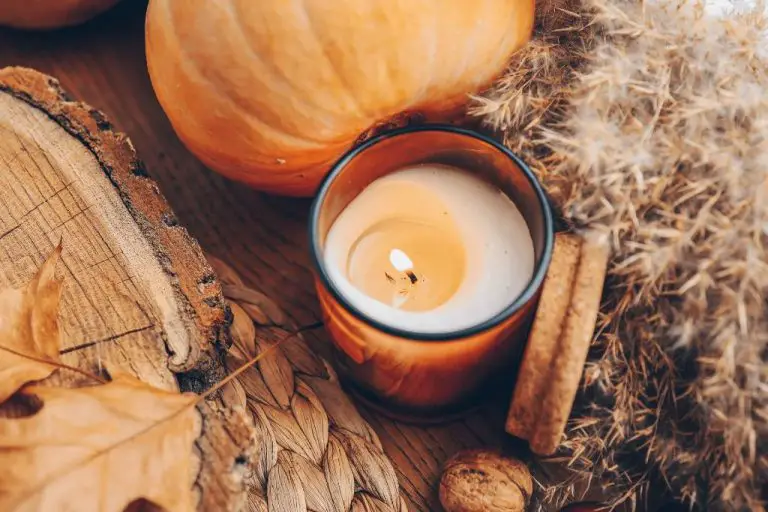
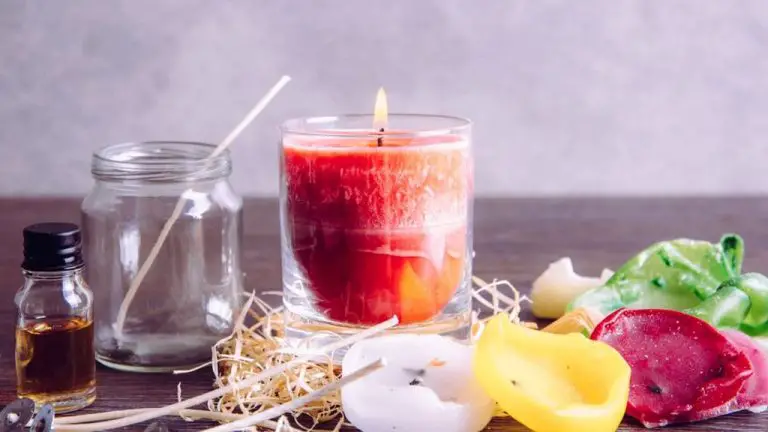
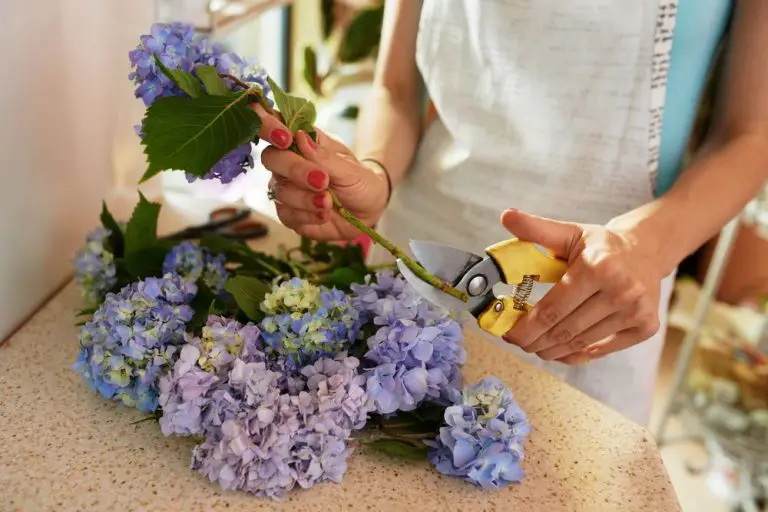
Designing
An important part of making candles is selecting the right jar or container to hold the candle. The jar shape and size will impact how the candle burns and fills a space with fragrance. Wide jars allow for a larger wax pool while tall slender jars provide a focused flame. Popular jar styles include mason jars, tin cans, votive holders, and taper candles. When selecting a jar, make sure it is heat-resistant and won’t crack from the hot wax (Creative Ideas for Making Candles at Home).
Many candle makers like to create personalized labels for their candles, either designing them by hand or using a label making system. The label should feature the candle company name, fragrance name, size, and burn time. Sophisticated graphic designs and artistic touches can elevate the look. Information like warnings and ingredients should also be included on the label (Creative Ideas for Making Candles at Home).
Decorating the outside of the jar is another way to enhance the candle’s appearance. Options include painting designs, attaching flowers or beads, tying on ribbons or raffia, or adding decorative wraps. The decor should complement the fragrance and style of the candle. Simple yet creative embellishments can make the candles special gifts or table accents.
Curing
The curing process is an important step when making candles to help maximize fragrance output and ensure proper burn. After pouring and cooling, homemade candles need to cure for 1-2 weeks before burning. During this time, the molecules in the wax continue to align and solidify, allowing the candle to reach its optimum scent throw.
Candle wax is still pliable after pouring and takes time to completely harden. When a candle is burned too soon, the wax can melt unevenly or the wick can shift. Curing gives the wax time to fully set up and stabilize. This helps prevent issues like tunneling when the candle is lit.
Curing also allows fragrance oils to fully bind with the wax. Some of the scent molecules float to the surface after pouring. Curing gives them time to reabsorb back into the wax so maximum fragrance is released when burned. The longer the cure time, the stronger the scent.
Most candle makers recommend curing containers candles for at least 1 week, while large candles may need 2 weeks. Curing candles in a cool, dry place away from light helps protect fragrance. After curing, wrap candles in tissue paper to preserve scent until use. With proper curing, homemade candles will burn evenly and fill the air with fragrance.
Conclusion
Making a candle is a rewarding process that allows you to customize scents and design. However, it does require patience as there are several steps involved. From gathering materials to testing the final product, the entire process usually takes 6-8 hours total. Most of this time is inactive waiting for the wax to melt, cool, and cure. The active hands-on steps take around 30-60 minutes. With practice, you can streamline the process, but allow at least a full afternoon and evening from start to finish.
Key steps that require waiting include heating the wax to the proper temperature, waiting for the wax to fully cool and harden after pouring, and allowing time for the completed candle to cure properly to maximize burn time and scent throw. Rushing these steps can ruin the candle’s quality. Proper planning is important.
Making your own candles is time consuming but rewarding. With the right setup and patience for the process, you can create customized, high-quality candles to enjoy.