Candle Making Kit For Beginner
A candle making kit contains all the essential supplies and instructions for beginners to start crafting homemade candles. These kits make it easy for candle enthusiasts to create custom scented candles in their own home. Candle making is a fun and creative hobby that many find relaxing and rewarding.
Making your own candles has several advantages over buying pre-made candles. You can personalize candles with your preferred scents, colors, shapes, and designs. Homemade candles also make great personalized gifts for friends and family. Another benefit is that you know exactly what ingredients are used when you make it yourself. Store-bought candles often contain synthetic fragrances and dyes. With candle making kits, you control the quality of the ingredients.
In this beginner’s guide to candle making, readers will learn how to choose wax, wicks, scents, dyes, containers, and more. Step-by-step instructions will cover proper melting, pouring, curing, troubleshooting, decorating, and safety tips. By the end, you’ll have the knowledge to make stunning and fragrant candles to enjoy or gift.
Choosing Your Wax
There are several types of wax commonly used in candle making, each with their own pros and cons. For beginners, the main options to consider are:
Paraffin Wax
Paraffin wax is derived from petroleum. It is inexpensive and readily available. Paraffin wax candles burn cleanly and release scent well. However, paraffin wax produces more soot than other waxes and is not an eco-friendly option (source).
Soy Wax
Soy wax is made from hydrogenated soybean oil. It is a renewable and eco-friendly option. Soy wax candles have a lower melting point and do not retain scent as well as paraffin wax. Soy wax can also develop frosting on the surface as it burns (source).
Beeswax
Beeswax is a natural wax made by honey bees. It has a lovely natural honey aroma. Beeswax burns cleanly and holds scent very well. However, beeswax is expensive and challenging to work with as a beginner (source).
For beginners, soy wax or a soy-paraffin blend is recommended. Soy wax is affordable, eco-friendly and easy to use. A soy-paraffin blend combines the benefits of both waxes.
Choosing the Right Wick
The wick is a crucial component in candle making. It is the part of the candle that actually burns and produces the flame. Wicks serve several key functions:
- Absorbs wax to fuel the flame
- Provides structure and shape to the melted wax pool
- Influences how the candle burns – the brightness, height and size of the flame
Choosing the proper wick is important for performance and safety. Wicks come in different materials like cotton, wood, hemp, and paper. Cotton is the most common and popular. Key factors in choosing a wick are the wax type, candle diameter, and desired characteristics.
Wick Sizing
Proper wick sizing helps ensure complete wax pool melting and prevent issues like tunneling. As a general rule, wider candles need larger wicks to match the greater wax volume. There are some standard wick sizing guidelines for common candle diameters:

- 1-2 inch candles – CD 4-8 wicks
- 2-3 inch candles – CD 10-12 wicks
- 3-4 inch candles – CD 14-18 wicks
However, wick sizing can vary based on factors like wax type, fragrance load, and your desired flame height. Refer to manufacturer charts or use an online wick calculator to find the best match for your candle.[1]
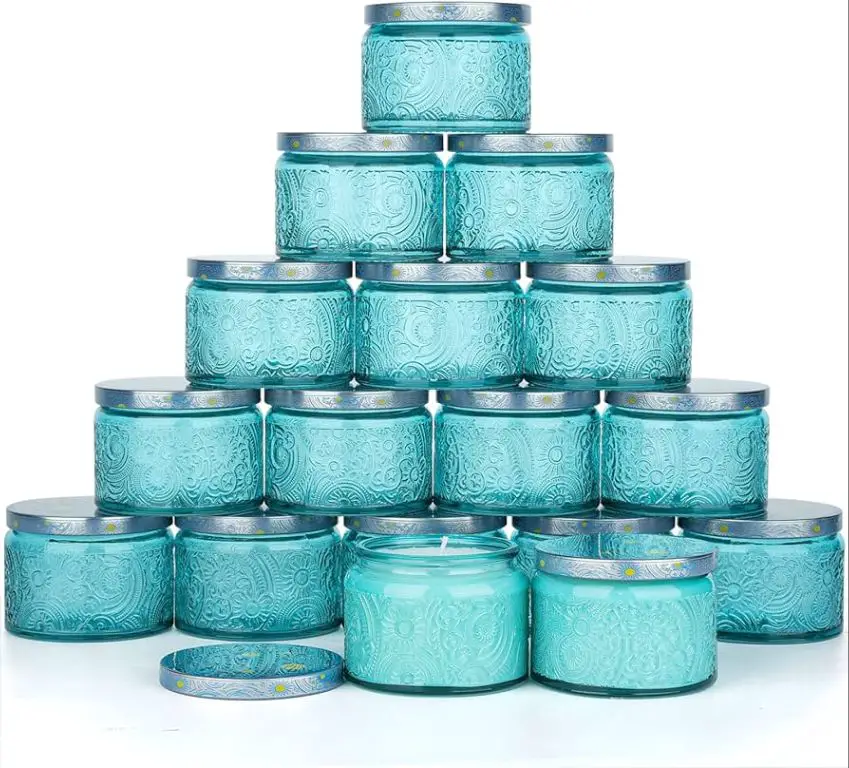
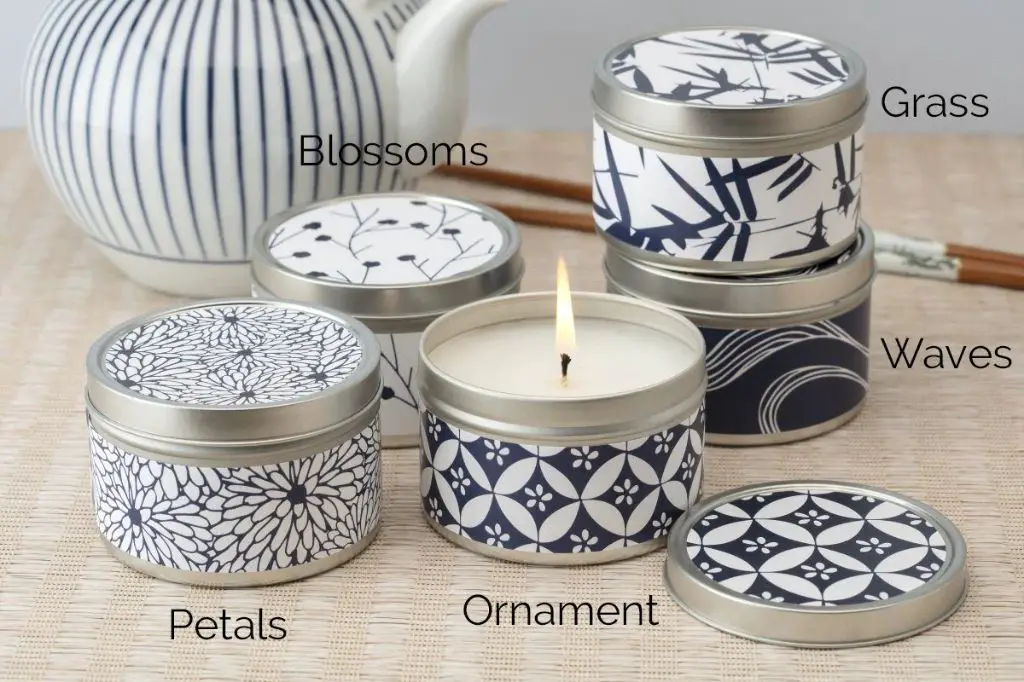
Candle Containers
When making candles, choosing the right container is an important first step. There are several options for candle containers that work well for beginners:
Glass containers come in a variety of shapes and sizes and are a popular choice because they allow the candle’s light to shine through beautifully. Before pouring wax into glass containers, coat the interior with vegetable oil or another release agent so the candle can be removed easily once cooled and cured. According to Which Candle Jar to use for beginner candle makers, glass gives candles “a sleek, yet elegant look.”
Metal tins and containers are also common for candles. Tin containers hold scent nicely and come in cute shapes. However, the metal prevents the candle’s light from being seen. Make sure to line metal containers with wax paper before pouring wax into them. As The Best Candle Jars & Tins & Where to Get Them notes, metal is a popular material choice for candle containers.
Silicone molds can be used to make shaped or sculpted candles. Prepare silicone molds by spraying them with a release agent. This allows the finished candle to be removed from the mold easily.
Consider whether you want a clear container to show off the candle’s color, or a colored/decorated container that coordinates with the candle design. Coordinate the wick size and wax type with the diameter of the container opening so the candle burns properly.
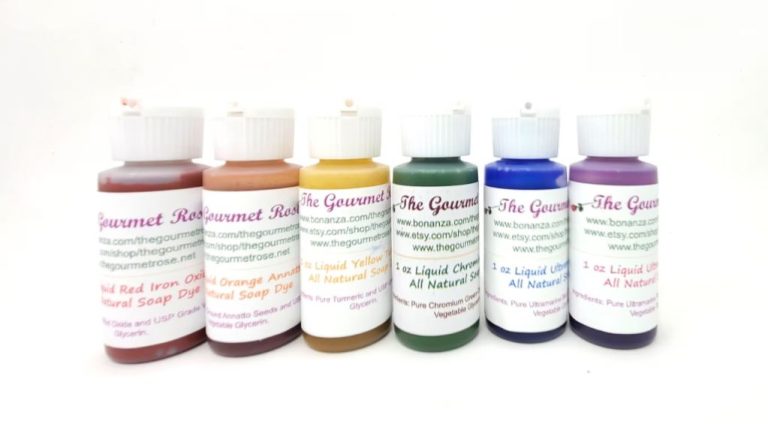
Candle Dyes and Scents
Candle dyes and scents are important for adding color and fragrance to homemade candles. Here are some key tips on using dyes and scents effectively:
Types of Candle Dyes
Liquid candle dyes are the most common type used by hobby candle makers. They come in a wide variety of colors and only need a few drops to deeply color candles. Another option is dye blocks which melt into wax; these produce soft translucent colors. Avoid using food coloring as it can clog wicks.
How Much Dye to Use
Start with just a drop or two of liquid dye per pound of wax and add more as needed. Darker colors like red or black will require more dye. Refer to the manufacturer’s instructions for recommended amounts. Too much dye can negatively impact scent throw.
Essential Oils vs. Fragrance Oils
Essential oils are derived from plants whereas fragrance oils are synthetic blends. Fragrance oils generally have better scent throw and work better in candles. According to Lone Star Candle Supply, essential oils should be limited to 3% or less in candles.
Blending Scents
You can blend multiple fragrance oils to create custom scents. Start with 75% of your primary fragrance and add complementing scents at 10-20% each. Avoid using more than 4-5 oils total. Refer to a blending guide for recommended pairings.
How Much Fragrance Oil to Use
Use 0.5-1 ounce of fragrance oil per pound of wax as a starting point. Adjust up or down based on personal preference. Container candles generally need more fragrance than pillars or votives. Too much fragrance can cause issues like weeping or acceleration.
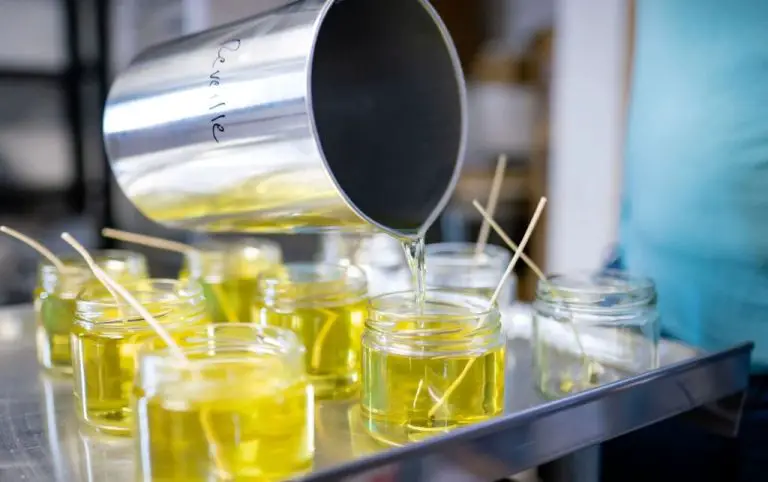
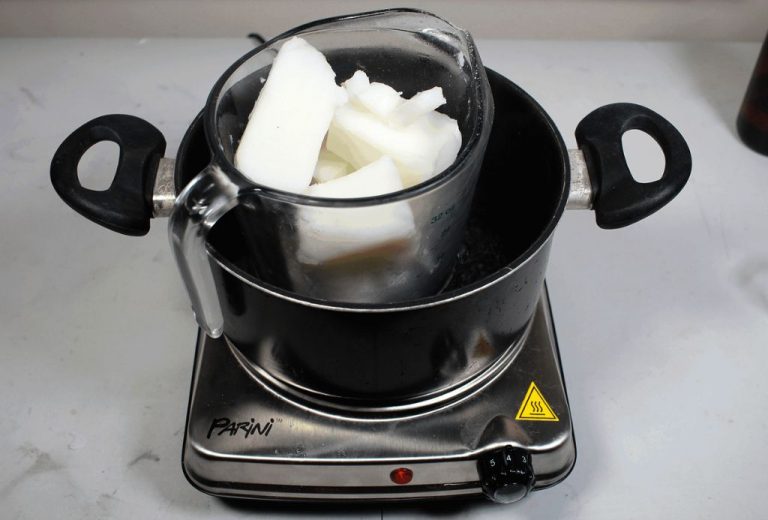
Melting and Pouring
Follow these step-by-step instructions for properly melting and pouring your wax:
1. Use a double boiler or makeshift double boiler to melt the wax. This allows you to evenly heat the wax at a low temperature between 180°F to 200°F, the optimal range for pouring soy wax. Do not let the wax exceed 200°F as it can burn and affect scent throw. Stir frequently as the wax melts.
2. Carefully pour the wax into prepped candle containers, leaving about 1⁄4 inch of space at the top. Tilt and rotate the jar to prevent bubbles. Allow candles to cool for a few hours before second pours.
3. If needed, remelt leftover wax at 180°F for second pours. Let candles fully cure for 48 hours before second pours to prevent frosting. Pour wax just to the rim to reduce bubbles.
4. Cool candles at room temperature for at least 48 hours. Do not move candles during the cooling process. This allows the wax to properly adhere to the container and achieves maximum scent throw.
Proper melting and pouring is key for smooth tops and reducing bubbles. Take your time, maintain the wax at the optimal temperature, and let candles fully cure between pours for best results.
Sources:
https://www.proflowers.com/blog/how-to-make-candles
Troubleshooting
Making candles comes with a learning curve, and many new candle makers encounter issues like sinkholes, soot, and weeping. Here are some tips for troubleshooting common candle making problems:
Sinkholes – These holes in the top of candles are caused by the candle cooling too quickly or using too much fragrance oil. Allow your candle to cool slowly and avoid fragrance loads above 10% to prevent sinkholes (Common Mistakes In Candle Making And How To Avoid Them, n.d.).
Soot – This black smoke residue results from using the wrong wick size or curing too soon. Test different wick sizes and allow candles to cure for at least 2 weeks before burning to prevent soot (6 Mistakes New Candle Makers Should Avoid, 2021).
Weeping – When oil seeps out of the candle, this is called weeping. It happens due to adding too much fragrance or pouring wax that’s too hot. Keep the fragrance load under 10% and pour wax around 150-165F to avoid weeping (6 Mistakes New Candle Makers Should Avoid, n.d.).
Fragrance issues – Using too much fragrance can cause problems like weeping, sinkholes, and poor scent throw. Start with a 6-8% fragrance load and adjust up slowly as needed (6 Mistakes New Candle Makers Should Avoid, 2023).
Dye issues – Adding too much dye can clog wicks and inhibit hot and cold throws. Use 0.5-1% dye load and mix thoroughly before pouring to prevent dye issues (6 Mistakes New Candle Makers Should Avoid, 2021).
Storing and Curing
After pouring your candles, it’s important to let them cure properly before use. Here are some tips on storing and curing your homemade candles:
Freshly poured candles should be left undisturbed while cooling and hardening. Place the candles in a room temperature area free from drafts. According to Armatage Candle Company, soy wax candles should cure for 1-2 weeks before use, with as close to 2 weeks being ideal.1 The curing process allows the wax to fully harden and stabilize.
During curing, candle lids should be left on to minimize wax evaporation and dust. However, according to eHow, you should periodically open the lid to allow any residual solvents to evaporate.2 Don’t rush the curing process by placing candles in the refrigerator or freezer. This can cause frosting and other cosmetic issues.
Before burning, test the candle by lighting it for a few hours. The wax pool should reach the edges of the container to achieve full melt. If not, continue curing the candle longer before its first use.
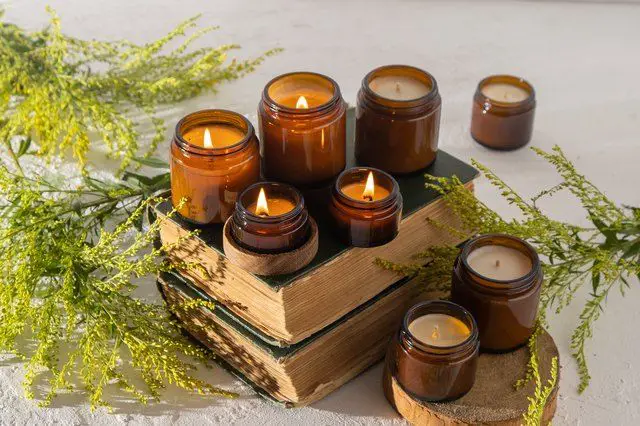
Decorating Candles
Once your candles have hardened, the fun part begins – decorating them! There are many creative ways to decorate poured candles:
Some popular techniques include layering embeds like seashells, flowers or glitter inside the wax as you pour 1. You can also paint the outside of candles once they’ve fully hardened and cooled. Acrylic paint pens allow you to get creative with patterns, shapes or designs directly onto the candle exterior 2.
Glitter is another fun option for decorating the outside of candles. Allowing the candle to cure for at least 24 hours before decorating is recommended so the wax has completely hardened.
Decorating candles can add a beautiful, personalized touch to homemade candles. Have fun and get creative with different materials and techniques!
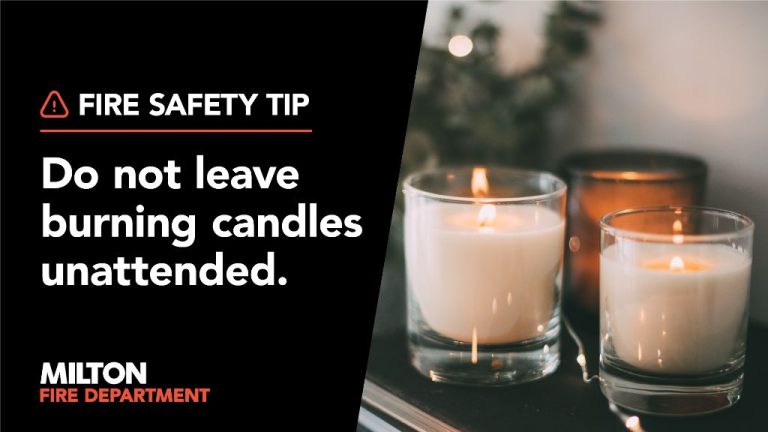
Safety Tips
Candle making can be a fun hobby, but you’ll want to keep some safety precautions in mind. Here are some tips for staying safe:
- Never leave a burning candle unattended – extinguish candles when leaving a room or going to sleep. Keep an eye on the candles at all times to prevent fires (Candles.org).
- Keep candles at least 12 inches from anything that can catch fire like curtains or furniture (FMINS). Have a fire extinguisher nearby.
- Keep candles out of reach of children and pets to avoid accidental fires or injuries.
- Make sure there is proper ventilation when burning candles, and do not burn for more than 4 hours at a time.
- Be careful with candle dyes as they can stain surfaces, skin, and clothing (Northwood Candle Supply).
- Avoid using scents if you or someone in your household has scent allergies or asthma.
Following basic safety guidelines will allow you to enjoy candle making without worry.