What Are The Design Techniques For Melt And Pour Soap?
Melt and pour soap is a convenient and easy way to make homemade soap without handling lye. It starts as a premade soap base that has already undergone saponification – the chemical process of making soap from oils and lye. The soap base contains oils like coconut, palm, olive, or other vegetable oils that have been turned into soap through saponification.
The melt and pour process simply involves melting the soap base, adding colors, scents or other additives as desired, pouring it into molds, and allowing it to harden. This makes the process much quicker and easier compared to making soap completely from scratch. It also avoids the need to handle lye, which can be dangerous due to its caustic nature 1.
The finished melt and pour soap product has a similar feel, lather and skin benefits as handmade cold process soap. It contains gentle cleansers and moisturizing glycerin. However, since saponification has already occurred, there is no need to allow melt and pour soap to cure like standard cold process soap. The soap is ready to use as soon as it has cooled and hardened.
Benefits of Melt and Pour Soap
Melt and pour soap bases offer many beneficial properties that make them a great choice for beginner soap makers.
Unlike cold process soap making with lye, melt and pour soap bases do not require working with hazardous chemicals. The saponification process that turns oils into soap has already occurred during manufacture of the base [1]. This makes melt and pour soap making a very safe hobby or craft.
The ease of use is another major benefit. Once the soap base is melted, you can add colors, scents, and mix in additives with minimal equipment. Pouring into molds is straightforward and the soap hardens quickly.
Melt and pour soap bases allow for lots of creativity too. You can swirl multiple colors together, layer contrasting colors and scents, embed objects, mold into different shapes, and combine with ingredients like herbs or cosmetic clays. Glycerin is added to many bases, providing a naturally moisturizing bar of soap that’s gentle on skin [2].
For all these reasons, melt and pour soap making is ideal for beginners who want to design their own custom soaps without the complexity of lye-based soap making.
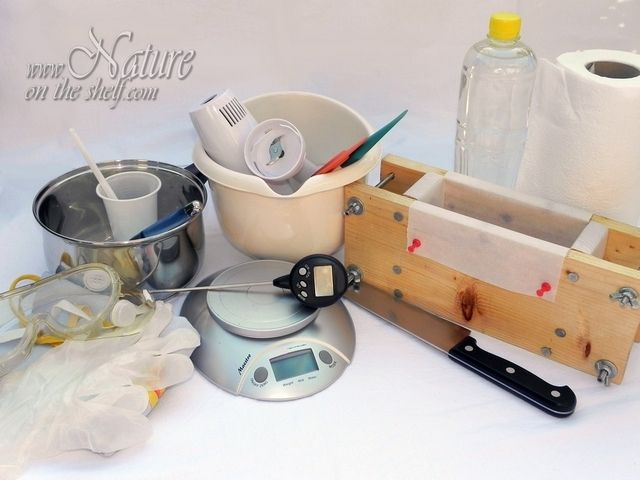
Equipment Needed
Making melt and pour soap requires some basic equipment. The most essential is a double boiler or crock pot to gently melt the soap base. According to Brambleberry (https://www.brambleberry.com/shop-by-craft/soap-making/melt-and-pour), a double boiler allows you to precisely control the temperature so the soap does not overheat. Other key equipment includes:
- Molds – Silicone molds work best since the soap releases easily. Consider fun shapes like hearts or stars.
- Fragance oils – Use .5-1 oz of fragrance oil per pound of soap base.
- Dyes – Liquid dyes or mica powder work well for coloring melt and pour soap.
- Containers – For mixing and melting the soap base.
Having the right equipment makes the process of designing melt and pour soaps much easier. Investing in good quality molds and tools allows for creativity and endless soap variations.
Preparing the Soap Base
Preparing melt and pour soap base is an easy process that involves just a few steps. First, the soap base needs to be cut or broken up into smaller chunks. This makes it easier for the soap to melt and helps prevent overheating. According to The Nerdy Farmwife (https://thenerdyfarmwife.com/diy-melt-pour-soap-base/), it’s best to break up large blocks of soap base into 1-inch cubes before melting.
Once cut, the soap base can be melted. This is typically done using a double boiler, crockpot, or microwave. When using a microwave, heat the soap in 30 second intervals, stirring between each heating to help it melt evenly. CandleScience (https://www.candlescience.com/learning/melt-and-pour-soap-making-for-beginners/) recommends melting soap base for 1 minute intervals in the microwave. It’s important not to overheat the soap, as this can scorch it.
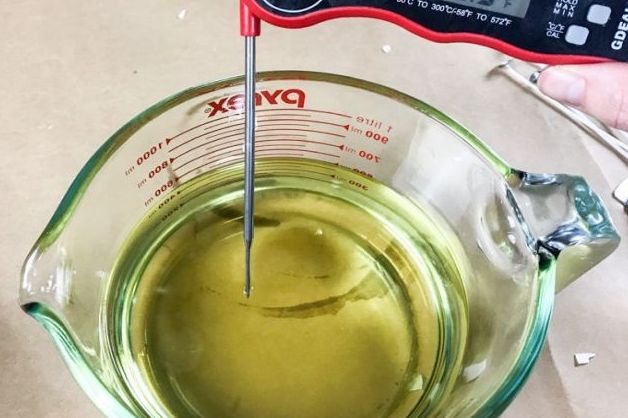
The ideal melting temperature for melt and pour soap base is between 120°F to 150°F. Higher temperatures can discolor or scorch the soap. Melting the soap slowly and checking the temperature frequently prevents overheating. Once fully melted, the soap base is ready for adding colors, scents, and more.
Coloring Melt and Pour Soap
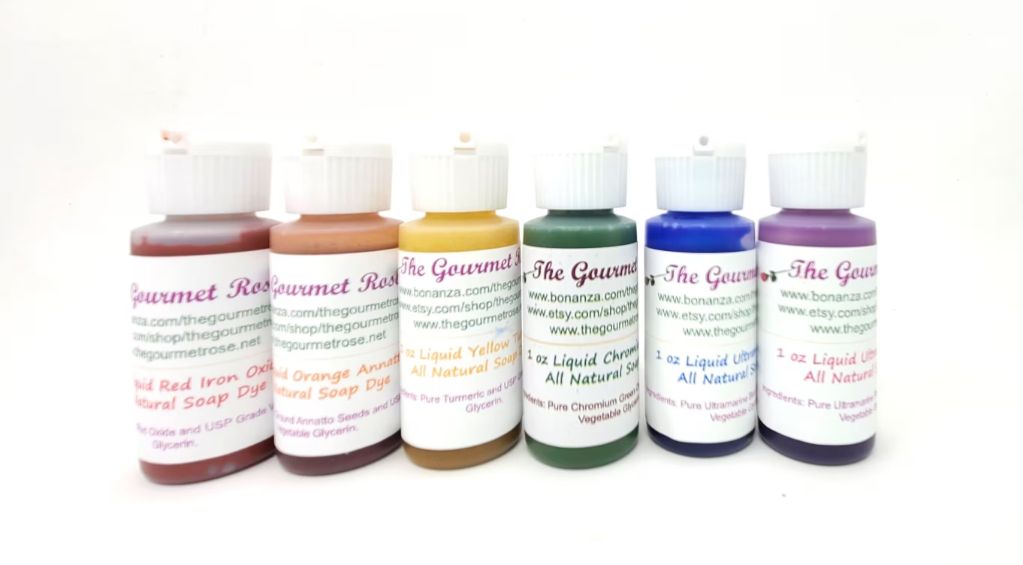
There are a few different options for coloring melt and pour soap. The most common are liquid dyes, mica powder, and color blocks. Liquid dyes are a great way to achieve vibrant colors in melt and pour soap. They are available in a wide range of hues from basic primary colors to neons. According to Brambleberry, liquid dyes should be diluted before adding to the melted soap base. Start with 1 teaspoon of dye per 1/2 cup of melted soap base and adjust as needed.
Mica powder is another popular coloring option, providing a shimmery, pearlescent effect. According to an article on Bizpressions, mica powders should be added to melted soap at a rate of 1 teaspoon per pound of soap base. The powder can be mixed directly into the melted base. Mica tends to settle, so stirring periodically is recommended while working with colored soap.
Color blocks or chips are concentrated soap pieces colored with pigments. They can be melted into clear soap base to tint the entire batch. Color blocks allow for strong, vivid hues without diluting the soap base. Start with small amounts of color block and increase as needed to achieve the desired shade. Mix thoroughly as the color chips melt to distribute the color evenly.
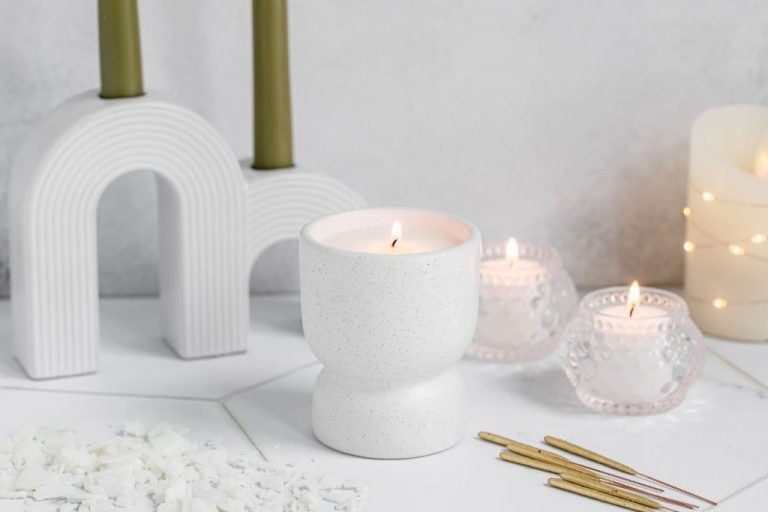
Scenting Melt and Pour Soap
One of the best parts of making melt and pour soap is being able to customize the fragrance. There are two main options for scenting melt and pour soap – fragrance oils and essential oils.
Fragrance oils are synthetic scents created to mimic natural aromas like fruits, flowers, baked goods, etc. They come in thousands of options and generally have a stronger scent than essential oils. According to Bramble Berry, usage rates for fragrance oils in melt and pour soap are about 0.5-1 ounce per pound of soap base1. It’s best to start low with 0.5 oz and increase if desired.
Essential oils are concentrated extracts distilled from plants. They provide natural fragrance options, but the scent is more subtle than fragrance oils. Essential oils also tend to be more expensive. For essential oils, Candle Science recommends using about 0.5-1 teaspoon per pound of soap base2. As with fragrance oils, it’s best to start with less and add more as desired.
No matter which scent option you choose, be sure to add the fragrance after the soap base has fully melted and cooled slightly below 120°F. Adding at too high of a temperature can cause the scent to “burn off.” Stir well to fully incorporate.
Layering Melt and Pour Soap
One of the most popular design techniques for melt and pour soap is creating layers. Layering allows you to combine different colors and scents in creative ways. There are a few methods for achieving layered looks:
Horizontal layers involve pouring one color on top of another. To get crisp, defined layers, it’s important to pour each layer at the optimal temperature. According to the Soap Queen, the soap should be around 95-100 degrees Fahrenheit when pouring layers (Source). Allowing each layer to partially setup before adding the next helps them adhere properly.
Vertical layers can be made by pouring alternating colors from opposite sides of the mold or by pouring thin strips next to each other. Savvy Homemade recommends putting melted soap into individual containers for each color before pouring for the cleanest results (Source). Letting the layers settle between pours gives distinct stripes.
In-the-pot swirls are achieved by pouring and swirling two colors together directly in the mold. Using a chopstick, skewer or swirling tool creates intricate marbled patterns. Work quickly before the soap starts to set up for the most defined swirls.
Embedding Objects
One fun way to decorate melt and pour soap is by embedding small objects into the soap base. This adds visual interest and texture to the final soap product. Some commonly embedded items include:
Dried flowers – Dried flower petals, leaves, or lavender buds can be gently pressed into a layer of melted soap to create a natural, botanical look. Avoid using fresh flowers, as they will lose their color and start to decompose in the soap. Gentle flowers like lavender, rose petals, and chamomile work best.
Loofah pieces – Small cubes or thin slivers of loofah can be partially submerged in areas of the soap, leaving part exposed for scrubbing action. The loofah will soften slightly but still provide exfoliation. Cut loofah to the desired shape and size before adding to the melted soap.
Plastic toys – Small plastic toys like animals, shaped confetti, beads, or miniatures can add whimsy, especially for kids’ soaps. Make sure the plastic is soap-safe and clean before embedding. Allow a little space around embedded toys for the soap to fully harden.
Glitter – Fine cosmetic glitter sprinkled lightly over a layer of melted soap and sprayed with alcohol creates sparkling swirls. Use glitter sparingly, as excessive amounts could irritate skin. Choose skin-safe glitters.
When embedding objects, work swiftly before the soap hardens. Spray pieces with rubbing alcohol to help adhere them in the soap. Allow plenty of cure time for the soap to fully harden around objects before unmolding. Avoid embedding sharp objects that could poke through soap or shed in the bath. Most embedded objects will remain suspended in the hardened soap bar.
Source: https://www.savvyhomemade.com/suspending-embedding-objects-in-soap/
Molding Melt and Pour Soap
There are several types of molds that can be used for melt and pour soap:
Log Molds
Log molds create long bars of soap that can be sliced into individual bars after curing. Log molds are a good choice for making large batches of soap at once. They come in a variety of shapes like cylinders, hexagons, and ovals [1].
Slab Molds
Slab molds create thin blocks of soap that can also be sliced into bars after curing. Slab molds allow lots of room for creativity with layering and embedding objects [2].
Individual Cavity Molds
Individual cavity molds have multiple shaped cavities for pouring soap into. The soap takes the shape of the mold and does not need to be sliced. Individual molds make it easy to create a variety of shaped bars [3].
Silicone molds are a popular choice because they are flexible, making it easy to unmold the soaps after curing. Rigid plastic molds also work well. Choose molds with smooth surfaces and tapered sides to make unmolding the soap easier.
Unmolding and Curing
Once your melt and pour soap has hardened in the molds, it’s time to remove the soaps and let them finish curing. Typically, melt and pour soap will be solid enough to unmold within 4-6 hours after pouring depending on factors like room temperature, according to this source. The soaps should easily pop out of the molds when they are ready.
After unmolding, it’s important to let the soaps continue curing and hardening fully. This helps the soaps last longer with less sweating and prevents them from melting in hot, humid conditions. Let the soaps cure for 24-48 hours at room temperature, as recommended by soapmaking sites like Botanie Soap. Proper curing allows all the excess moisture to evaporate.
Once cured, the soaps are ready to be packaged up and enjoyed! Melt and pour soap requires no lengthy 4-6 week curing period like cold process soap, making it much faster to use. Just remember patience when unmolding and allow time for full curing.