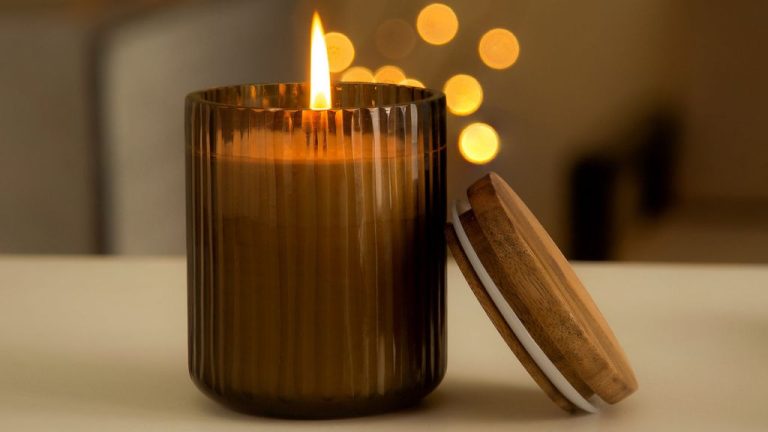
What Happens If You Burn A Candle Too Soon After Making It?
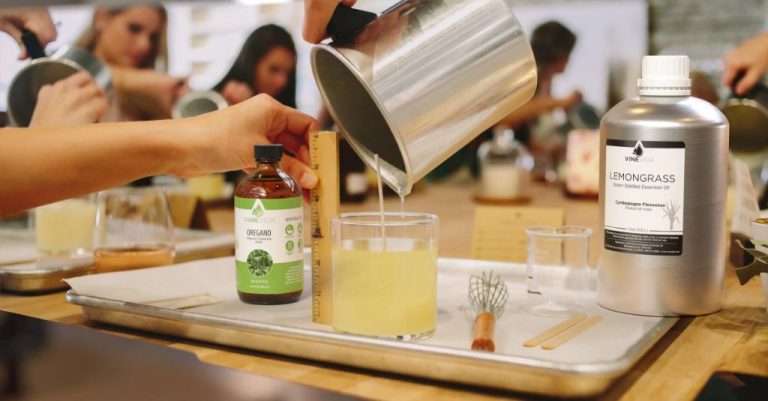
Candles are created by pouring hot wax, a flammable liquid, into a mold of some kind that contains a wick. For candles made from paraffin, soy, beeswax or other waxes, the wax needs time to cure properly before the candle can be burned. Curing allows the structure of the candle to stabilize so it burns properly. This article will explain what curing is, how long candles need to cure, the consequences of burning a candle before it is cured, and tips for properly curing candles.
What is Curing
Candle curing refers to the process of allowing a newly made candle to rest undisturbed for a period of time after it has been poured and cooled. This curing period, which can range from a few days to several weeks depending on the wax type, allows the candle’s materials to fully stabilize and the candle to burn properly.
According to https://armatagecandlecompany.com/blog/candle-curing/, curing is important because it allows the crystal structure of the wax to settle so the candle burns slower and more evenly. When a candle is burned too soon, the wax can melt unevenly or create issues like tunneling where the wick drowns. Curing gives the fragrance and dyes time to fully blend as well.
Proper curing results in an even burn, good scent throw, and optimal performance. Rushing the process by burning too soon risks safety issues and a poor burn.
Ideal Curing Times
Proper curing times are essential for candles to burn correctly and safely. The ideal curing time can vary depending on the type of wax used:
For paraffin candles, experts recommend waiting at least 48 hours before lighting, with 1-2 weeks being ideal. This allows the wax to fully set up and the fragrance to stabilize (Source).
Soy wax candles require 1-2 weeks of curing time. The soy wax needs this time for the crystal structure to completely form. Burning too soon can cause issues like wet spots, tunneling, and fragrance throw problems (Source).
Beeswax candles typically only need 24-48 hours before burning. The natural wax sets up more quickly compared to paraffin and soy. However, at least 1 week of curing can improve burn performance (Source).
Gel wax candles require the shortest cure time, usually only needing 12-24 hours until the candle can be burned. The drying agents in gel wax cause it to harden and cure rapidly (Source).
Consequences of Burning Too Early
Burning a candle before it has had time to cure properly can lead to several issues. The most common problem is tunneling, where the wax burns unevenly and forms a hole or tunnel in the center of the candle [1]. This happens because the outside of the candle cools and hardens while the inside is still soft and liquid. When you light a candle too soon, the wick will burn through the softer inner wax quickly, leaving the harder outer wax behind.
Dripping can also occur with an undercured candle. When the wax is still soft, the flame’s heat can cause the wax to become liquid too quickly and drip down the sides of the candle. You may end up with a puddle of wax if the candle isn’t given enough time to set up [2].
Burning a candle before full curing can further lead to poor fragrance throw. The curing process allows fragrance oils to fully bind with the wax so the scent is dispersed when burned. With an undercured candle, the scent may not fill the room as expected because it hasn’t had time to set in the wax.
Safety Risks
Burning a candle before it has fully cured can create serious fire hazards. According to the National Candle Association, you should never leave a burning candle unattended. When a candle is burnt too soon, the wax near the wick has not had enough time to fully harden. This can cause the flame to tunnel down into the wax and come into contact with the container, causing it to crack or shatter.

Additionally, freshly poured candles tend to smoke and release more soot. This builds up on walls and furniture at a faster rate, creating a fire danger. The heat from an untested wick may also be higher than expected. Combined with soft wax, this makes it easier for nearby combustible materials to ignite.
To prevent candle fires, it’s crucial to follow proper safety precautions. Always keep burning candles away from anything flammable and out of reach of children and pets. Trim wicks to 1⁄4 inch before lighting to avoid excess smoke and uneven burning. Never burn a candle longer than the manufacturer recommends. Fully curing candles before use is one of the best ways to mitigate risks.
Fixing Candles
If you’ve burned a candle too soon before it’s properly cured, there are some methods you can try to salvage it and prevent further issues:
Trim the Wax – Using a sharp knife, gently trim off the melted wax around the wick. This helps lower the melted wax level which stops the wick from drowning.
Aluminum Foil Method – Place a piece of aluminum foil over the top of the candle, molding it around the wick. This traps heat and melts wax below the burned area so it can pool again.
Microwave in Short Bursts – Place the candle in the microwave and heat in 15 second bursts, allowing the wax to melt in between. This helps even out the wax pool without overheating.
Blow Dryer – Use a blow dryer on a low, cool setting to gently re-melt wax on the edges, directing it back to the center. Avoid high heat.
Repouring Wax – For major issues, you may need to melt down the entire candle and repour it to reset the wax pool. Let it cure again for 1-2 weeks.
While not ideal, these methods can help restore candles that were burned too soon. Proper curing is still best to prevent problems. But with some effort, it may be possible to salvage candles that tunnel or have other burning issues.
Storing Cured Candles
Once candles have been properly cured, it’s important to store them correctly to preserve their quality and extend their shelf life. Here are some tips for storing cured candles:
Keep candles in a cool, dry place away from direct light and heat sources like ovens, heaters, or direct sunlight. Temperature fluctuations can cause wax to sweat or lose its shape. An ideal storage temperature is around 60-80°F.
Store candles upright and evenly spaced apart so air can circulate around each one. This prevents spreading of scents between candles.
Use containers with tight lids like boxes, tins, or closed cabinets. This protects candles from dust and debris that can clog wicks. Glass jars with lids or zip lock bags also work.
Keep wicks trim and upright prior to storage so they don’t bend over. Wicks staying straight helps preserve candle burn quality.
Wrap delicate candle holders in newspaper or bubble wrap to prevent chipping if stacked or bumped. Fragile containers like ceramic or glass need extra padding.
Store taper and pillar candles vertically in sturdy holders to prevent bending and cracking. Specialty candle racks or drawer organizers help keep multiple tapers upright.
Lay candles on their sides if storing for extended periods to maintain shape and prevent sinking or slumping on one side. Rotate periodically.
Group together candles with the same scent. Cross-contamination can muddle scents if different aroma candles are stored together.
Check stored candles occasionally and re-wick or trim wicks if needed. Replace melted candles showing signs of sweating or frosting.
With proper storage methods, well-cured candles can last 6 months to over a year before use. But always burn candles within manufacturer recommended time frames.
For more candle storage ideas see: https://www.elementalcandleco.com/candle-care and https://www.pinterest.com/pin/557742735110027800/
When in Doubt
Determining if a candle is properly cured can be tricky. Here are some tips to help you decide if your candle is ready to burn:
- Check the center – Insert a toothpick into the center of the candle. If wax comes out on the toothpick, it needs more time to cure.
- Do a test burn – Light the candle for 30-60 minutes then blow it out. If the wax pools evenly without issues like cracking or splitting, it’s likely cured.
- Check for spots – Examine the candle closely and look for any wet or uncured spots, which indicate it needs more curing time.
- Do a knuckle test – Gently knock on the side of the candle with your knuckles. A hollow sound means the wax is still uncured.
- Consider the weather – Cold temperatures can dramatically increase cure times. When in doubt, allow extra curing time.
If you are unsure if your candle is cured properly, allow it to cure longer. Rushing the curing process risks safety hazards and poor burn quality. Patience during curing leads to better burning candles.
Curing Alternatives
There are some alternatives to traditional candle curing that can help shorten the process. One popular method discussed on Reddit is freezer curing [1]. After pouring candles, you can place them in the freezer overnight. The cold temperatures help the wax finish hardening and contracting. The next day, you can remove them from the freezer and do a test burn. Freezer curing isn’t quite as effective as traditional curing, but it can shorten the wait time to 1-2 days instead of 1-2 weeks.
Another option is microwave curing. After letting candles sit 24 hours, you can microwave them for short bursts like 30 seconds at a time until the wax fully melts [2]. This helps release trapped air bubbles. Then let the candles fully harden again before burning. Microwaving too long can damage fragrance oils though, so short bursts are key.
In general, look for shortcuts that melt wax completely to release air pockets, then allow it to fully harden again. But traditional curing is still the gold standard for safety and performance.
Conclusion
As we’ve explored in this article, curing time is an essential part of the candle making process. Properly curing candles helps ensure they burn cleanly and safely. When candles are burned too soon, before they’ve had time to cure, it can lead to issues like soot buildup, smoking, tunneling, and even dangerous flare-ups.
Following the recommended cure times, which are generally 1-2 weeks for container candles and 4-6 weeks for pillar candles, allows all the candle ingredients to fully bind together. This results in a harder wax, and a more even burn when the candle is lit. Rushing this process by burning candles too soon short circuits all the hard work put into crafting them.
While it can be tempting to try out a new candle creation right away, patience is a virtue in candlemaking. Allowing adequate cure time helps candles look, smell, and perform at their absolute best. The wait is well worth it for a final product that is safe, high-quality, and long-lasting.