What Do You Need To Make Your Own Candles?
Candlemaking is the process of creating candles by hand, assembling the wax, wicks, and other components. Although factory-made candles are readily available, making your own candles can be deeply rewarding. The main benefits of candlemaking include:
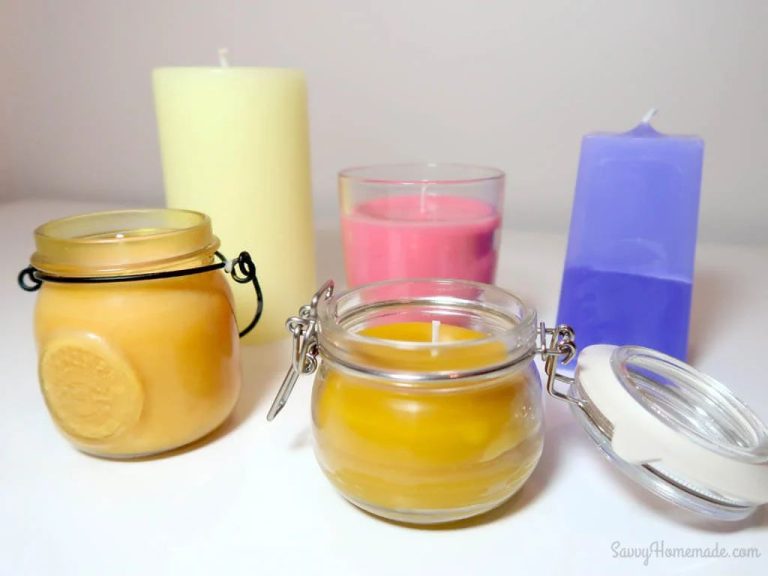
Creative Expression – Making your own candles allows you to customize scents, colors, shapes, and designs. You can create candles that reflect your personality.
Cost Savings – While an investment in supplies is required, making your own candles is generally cheaper per candle compared to buying pre-made candles.
Stress Relief – The hands-on process of candlemaking is soothing, mindful and meditative for many.
Gift Giving – Beautiful handmade candles make wonderful personalized gifts for any occasion.
Quality Ingredients – You can control exactly what goes into your candles, including using natural, eco-friendly ingredients.
The candlemaking process involves choosing and preparing the wax, selecting and preparing the wicks, adding scents and colors as desired, pouring the wax into containers or molds, and allowing the candles to fully cure before burning. With some basic supplies and guidelines, anyone can enjoy making their own candles!
Wax
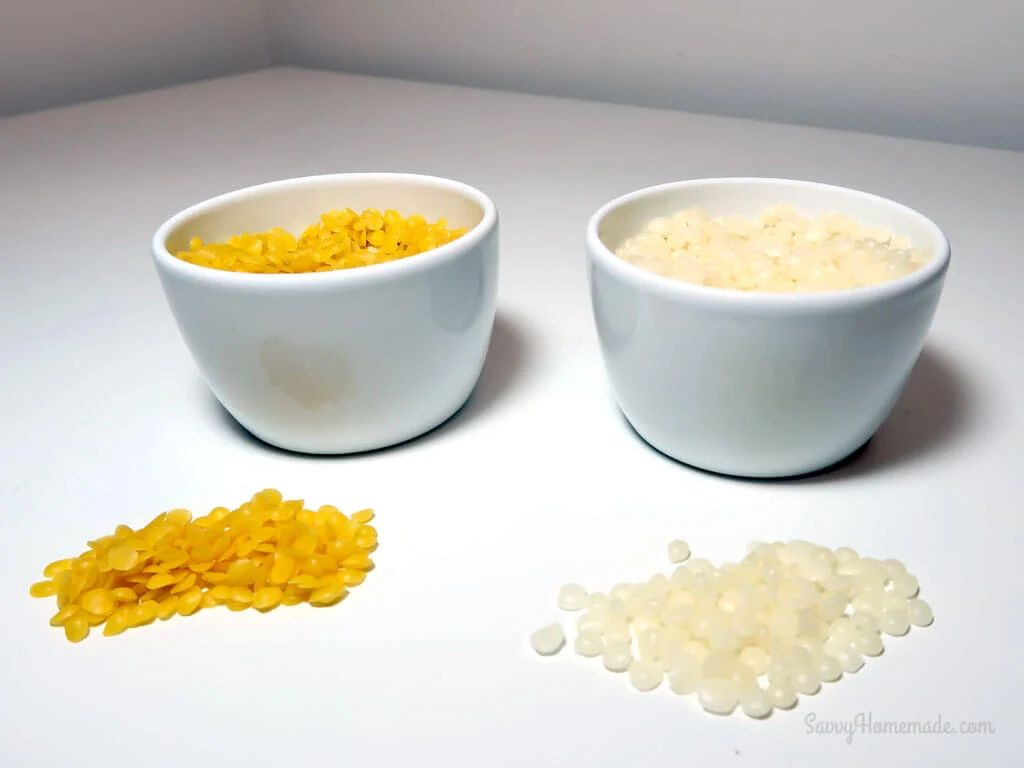
The most common types of wax used in candle making are paraffin, soy wax, and beeswax. Each has different properties that lend themselves to certain applications.
Paraffin wax is derived from petroleum. It is inexpensive and makes hard candles with excellent fragrance throw. Paraffin melts easily and forms smooth candle tops. However, some people avoid paraffin due to potential toxins released when burned. Most hobby candle makers start with paraffin wax.
Soy wax is made from soybeans. It burns cleaner than paraffin with less soot. Soy wax holds fragrance oils well and produces a smooth wax pool when burned. However, soy wax is softer and more prone to frosting on the candle exterior. Soy wax is a good choice for container candles. Those concerned about the environment may prefer soy over paraffin wax.
Beeswax is all-natural wax produced by honeybees. It has a sweet, honey-like scent when burned. Beeswax burns longer than paraffin and soy waxes. However, it is expensive and difficult to work with, making it less common among hobbyists.
Choosing the right wax depends on your project goals, budget, and personal preferences. Wax can be purchased online through candle making retailers or local craft stores.
Wicks
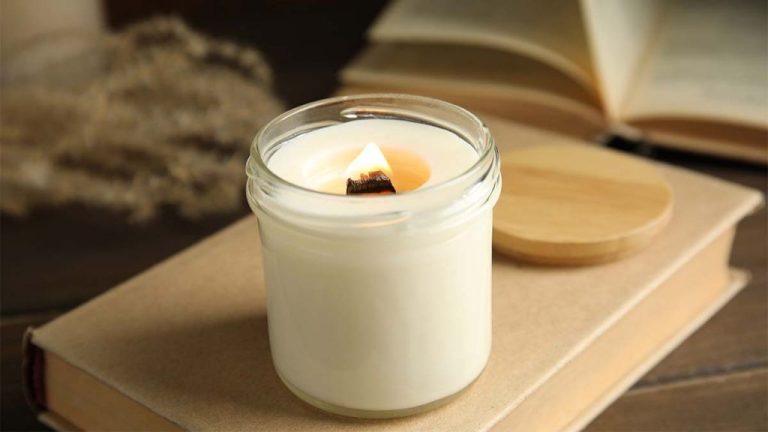
The wick is an essential component of candle making. It is the cord that runs through the wax and brings the flame to the candle. Wicks are typically made from braided cotton, though you can also find specialty wicks made from wood, hemp, or paper.
Wicks come in different thicknesses, known as ply. The thicker the wick, the larger the flame it can support. Thinner wicks are best for containers with smaller diameters, while thicker wicks work better in wide containers. Most wicks range from 1-ply to 3-ply. The wick thickness should be proportional to the diameter of the candle container so that the melt pool spans the entire top.
How do you choose the right candle wick? Here are some tips:
- Match the wick to the type of wax. Paraffin wax requires a thicker wick than soy or beeswax.
- Follow manufacturer guidelines for wick sizing.
- Test different wick sizes to find the best flame and melt pool for your container.
- Use wick stickum or glue dots to secure wicks in the bottom of containers before pouring wax.
Choosing the proper wick is crucial for performance and safety. An ideal wick promotes complete melting and an even burn without smoking, tunneling, or flickering flames. Refer to candle making charts or test wicks to find the right size.
Source: https://thewaxchandler.com/candle-wicks/how-to-choose-the-right-candle-wick/
Fragrance Oils
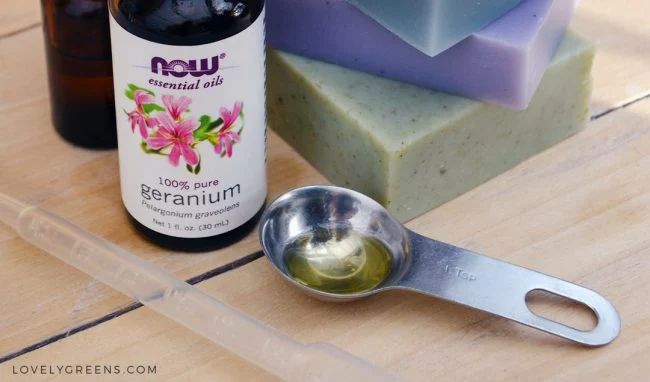
Fragrance oils, rather than essential oils, are recommended for candle making. Essential oils can produce an unpleasant burnt smell when burned, whereas fragrance oils are formulated to hold up to high temperatures without altering the scent. Fragrance oils also allow for a much wider variety of scents compared to essential oils.
Fragrance oils made specifically for candle making can be purchased from online retailers that specialize in candle making supplies, such as CandleScience.com and LoneStarCandleSupply.com. Some craft stores may also carry a limited selection of candle fragrances.
The amount of fragrance oil to use will depend on the wax, but a general guideline is 6-10% of the weight of the wax. For example, if using 1 pound (450g) of soy wax, you would use 28-45 grams of fragrance oil. It’s recommended to start low at 6% and increase to reach the desired scent throw. Going above 10% fragrance may result in fragrance “blow out” where the scent burns off.1 Too little fragrance and the candle won’t be strongly scented when burning.
Color
Coloring candles is one of the most fun parts of candle making. Adding colorful dyes transforms plain wax into beautiful works of art for your home. There are a few ways to color candles.
One method is using liquid candle dye. A little bit of this concentrated dye goes a long way. Start with just a few drops per pound of wax. You can find candle dye at craft stores or online. Popular brands include CandleScience and Nature’s Garden (https://www.tiktok.com/discover/how-to-add-color-to-candles-with-crayons).
Another technique is using crayons. Grate or shave crayons into a powder, then mix a small amount into melted wax. Each brand of crayon produces a slightly different color, so experiment to find your perfect shade. Just a quarter teaspoon of crayon powder per pound of wax creates a vibrant effect (https://www.tiktok.com/discover/how-to-color-candles-acrylic).
No matter which colorant you choose, add it slowly and test the color before fully pouring your candles. You can always make it darker, but removing excess dye is difficult. Aim for rich, saturated hues. With the right preparation and practice, you’ll be handcrafting professional-quality colorful candles in no time!
Containers
There are a wide variety of containers you can use for candle making, from glass jars to tin cans and ceramic vessels. The type of container you choose will depend largely on the type of wax and wick you are using.
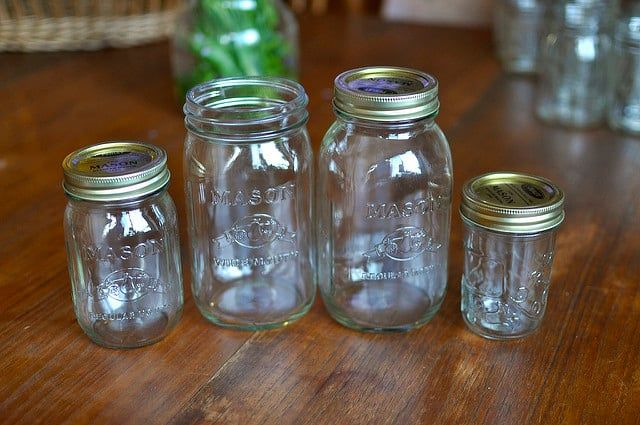
Glass jars and containers are a very popular choice as they allow you to easily see the candle wax and flame. Glass also helps disperse fragrance. You’ll want to choose a glass container with an opening wide enough for the wax and wick, but narrow enough to minimize issues like tunneling. Smooth-sided jars work best with container candles.
Tin containers like cans and mugs work well for candles using waxes with a lower melting point, like paraffin or soy wax. The metal helps retain heat and can give a stronger scent throw. Just make sure the metal won’t get too hot and burn someone when the candle is lit.
Ceramic vessels make attractive candle holders but they conduct heat poorly compared to glass. Use a thicker wick to ensure the wax pool reaches the edges of the container. Carefully test any ceramic container with boiling water first to make sure it won’t crack from the heat of a burning candle.
No matter what type of vessel you choose, make sure it is meant for candle making rather than general decor. Properly tempered glass and metals designed for candles will be safest. Refer to the manufacturer’s guidance on the suitability of the container material and dimensions for the type of wax and wick you plan to use. An appropriately sized, high quality container will lead to the best burn and minimize issues like soot and tunneling.
Sources:
Choosing Safe Candle Jars for Candle Making: What Types of Jars Are Best for Container Candles?
Equipment
When making candles, there are some essential pieces of equipment you’ll need to have on hand. Here is an overview of the must-have and optional tools for candle making:
Must-Have Equipment
- Thermometer – Used to measure wax temperature. A thermometer with a clip is helpful to attach to the pot.
- Pouring Pot – A metal pouring pot is ideal for melting wax.
- Molds – Candle molds made of silicone or metal to shape the candle.
Optional Equipment
- Scale – Helpful for measuring out wax, fragrance, and dye.
- Heat Gun – Used to pop air bubbles in the wax and smooth the top.
- Hot Glue Gun – For sealing the wick to the bottom of the container.
- Measuring Cups – For adding liquid dye and fragrance.
Some key equipment like thermometers, pouring pots, and molds are absolute necessities when making candles. Optional tools like scales and heat guns can make the process easier and improve the results, but are not mandatory. Investing in quality equipment helps make candle making simpler and more successful.
Safety
When making candles at home, there are some important safety precautions to follow. Proper ventilation is crucial when working with hot wax to avoid inhaling fumes. Always make candles in a well-ventilated area with open windows or use a fan to keep air circulating [1]. Overheating wax can cause it to combust, so never leave melting wax unattended on the stove or in the microwave. Keep the wax temperature between 185-200°F to avoid overheating [2]. Also be sure to have proper equipment like a candy or wax thermometer to accurately monitor wax temperatures.
Other safety tips include keeping children and pets away from hot wax, wearing protective gear like googles and gloves, and carefully pouring wax into containers without splashing or spilling. Never try to move a container of hot wax and avoid touching wax until it has fully cooled and hardened. Always follow the safety instructions for any candle making materials and equipment. With proper precautions, candle making can be an enjoyable and safe hobby.
[1] https://www.twistavants.com/blogs/candle-making/candle-making-safety-tips
[2] https://lonestarcandlesupply.com/candle-making-safety-tips/
Making Candles
The step-by-step process for making candles is as follows:
- Prepare your workspace by covering surfaces with paper or foil to catch drips and spills. Ensure you have adequate ventilation as well.
- Melt your wax using a double boiler, slow cooker, or candle making melter as directed. Each wax has different melting points, such as soy wax between 115-145°F and paraffin wax between 150-170°F. Do not overheat the wax.
- Prepare wicks by trimming to size and attaching to the bottom of your container using hot glue or tape.
- Once wax is fully melted, remove from heat. Carefully add fragrance and dye as desired and stir thoroughly to incorporate.
- Carefully pour the wax into containers until 1/4″ from the top. Center and straighten wicks as needed.
- Allow candles to fully harden undisturbed, at least 24 hours. Then trim wicks to 1/4″ length.
Issues like sinkholes and frosting can occur if candles are cooled too quickly or poured at too high of a temperature. Maintaining the proper pouring temperature can help prevent these problems. Container temperature and drafts also impact cooling.
Source: Easy Crisco Cupcake Candle Tutorial
Storing and Curing
After pouring your candles, it’s important to store them properly to allow for curing. Curing is the process by which candles solidify and the fragrance oils release moisture and stabilize within the wax. According to the Armatage Candle Company, curing typically takes 1-2 weeks for soy candles before they are ready to burn (source). During the curing timeframe, candles should be stored in a cool, dry place away from direct light and heat.
Once your candles have cured, you’ll want to test them before use. Give them a visual inspection to look for issues like wet spots, frosting, or cracking. It’s also recommended to do a burn test by lighting the candle for at least 2 hours. Observe how the candle burns – it should have a strong scent throw without producing excessive smoke. This will ensure your candle is burning properly before gifting or selling. With the right storage and curing, you’ll be rewarded with great looking, fantastic smelling candles.

