What Can I Put In Diy Candles?
DIY candle making has become an increasingly popular hobby and craft in recent years. Making your own candles at home offers many benefits and appeals to crafters of all skill levels. Some key advantages of DIY candle making include:
Creativity and customization – You can customize candles with your choice of colors, scents, shapes, and designs. DIY allows you to make candles that reflect your personal style and preferences.
Cost savings – Making candles at home is generally less expensive than buying premade candles from stores. You can control the quality and costs of materials.
Self-expression – DIY candle making provides an outlet for creativity and allows you to make meaningful, one-of-a-kind gifts for loved ones.
Relaxation – Many find the process of melting wax, choosing scents, and crafting candles to be a calming, meditative experience.
Sustainability – Upcycling glass jars and containers to hold homemade candles cuts down on waste. You can use natural soy wax and cotton wicks.
Selecting Wax for DIY Candles
There are several types of wax commonly used in DIY candle making. Each has its own properties and pros and cons to consider.
Paraffin wax is derived from petroleum. It is inexpensive, readily available, and easy to work with. Paraffin wax has a high melting point and makes hard, long-burning candles. However, paraffin wax produces more soot than natural waxes when burned (Martha Stewart).
Soy wax is made from soybeans. It is a natural, renewable resource. Soy wax blends well with essential oils and fragrances. It produces less soot and requires a lower melting point than paraffin. However, soy wax is generally more expensive and prone to frosting on the candle surface (Archipelago).
Beeswax is 100% natural wax made by honeybees. It has a pleasant natural honey aroma when burned. Beeswax is compatible with essential oils and makes candles that burn brightly and cleanly. However, beeswax is expensive and can be challenging to work with compared to other waxes (FRÆNDI).
Gel wax contains mineral oil blended with paraffin or vegetable waxes. It allows vibrant colors and intricate designs. Gel wax also burns slowly and cleanly. Yet it requires specialized wicks and vessels to create gel candles properly.
Adding Fragrances and Essential Oils
One of the most important parts of creating DIY candles is selecting and incorporating scents. You have two main options for scenting candles – fragrance oils and essential oils. Fragrance oils are blended from natural and synthetic ingredients to create consistent, strong scents. Essential oils are extracted directly from plants and can provide more natural aroma, but may fade faster or be more expensive.
When selecting fragrance oils, aim for candlemaking quality oils with a high scent load. Reputable suppliers like The Flaming Candle https://www.theflamingcandle.com/fragrance-oil/, CandleScience https://www.candlescience.com/fragrance-oil/all-fragrance-oils/ and Lone Star Candle Supply https://lonestarcandlesupply.com/fragrance-oils/ offer many options. Read reviews and descriptions to find quality fragrances.
Use fragrance oils at around 5-15% by weight in container candles. Essential oils usually only need 1-3%. Add oils after the wax has melted, stirring gently to incorporate. Too much fragrance can cause issues like soot or poor burn quality. Start low and increase if the scent is too light.
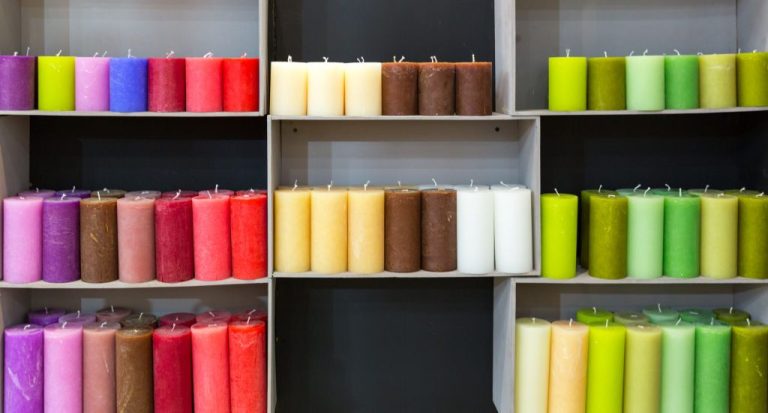
Coloring DIY Candles
There are a few different ways to add color to homemade candles. For a natural approach, you can infuse the wax with botanicals like cinnamon sticks, rose petals, or turmeric powder. When heated, the botanicals will release their natural pigments into the wax and create a soft, earthy color palette. According to research from Creating Candle Colours from Natural Ingredients, ingredients like cinnamon, alfalfa, and dried flowers can create shades of brown, green, pink and more.
For bolder or more vibrant colors, liquid candle dyes are a good option. Candle dye comes in a huge range of colors from primary colors to pastels, neons, and metallics. Start with just a drop or two of dye per pound of wax and mix thoroughly before adding more as needed. Refer to a color mixing chart to blend custom shades. The intensity of the color is determined by how much dye is used – more dye equals a deeper, bolder color. For pale or translucent colors, use sparing amounts of dye. It’s easier to add more color than to try removing it once added.
No matter which coloring method you choose, proper mixing is important for even color distribution. Never add dye or botanicals to melted wax directly in your candle jar, as this can create color striations. Instead, add color during the wax melting process before pouring into containers. With the right techniques and experiments, you can create an endless spectrum of colors for DIY candles.
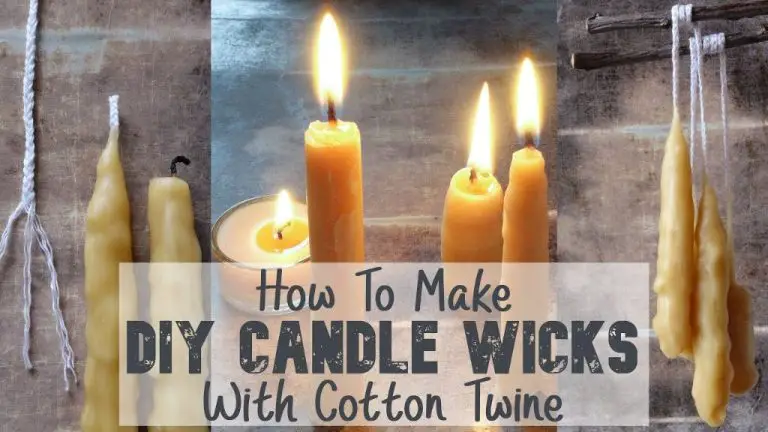
Wicks for DIY Candles
Choosing the right wick is one of the most important steps in creating DIY candles. The wick serves the crucial purpose of bringing fuel to the flame. Selecting an improperly sized wick can lead to tunneling, poor scent throw, or even fire hazards.
Wicks come in a variety of materials like cotton, wood, and paper. Cotton tends to be the most common for container candles. It has a natural curl that brings wax up to the flame. Cotton also leaves little ash behind. Wooden wicks are popular for a crackling sound and ambiance. Paper and fiber wicks are typically used for votives and tealights.
To determine wick sizing, you’ll need to consider the diameter of your container. As a general rule of thumb according to CandleScience, use a smaller wick like CD 4 for candles 1-2 inches wide. Move up to CD 6 for 2-3 inch diameters, CD 8 for 3-4 inches, and CD 10 or 12 for 4-5 inches. Testing is key to finding the right wick. Always do a test burn for at least 4 hours, noting any issues like mushrooming.
Proper wick trimming helps promote even burning. Trim the wick to 1/4-1/2 inch before lighting. Trim again during each burn to remove any mushrooming and maintain the ideal height.
Additional Additives
One fun way to make your DIY candles unique is by adding extra embellishments and additives. You can mix in all sorts of creative extras to customize the look, scent, or vibe of your candle. Some popular additives include:
Glitter – Adding fine glitter or shimmer powder is a simple way to make your candle sparkle. Use candle-safe glitter and add 1-2 teaspoons per pound of wax. Stir well before pouring into containers. Glitter also works great with wax melts. (Source)
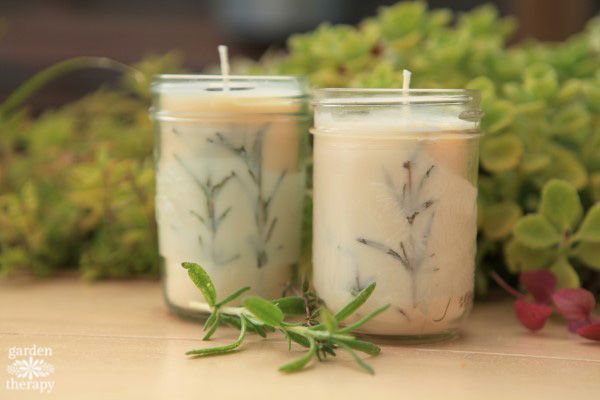
Dried Botanicals – Dried flowers, leaves, herbs, and spices make beautiful additions. Not only do they provide visual interest, but botanicals can also enhance the scent. Some options are rose petals, lavender buds, cinnamon sticks, citrus slices, and eucalyptus leaves. Use 1-2 tablespoons per pound of wax. (Source)
Seeds or Coffee Beans – For an earthy touch, add a tablespoon or two of seeds per pound of wax. Try sunflower, mustard, or poppy seeds. Coffee beans also smell amazing in candles – just roughly break them up first. These additives look nice embedded halfway into the candle wax.
Crushed Shells – A beachy twist can be achieved by mixing in finely crushed seashells, sand dollars, or sea glass. Use a tablespoon or less per pound of wax so the shells are sparsely spread out.
Food Items – Ingredients like dried fruit, nuts, and candy pieces can provide scent and visual flair. Just be sure to finely chop or shave ingredients to prevent clogging the wick. Aim for 1-2 tablespoons per pound of wax.
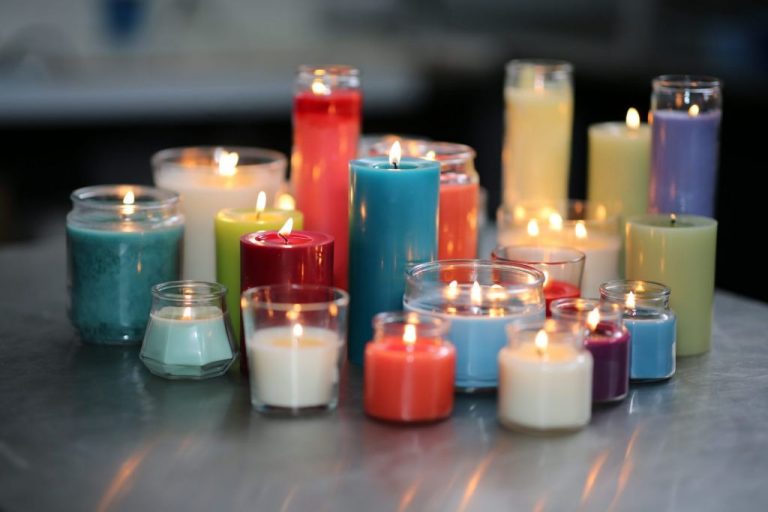
Choosing Containers
When choosing containers for DIY candles, there are several vessel materials to consider including glass, metal, and wood. Glass is one of the most popular options as it allows the candlelight to shine through and comes in a variety of shapes and sizes like mason jars, votives, and tumblers (1). Metal tins are also commonly used and great for travel candles since they are less fragile. Tins often feature decorative designs and shapes as well. Wooden containers like crates, boxes, and logs allow for a more rustic, natural look. They also retain heat well to fully melt the wax (2).
In terms of safety when selecting candle vessels, it’s important to choose containers that are heat-resistant and made from non-flammable materials. Make sure the container opening is at least an inch across to allow oxygen flow and prevent tunneling. Larger openings are even better for adequate wax pooling and full fragrance diffusion. Avoid using containers with narrow necks which can lead to clogging and flame sputtering. In general, basic glass and metal designs tend to be safest and minimize soot or excess smoke (3). Test new containers with short burns first to check for issues before making large batches.
(1) https://www.candlescience.com/containers/candle-jars/
(2) https://www.candlemakingsupplies.net/which-candle-jar-to-use-for-beginner-candle-makers
(3) https://jarstore.com/candle-containers/
Safety Tips
Making candles at home can be rewarding but also requires caution. It’s important to follow safe practices to avoid accidental fires or injuries. Here are some key safety tips when making DIY candles:
Always work in a well-ventilated area. Fumes from hot wax and fragrance oils can be harmful if inhaled in high concentrations. Open windows, use fans, or work outdoors if possible.
Protect yourself from burns. Wear long sleeves when pouring hot wax. Allow all materials to cool completely before handling. Have a bowl of ice water nearby in case of spills.
Keep an eye on burning candles. Never leave a lit candle unattended. Trim wicks to 1⁄4 inch before lighting to prevent excess smoke. Burn candles in sturdy containers on level surfaces.
Keep children and pets away during the process. Hot wax can cause serious burns. Store materials securely out of reach.
Avoid open flames when pouring. Heaters and pouring pots can ignite vapors. Use an electric candle warmer instead.
Take care with fragrance oils. Always add oils after the wax has melted and follow recipes carefully. Some oils can accelerate wick burning.
Allow candles to cure properly before burning. This helps ensure an even burn without tunneling.
Extinguish candles once they reach the edges of the container to prevent breakage. Trim wicks as needed to minimize smoke.
Making candles can be great fun with proper safety measures. Pay close attention when working with flammable materials.
Step-by-Step Instructions
Making a basic DIY candle is easy with just a few key steps. Here is a simple walkthrough:
1. Choose your wax. For DIY candles, soy wax or paraffin wax are good options (https://www.shopify.com/blog/how-to-make-candles). Make sure to get enough wax for the size and number of candles you want to make.
2. Select fragrance oils and additives (optional). Fragrance oils can provide nice scents while additives like dye give color. Use .5-1 ounce of fragrance oil per pound of wax as a guideline. Follow instructions for dye amounts.
3. Prepare wick and containers. Use cotton or wood wicks sized appropriately for the candle diameter. Make sure containers are clean. Position wick in the center by securing it to the bottom with hot glue.
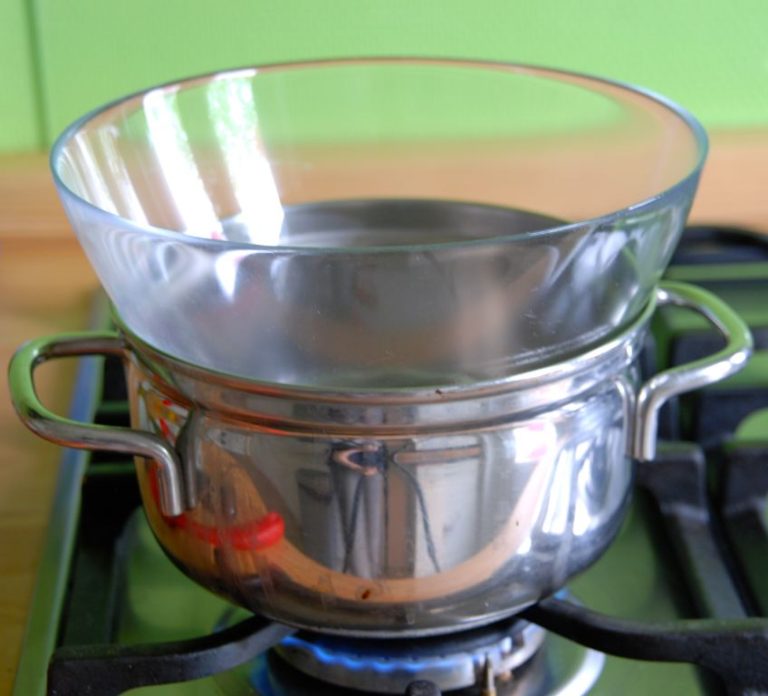
4. Melt wax. Use a double boiler to gently melt the wax to the proper temperature (generally 180 to 185°F). Avoid overheating.
5. Add fragrance and dye. Once wax is melted, stir in the fragrance oils and dye if using. Mix to fully incorporate.
6. Carefully pour wax. When wax is ready, carefully pour it into the prepared containers. Leave a little room at the top for the wax to pool.
7. Straighten wicks. Once poured, gently straighten wicks before the wax starts setting up.
8. Allow candles to fully set and cure. Let candles rest undisturbed as they cool and solidify, typically 12-24 hours. Curing for 1-2 weeks helps maximize scent throw and burn quality.
Making candles is very gratifying! Follow proper safety rules, take your time, and have fun with your homemade candle creations.
Inspiring Project Ideas
When making DIY candles, there are endless possibilities for creating unique and artistic designs. From colorful layers to embeds and vessels, a homemade candle can be a beautiful gift or decorative piece.
Try swirling two colors of wax together for a “tie dye” effect, or add dried flowers, coffee beans, seashells, or other small objects directly into the wax as embeds. You can use silicone molds to form fun shapes like stars, hearts, or geometric patterns.
Upcycle tea cups, mason jars, or other glass containers as vessels for your candle wax. Or go with a themes like beach, holiday, or nature and decorate the outside of plain glass containers with related decorations. Display groupings of mismatched candles together for an eclectic feel.
Scent your homemade candles with essential oils like lavender, eucalyptus, orange, peppermint, or lemon for aromatic and calming effects. Blend multiple scents together for a custom combo.
For inspiration, see the DIY candle designs on Pinterest, which showcase the many creative possibilities for one-of-a-kind, homemade candles.