Is Making Candles At Home Easy?
Homemade candle making has seen a major boost in popularity in recent years. According to the National Candle Association, more than 1 billion pounds of wax are used annually in candle production in the U.S. alone (https://candles.org/facts-figures-2/). The worldwide candle market is also growing steadily, projected to reach $12 billion by 2028 according to Statista (https://www.statista.com/outlook/cmo/furniture/home-decor/candles/worldwide). With this rising popularity, many people are becoming interested in making candles at home as a fun DIY project or hobby.
But is it really as easy as it looks for a beginner to start making candles? In this article, we’ll explore the process of making candles at home and examine whether it’s a straightforward endeavor or one that requires substantial knowledge and practice.
Basic Supplies Needed
Making candles at home is easy once you have gathered the basic supplies. Here are the key items you’ll need:
Wax – The most common types used are paraffin, soy, or beeswax. Paraffin wax is derived from petroleum, while soy wax comes from soybeans. Beeswax is a natural product made by honey bees. Each type has its pros and cons.
Wicks – Wicks draw the melted wax up while burning. Look for wicks specifically made for container candles or votives. The width of the wick should match the width of the candle container.
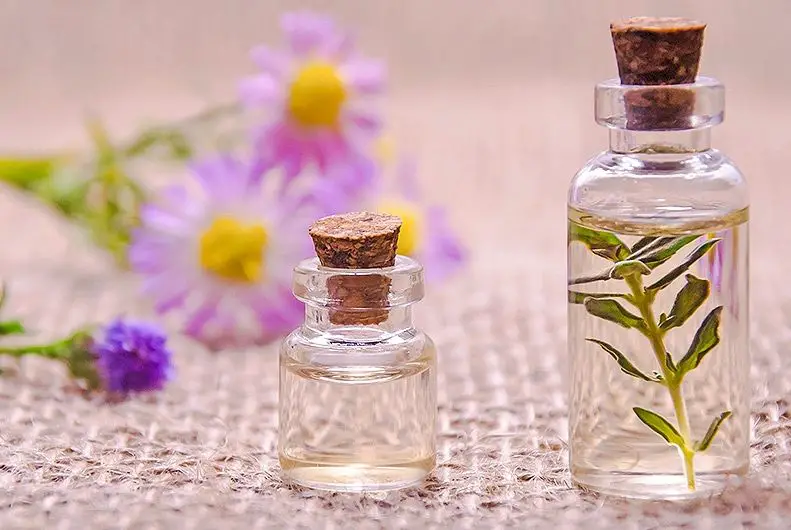
Fragrance oils – Essential oils or artificial fragrances that provide pleasing scents. Use oils designed specifically for candle making.
Containers/molds – Any heat-safe glass or metal container can hold poured candles. For shaped candles, use silicone molds.
Double boiler or melting pot – This allows you to gently melt the wax at the proper temperature. Avoid direct heat.
Thermometer – Use a thermometer suited for wax to monitor the temperature during melting and pouring.
Choosing the Right Wax
There are a few main options when it comes to choosing candle wax: paraffin, soy, and beeswax. Each type has its own pros and cons to consider.
Paraffin wax is derived from petroleum. It’s relatively inexpensive and makes candles that burn cleanly with little soot. However, paraffin releases more scent as it burns compared to natural waxes. Some dislike that paraffin is a byproduct of oil refining. [1]
Soy wax is made from hydrogenated soybean oil. It’s a renewable and natural resource. Soy candles burn slower and cooler than paraffin, so the scent throw may not be as strong. Soy can also get brittle in cooler temperatures. Still, many prefer soy wax for its natural origins and biodegradability. [2]
Beeswax is completely natural, coming from honeycomb. It has a beautiful natural honey aroma. Beeswax burns slowly with less dripping compared to paraffin or soy. However, beeswax is expensive and challenging to work with, making it less ideal for beginners. [2]
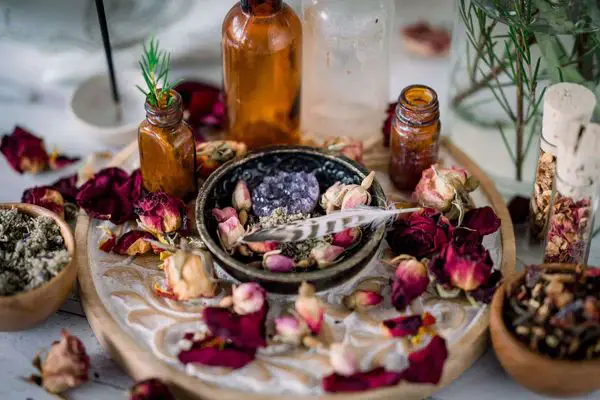
Adding Scents and Colors
One of the best parts of making candles at home is being able to customize the fragrance. Using a high quality fragrance oil will ensure your candle has a nice even scent throw. When adding fragrance oil, it’s important to carefully measure the amount – generally 1 oz of fragrance per 1 pound of wax is a good starting point. Slowly add the fragrance to the melted wax while stirring constantly. Adding too much fragrance can make the wax seize up or prevent the candle from burning properly.
To add color to candles, you can use blocks of candle dye or liquid candle dye. Candle dye blocks come in a variety of vibrant colors and you simply add shavings from the block to the melted wax. With liquid dyes, start by adding just a few drops at a time, stirring well and testing the color before adding more. Both candle dye blocks and liquid dyes allow you to achieve bright, vivid colors in soy, paraffin or beeswax candles. When using dyes, be careful not to add too much or the candle may bleed or mute the fragrance. For best results, use high quality candle dye made specifically for candle making.
Preparing the Wick
Preparing the wick is a crucial step in candle making. The wick’s size and placement will determine how well your candle burns. You’ll want to choose an appropriately sized wick based on your candle’s diameter. Larger candles require thicker wicks that won’t drown in the wax. Generally, you’ll use smaller wicks (like CD 5) for votives and tea lights, while pillars and containers get larger wicks (CD 7 to 10). Test different wick sizes to find the best height and width for your specific wax and fragrance combination.
You’ll also need to prepare your wick by creating a tab at the base. This helps center the wick in the finished candle. To make a tab, dip the very tip of the wick into melted wax or a hot glue gun. Allow it to fully cool and harden before adding it to your candle vessel. The wick tab should be wide enough to hold the wick upright, but slim enough to pull through the poured wax easily. Place the wick carefully in the vessel, centering it before pouring in wax. The tab keeps it upright and in position.
Proper wick sizing and placement is crucial for even burning, wax pool consistency, and preventing issues like tunneling. Following preparation best practices allows the wick to provide maximum fragrance release.
Melting and Pouring
Properly melting and pouring the wax is one of the most important steps in candle making. Here are some tips for this process:
Use a double boiler to melt the wax. This involves placing a heatproof container with the wax inside a saucepan with water. The water gently heats the wax to the proper temperature without scorching it. The melting point of wax varies by type – soy wax melts at 115-145°F, paraffin wax at 130-150°F, and beeswax at 144-147°F. Use a thermometer to monitor the temperature and avoid overheating.
When pouring melted wax into containers, go slowly and gently to prevent bubbles. Tilt and rotate the container to coat the sides. Leave a little headspace at the top since the wax will shrink slightly as it cools and cures. Allow the candles to fully harden for at least 24 hours before trimming the wick or lighting.
With care and patience during melting and pouring, you can achieve clean, attractive candles with an even burn. For more details, refer to this guide from Shopify: https://www.shopify.com/blog/how-to-make-candles.
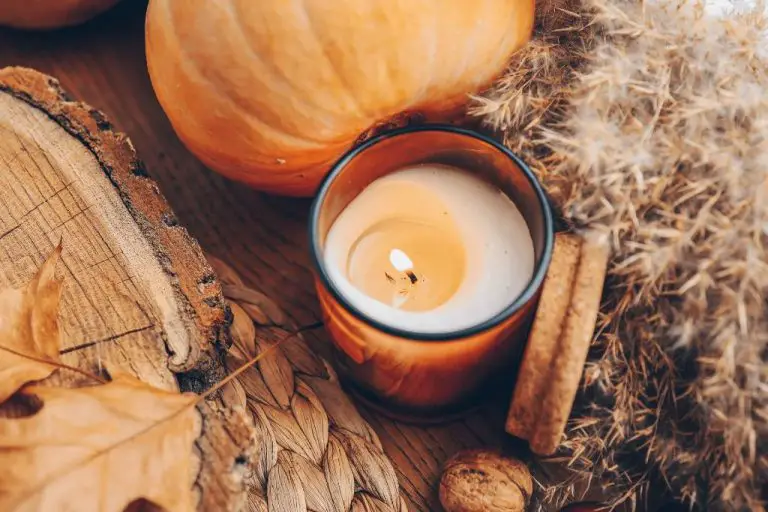
Cooling and Curing
Proper cooling and curing are critical steps when making candles at home. After pouring the melted wax into containers, it’s important to let the candles sit undisturbed as they cool and harden. This cooling process can take 6-12 hours depending on the type of wax and container size. Avoid moving or handling the candles during this time, as this can disrupt the wax structure and lead to cracks or indentations on the surface.
Once the candle wax has fully hardened, the curing process begins. Curing means letting the candle sit for 1-2 weeks before burning so that the inner structure stabilizes. During this curing time, molecules in the wax continue to crystallize and settle. This results in an even burn and maximum fragrance throw when the candle is lit. Rushing to burn a candle too soon can lead to poor wax adhesion, uneven melting, and diminished scents. Patience is key.
So when making homemade candles, be sure to allow proper cooling and curing time. This simple but important step helps candles look and smell their absolute best. Refer to your wax manufacturer’s recommendations for ideal cooling and curing times.
Source: https://www.weekand.com/home-garden/article/put-fragrance-back-candle-18071825.php
Troubleshooting Issues
Making candles at home can sometimes lead to problems, but most issues that arise can be easily fixed. Here are some of the most common candle making problems and solutions:
Weak Scent Throw
If your candle’s scent is not as strong as you’d like, there are a few things you can try. Be sure you are using the recommended amount of fragrance oil – generally 6-8% of your wax weight. Cure your candle for at least 24 hours before burning to allow the scent to fully permeate the wax. Clean your candle jar thoroughly to remove any residual scents. Opt for fragrance oils labeled for candles, as these hold their scent better when burned.
Reference: https://www.lifenreflection.com/how-to-fix-candle-problems/
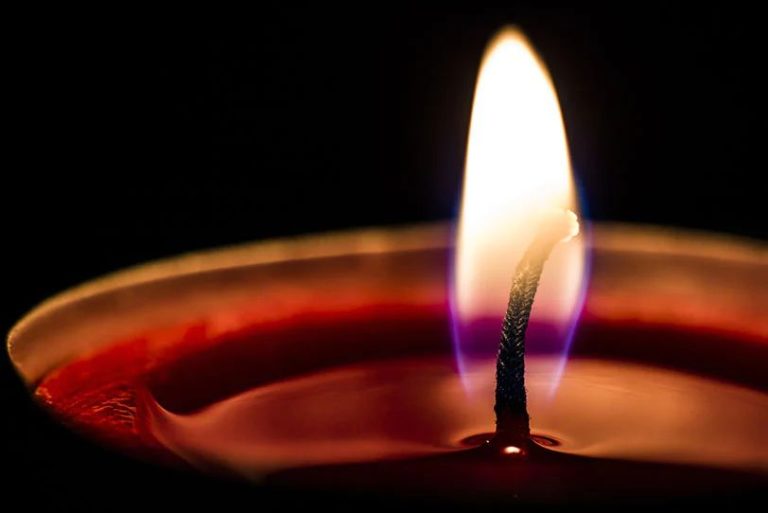
Wet Spots
Wet spots on the surface of a burning candle occur when an area of wax reaches a higher temperature than surrounding wax. To prevent this, carefully trim wicks to 1⁄4 inch before lighting, and make sure jars are clean and free of moisture. Avoid drafts while candles are burning. If wet spots develop, try a shorter wick next time.
Reference: https://villagecraftandcandle.com/blogs/news/top-10-candle-making-problems-and-how-to-solve-them
Soot
Sooting happens when a wick is too large for the wax pool, causing incomplete combustion. Trim wicks to 1/4 inch before each burn to prevent excess soot. For paraffin candles, use a bigger wick; for soy or beeswax, use a smaller wick. If soot develops, let the candle burn for a few hours to correct itself before trimming the wick.
Cracks or Holes
Cracks and holes can form if candles cool too quickly after pouring. Allow poured candles to cool gradually, avoid drafts, and do not move candles until set. Insulate candle molds to slow cooling. If holes develop after burning, your wick may be too large; use a smaller wick next time.
Tips and Tricks
Here are some handy tips and tricks to help make candle making easier and more fun:
One of the best practices when making candles is to anchor your wick at the top and bottom of the mold using putty or sticky tack, according to Stone Candles (source). This helps keep the wick centered and upright as the wax cools.
Investing in a few handy tools can make the process smoother. A thermometer is essential for monitoring wax temperatures. Silicone molds make releasing candles easier. And a heat gun speeds up cooling to help candles cure faster.
When it comes to decorating, get creative with layers, embeds, and scent mixing. Try a striped effect by pouring alternating colors. Insert dried flowers or other objects into the wax for one-of-a-kind designs. Blend complementary scents like vanilla and lavender to make signature candles.
Keep an inspiration journal to remember what works. And don’t worry about mistakes – just remelt and repour the wax as needed.
Conclusion
Overall, making candles as a beginner can be an easy and fulfilling activity with the right preparation and supplies. While there are some basic techniques to learn, the process mostly involves simple melting, pouring, and cooling steps. The biggest hurdles tend to be choosing the right wax for your needs and getting the wick sized properly. But with practice, patience, and an understanding of the basics, anyone can make professional-looking candles from the comfort of their own home.
For those looking to take their candle making further, there are many online resources and communities for troubleshooting issues, finding recipes and techniques, and connecting with other makers. Helpful next steps include experimenting with different waxes, scents, molds, and creative designs. But the most important thing for beginners is to have fun with the process and see each candle as a learning experience.