How Do You Melt Soy Wax And Add Fragrance?
Soy wax has become an increasingly popular choice for candle making in recent years. Made from hydrogenated soybean oil, soy wax is a vegetable-based, renewable and environmentally-friendly alternative to paraffin wax. Soy wax has several advantages that make it ideal for candles – it holds fragrance well, burns clean with little soot or smoke, and gives candles a smooth finish and rich color.
Compared to paraffin, soy wax candles are often perceived as more natural. The soybeans used are usually grown in the United States, making soy wax a renewable and domestic product. Soy wax blends are formulated to have a low melting point similar to paraffin, allowing for easy pouring and shaping. With proper wick selection and vessel preparation, soy wax can be used to create beautiful and long-lasting candles.
Selecting Soy Wax
When making soy candles, it is important to start with 100% soy wax. Pure soy wax is made entirely from soybeans, unlike cheaper paraffin wax which is a petroleum byproduct. According to A Comprehensive Guide to Soy Wax, reputable soy wax brands to look for include Cargill, AAK, The Wooden Wick Co, California Candle Supply, American Soy Organics, and Ecosoya.
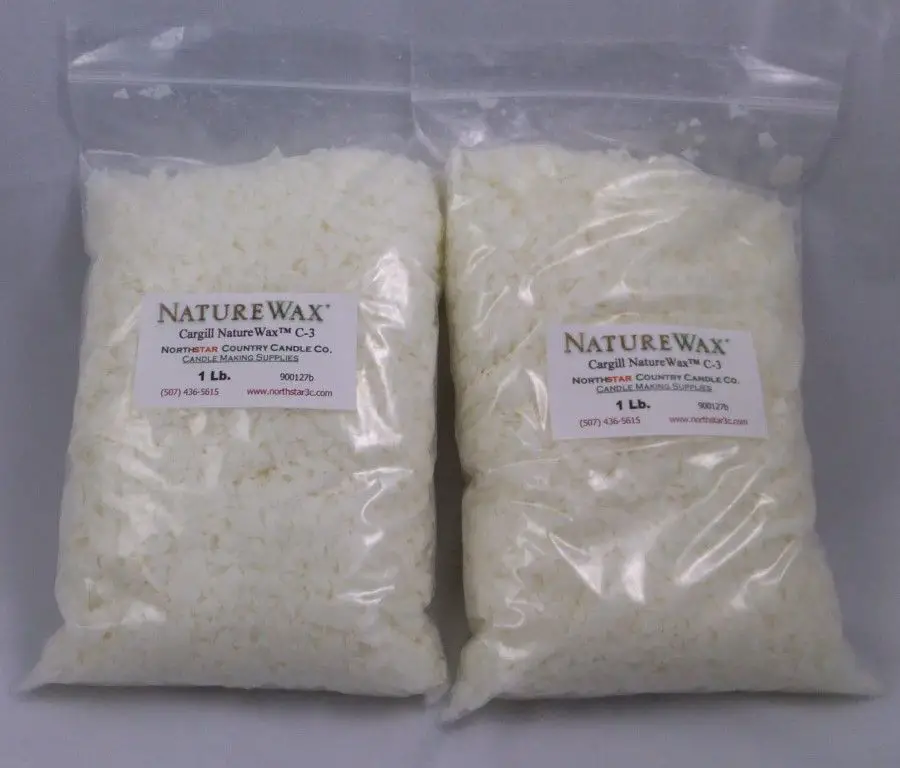
There are different types of soy wax with varying melt points, commonly referred to as soy wax numbers. The melt point indicates the temperature at which the solid wax transitions to a liquid state. A higher number signifies a higher melting point. For container candles, soy wax 464 is a popular option with a melt point of 129-143°F. According to Soy Wax Candles: The Ultimate Guide, this provides a good balance of hardness and ability to accept fragrance oils. Consider the desired melt point based on factors like candle shape, climate, and fragrance.
Safe Melting
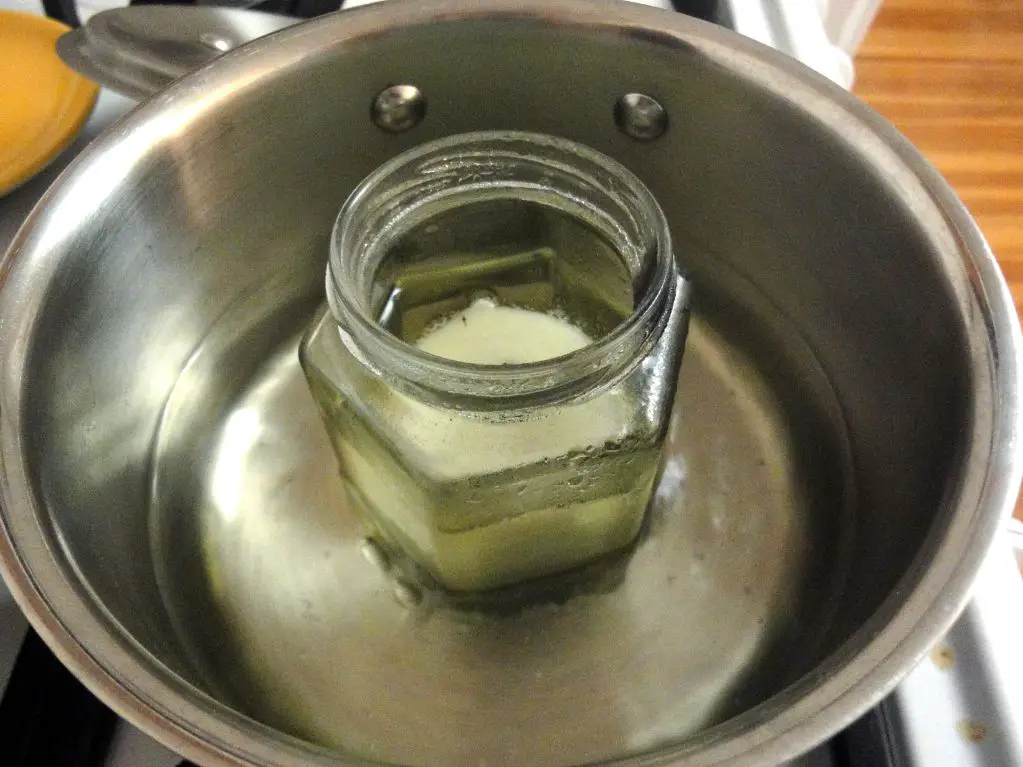
When melting soy wax, it’s important to use gentle, even heat to avoid scorching or burning the wax. The recommended method is to use a double boiler. To create a double boiler, place water in the bottom pot of a double boiler set. Bring the water to a gentle simmer. Place soy wax flakes, pellets, or blocks in the top pot of the double boiler. As the water simmers below, it will slowly melt the soy wax above without overheating it. Stir occasionally as the wax melts.
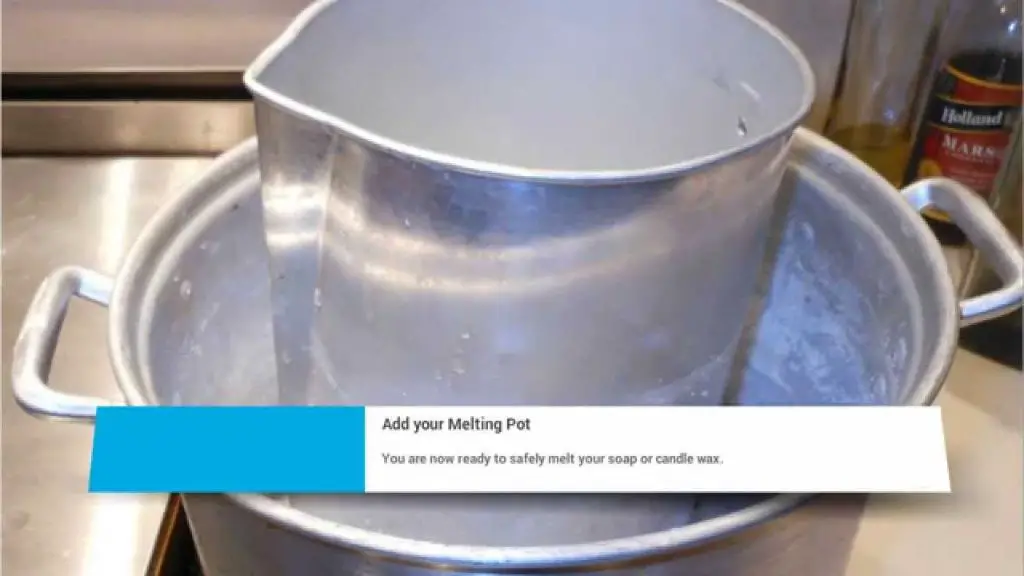
Direct heat can scorch soy wax and create an unpleasant burned smell. Heating the wax too quickly can also cause it to bubble and splash. Melting gradually using a double boiler allows the wax to liquefy evenly at a controlled, safe temperature below 185°F (85°C). Never leave melting wax unattended, as spills can occur. Once fully melted, remove the wax from the heat source to avoid overheating.
Adding Fragrance Oil
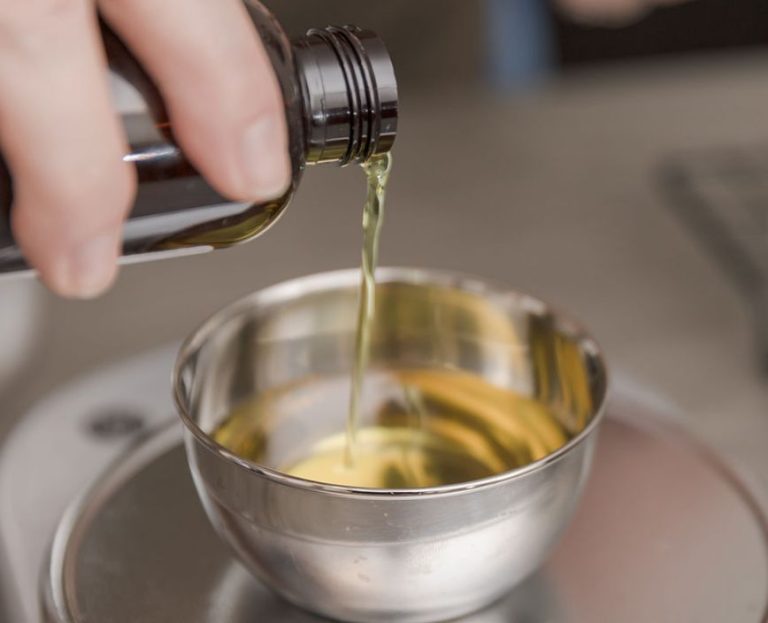
Adding fragrance oil is a vital step in soy candle making, as it provides the scent. There are some key factors to keep in mind when adding fragrance oil:
First, only add fragrance oil once the soy wax has fully melted and cooled to the proper temperature. The ideal temperature is around 175-185°F. If the wax is too hot, the fragrance oil may evaporate and be lost. If it’s too cool, the fragrance oil may not properly bind with the wax.[1]
Next, thoroughly stir the melted wax after adding the fragrance oil to fully incorporate it. Stirring helps prevent “hot spots” where fragrance oil pools rather than dispersing evenly. Continue stirring for 2-3 minutes.[2]
Finally, use the proper amount of fragrance oil. The standard usage rate is 6-8% of the wax weight. So for 1 lb of soy wax, use 1-1.5 oz of fragrance oil. Going over 10% risks the candle not burning properly.[2] Following these fragrance oil best practices will allow your soy candle scent to shine through perfectly.
Coloring Soy Wax
When coloring soy wax, you can use either liquid dyes or color blocks. Liquid dyes allow you to achieve a wider range of colors and color blending. When using liquid dyes, it’s important to add the dye when the wax is completely melted and stir thoroughly to distribute the color evenly. A good rule of thumb is to add 1⁄8 to 1⁄4 teaspoon of liquid dye per pound of wax. Color blocks are easier to use but provide less color variety. Simply add a few shavings of the color block to the melted wax. Regardless of whether you use liquid dyes or color blocks, stir for 1-2 minutes once added to fully incorporate the color.[1]
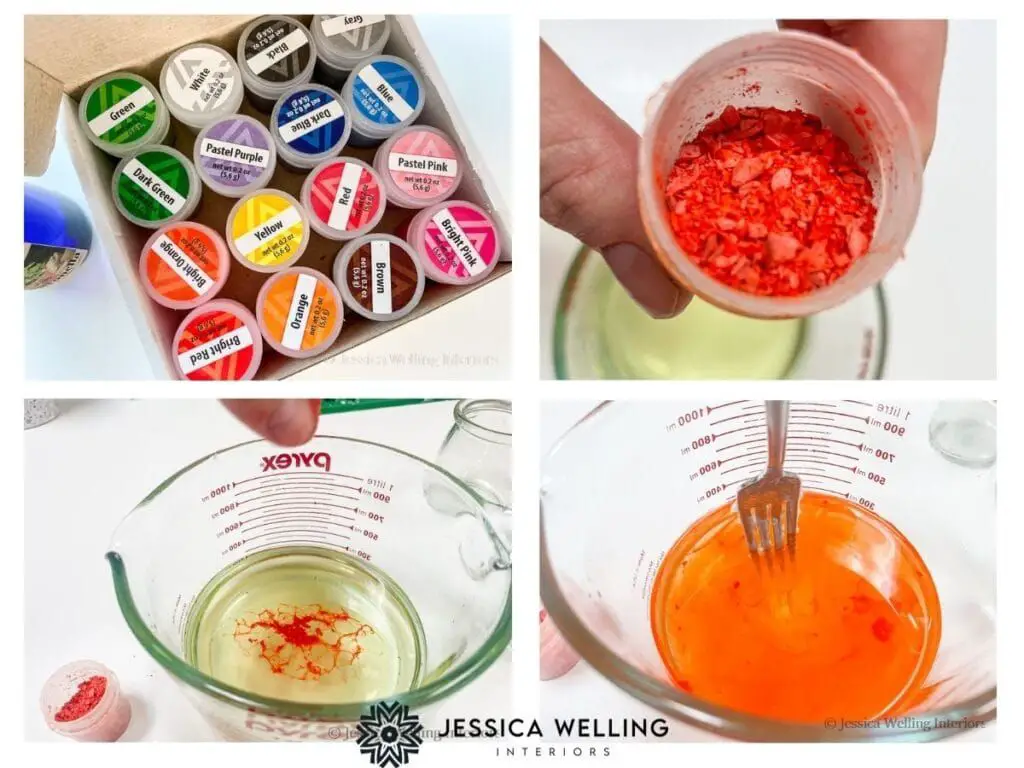
Always stir thoroughly after adding any coloring to soy wax to achieve an even color distribution. Insufficient stirring can lead to an uneven appearance in the final candle. Stirring also helps the color fully dissolve and incorporate into the wax. Use a clean, long stainless steel spoon to stir, and scrape the bottom and sides of the container as you mix to ensure no uncolored wax remains.[2]
Pouring Soy Wax
Proper pouring temperature is crucial when working with soy wax. According to candlemaking experts, the ideal pouring temperature for soy wax is between 135-145°F (57-63°C) [1]. Pouring at too low of a temperature can result in frosting or wet spots on the finished candle. Pouring at too high of a temperature may cause sinkholes or result in poor scent throw. Use a thermometer to carefully monitor the temperature of your melted wax before pouring.
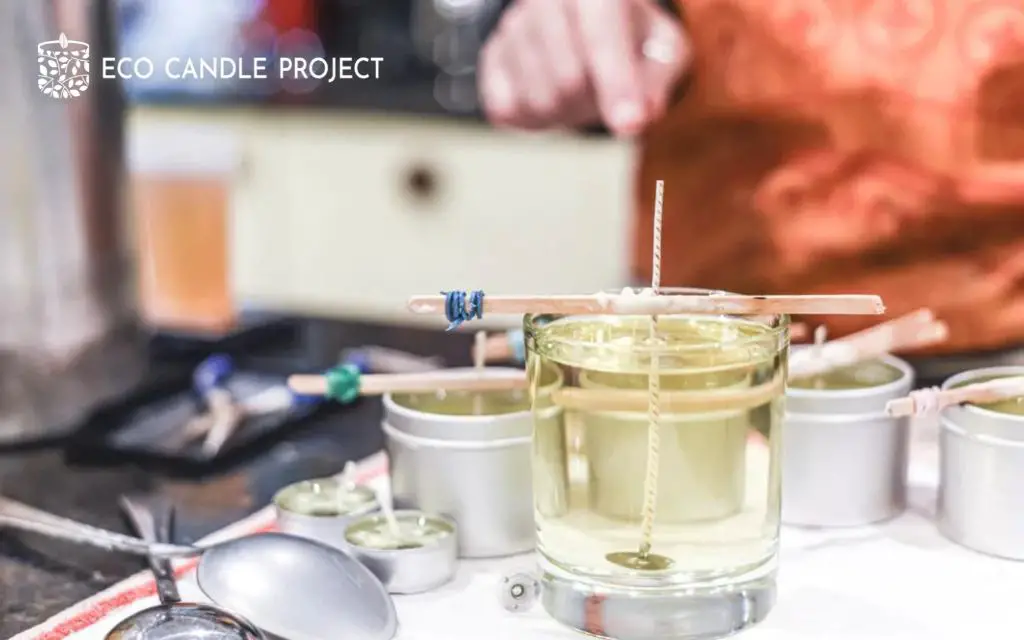
The vessel used for pouring also matters. Pour soy wax into heat-safe glass, stainless steel or aluminum containers with at least a 3-4 inch opening. Avoid using plastic containers, as they may warp or melt when in contact with hot wax. Make sure containers are room temperature before pouring in wax [2]. Have wicks anchored and centered before carefully pouring the wax into each vessel in a thin stream. Allow the wax to cool completely before moving the candles.
Cooling and Curing
After pouring your soy wax into containers, it’s important to let the candles cool undisturbed. Avoid moving or touching the candles as they cool, as this can cause sinkholes, cracks, and an uneven finish. Allow the candles to cool at room temperature for at least a few hours before moving them.
Properly curing your soy candles is also an essential step. Although soy wax will solidify and look ready after cooling, the candles need 1-2 weeks to fully cure and stabilize. According to candle making experts, curing allows time for the wax to shrink slightly as it settles, which helps prevent issues like frosting and wet spots. Allow your soy candles to cure in a dry, room temperature area before burning them. Waiting the full 1-2 weeks leads to the best burn results.
Here are some useful resources on cooling and curing soy wax candles properly:
[How Long Should You Cure Your Candles?](https://www.youtube.com/watch?v=u2y3uNM2ulI) – This video from FrugalCraftyHome explains why curing is important and recommends 1-2 weeks for soy wax.
[Soy Candle Curing Time](https://www.reddit.com/r/candlemaking/comments/vq884n/soy_candle_curing_time/) – Reddit thread discussing best practices for curing soy wax candles.
Troubleshooting
Soy candles are prone to some common issues like frosting, wet spots, poor fragrance throw, and more. Here are some of the main problems and how to prevent them:
Frosting occurs when soy wax crystallizes on the surface of the candle, leaving a white powdery texture. This happens especially in cooler temperatures. To prevent frosting, avoid drastic temperature changes while pouring and cooling soy candles. Maintain a pouring temperature of 175-185°F (Brambleberry, 2022).
Wet spots happen when oils pool on the surface instead of getting absorbed by the wax. This is often due to adding too much fragrance oil. For best results, use less than 12% fragrance oil by weight (Reddit, 2022). Adding vybar or another oil stabilizer can also help prevent wet spots.
To improve fragrance throw, use a higher percentage of fragrance oil up to 12%. However, going over 12% can cause issues like wet spots. Using a fragrance oil meant for soy wax can also boost scent throw versus regular fragrance oils (TikTok, 2022).
Proper wick sizing, pouring temperatures, cure times, and fragrance load will help minimize many common soy candle issues. Follow the manufacturer’s recommendations for best results.
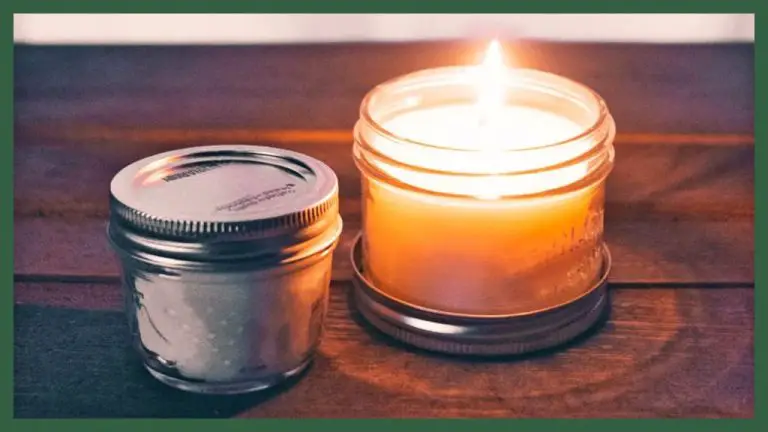
Storing Soy Candles
Proper storage is crucial for preserving the quality and fragrance of soy candles. Soy wax is prone to sweating and losing scent if not stored correctly. Here are some tips for proper soy candle storage:
Store soy candles in a cool, dry place away from direct light and heat sources like appliances or windows. Ideal storage temperature is between 50-80°F. High temperatures can cause the wax to soften and the fragrance to evaporate faster. Low temperatures may cause frosting or sweating on the candle surface.[1]
Keep soy candles in an airtight container like a candle box or lidded tin. Open containers allow fragrance to dissipate. Tight seals lock in scent. For extra protection, you can wrap each candle in tissue paper.[2]
Store candles upright and do not stack or pile them. Laying candles on their side or stacking can cause wax deformation. Storing upright preserves the wax pool and burn surface.[1]
Organize soy candles by scent in labelled containers. This prevents fragrance cross-contamination. Group same scents together for easy access and stock rotation.
Check stored soy candles occasionally for frosting, sweating, or other quality issues. Properly stored, soy candles can retain their scent and appearance for up to 1-2 years.
Safety Tips
When melting and working with soy wax, safety should always be your top priority. Here are some key tips:

Ensure proper ventilation by working in a well-ventilated area. Open windows and use fans to circulate fresh air. Avoid breathing in soy wax vapors (Candle Safety: A Quick And Comprehensive Guide).
Use appropriate candle making equipment like a double boiler, thermometer, pouring pot, and molds. Equipment should be clean and in good condition (Soy Candle Safety & Care Tips).
Never leave melting wax unattended. Remain vigilant and focused when handling hot wax.
Keep children and pets away from the candle making area.
Allow adequate time for candles to cure before lighting. Burn candles in containers on level, stable surfaces.
Extinguish candles when not in use and trim wicks to 1⁄4 inch before lighting.
Keep candles away from flammable materials like curtains, books, etc. Allow ample space around burning candles.
Have a fire extinguisher on hand in case of emergencies.