How Do You Hold 3 Wicks In Place?
Three wick candles are designed to burn evenly and create a brighter, fuller flame than single wick candles. Multiple wicks allow for a larger candle with a wider wax pool that provides more fragrance. They also help prevent tunneling, which is when the center of the candle melts faster than the sides.
Three wick candles are popular for their more powerful scent throw and ambiance. The three flames together create a brighter light that is cozier for home decor. These candles look beautiful and can serve as lovely centerpieces or mood lighting. Many people prefer multi-wick candles for events, restaurants, or luxury spaces that call for an inviting atmosphere.
Prep the Wicks
Selecting the proper wick size for the candle diameter is crucial for optimal burning. The wick must be wide enough to allow melted wax to flow up while also being narrow enough to avoid excessive smoking. As a general rule, use smaller wicks for containers with diameters less than 2 inches and larger wicks for diameters over 3 inches.
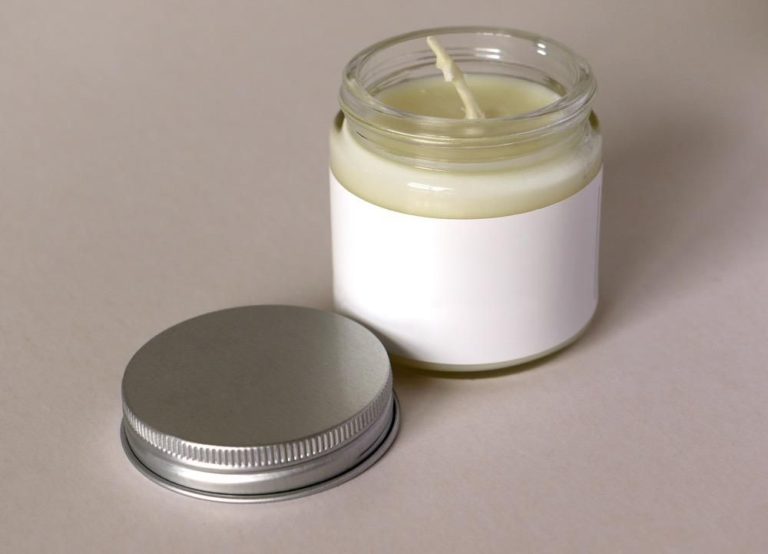
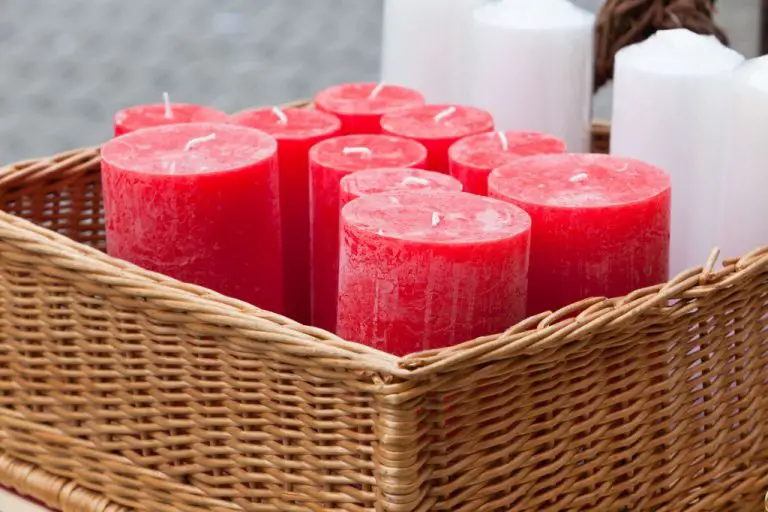
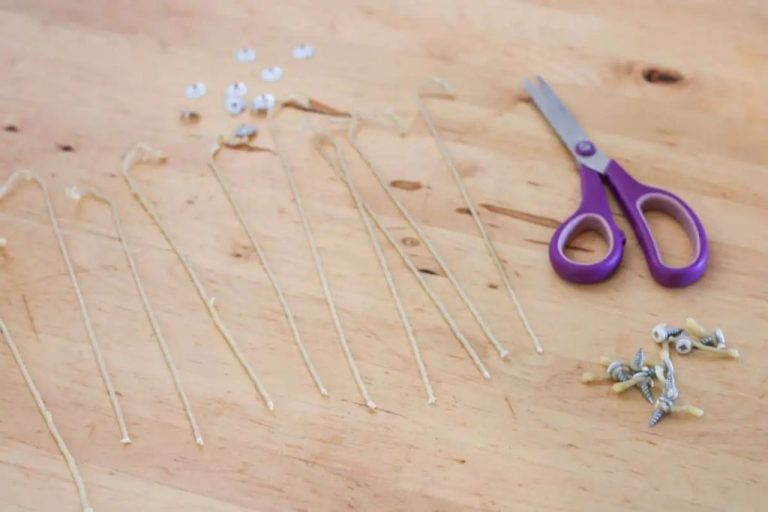
Before assembling the wicks, trim them to 1⁄4 inch length using sharp scissors. This allows just enough wick above the finished candle for the initial light. For candles like pillars and votives, cut the wick to 1⁄2 inch length.
Next, prime the wicks by dipping them into wax and allowing to dry. This process will stiffen and straighten the wicks for easier wick bar assembly. According to candlemaking.com, priming also aids capillary action by sealing the wick braid. Dip wicks repeatedly until saturated and lay flat on a smooth surface until fully hardened.
For priming wax, reuse clean wax melted from candle remnants. Or use wax melted from an existing candle of the same wax blend you will make.
Sources:
https://www.pinterest.com/pin/how-to-prepare-wicks-for-candle-making–865817097096716304/
Assemble the Wicks
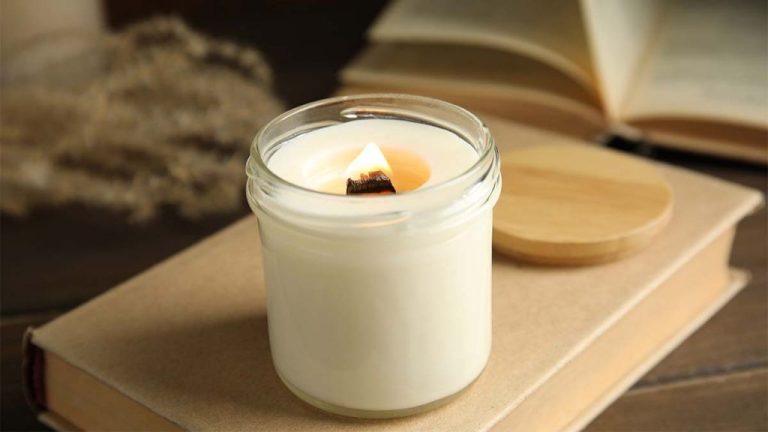
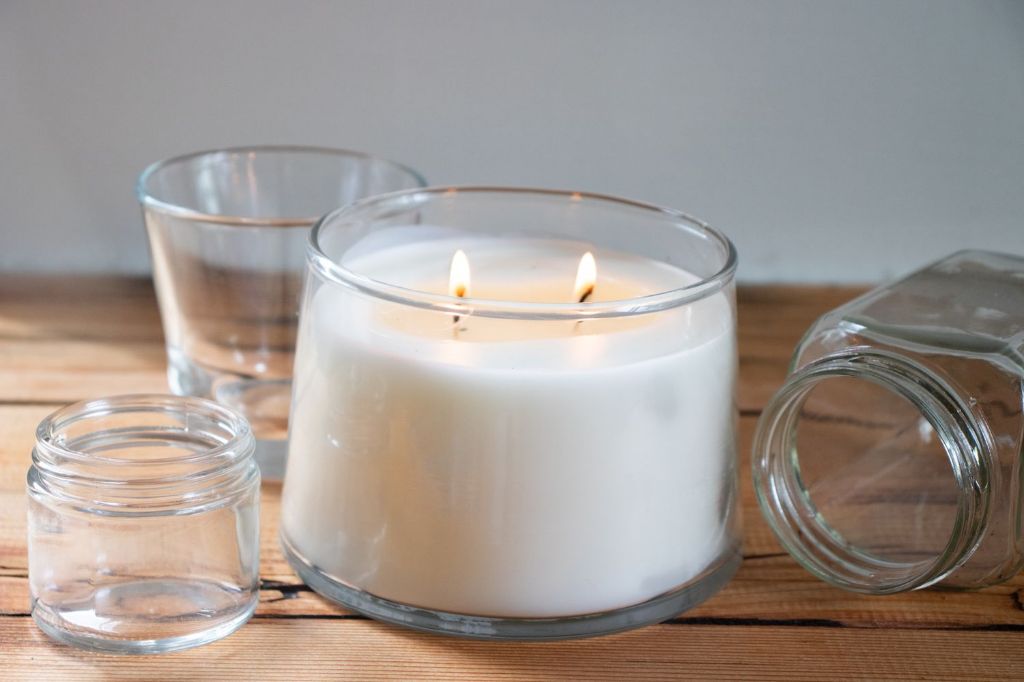
When assembling multiple wicks in a candle, it’s important to arrange them evenly throughout the container. According to CandleScience, the wicks should be placed halfway between the center and outside edge of the container. This allows the flames to melt all of the wax evenly when the candle is burned.
To keep the wicks in place at the bottom of the container, you can use either wax or adhesive. Simply add a dab of wax or adhesive where each wick will be located, then press the wick tab into the wax/adhesive to secure it. The wicks should be held upright and centered within the container. You may need wick stickers, pins, or a wick holder tool to keep them straight while the wax/adhesive sets.
Proper wick placement is crucial for even burning, so take your time to arrange the wicks symmetrically within the container before adding wax. Keeping the wicks straight, centered, and evenly spaced will help ensure good candle performance. According to Lone Star Candle Supply, multiple wicks allow more wax to be melted at once, minimizing issues like tunneling.
Anchor the Wicks
The key to properly anchoring multiple wicks is keeping them evenly spaced and centered in the candle vessel. There are a few recommended techniques for securing the wicks before adding wax:
Secure wicks to the candle top with clamps or small nails. Space the clamps evenly around the top rim to hold wicks in place (https://lonestarcandlesupply.com/multiple-wicks-in-a-candle/). The clamps should have pointed ends that grip into the wax.
Create crossbars with stiff wire to anchor wicks. Bend the wire into an “X” shape with the wicks threaded through the intersections. This helps space and center multiple wicks (https://www.youtube.com/watch?v=XnZ5w6Ssva0).
Use wick stickers or wick centering devices that glue onto the vessel bottom. These adhesive stickers hold wicks in place before pouring wax. They ensure even spacing by design (https://www.craftserver.com/topic/16228-the-right-way-to-double-wick/).
Add Wax
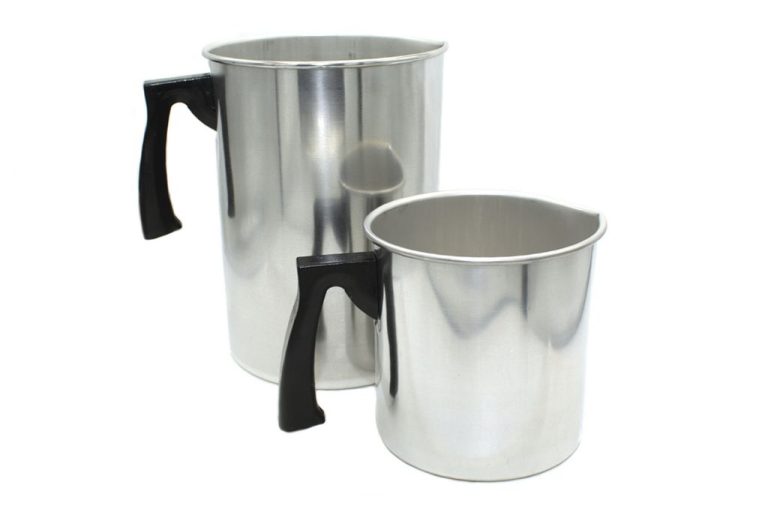
Once your wicks are anchored in place, you’re ready to add the wax. When pouring the wax, go slowly and gently to avoid dislodging the wicks from their anchors. Tilt and rotate the container as you pour to help coat the sides and fully cover the wicks.
Allow each layer of wax to fully cool before adding more. This prevents the existing wax layers from melting and moving the wicks around. Pouring wax on top of melted wax can cause the wicks to shift. Letting each layer fully set up creates a solid base for the next pour.
Keep pouring more wax until you’ve used up all your prepared wax and the container is full. Make sure the wicks remain centered and fully covered by the wax up to the top. If any wicks get exposed as the wax cools, you can add a bit more wax right over the top to cover them again before the final set.
For more tips, see this guide on how to make 3 wick candles.
Create a Well
Once the wax has been poured and begins to harden, it’s important to carve out a well around the wicks before the wax fully hardens. This well is necessary to allow the flames to get enough oxygen when the candle is lit. The well should be carved out in a circle around the wicks, making sure there is at least 1/4 inch clearance all around each wick. Use a chopstick, skewer, or special candle wick dipper tool to carve out wax around the wicks. Be careful not to disturb the wick placement. The well should extend down at least 1/2 inch into the wax. Having a properly shaped and sized well is crucial for the wicks to burn properly when the candle is lit. An insufficient well could lead to uneven burning, tunneling, or wicks drowning. Check that all 3 wicks have enough clearance and oxygen flow within the well before allowing the candle to fully harden.
Finish Top
Once the wax has cooled and hardened, it’s time to finish the top of the candle to get it ready for the first burn. Start by straightening and centering the wicks in the well so they stand up uniformly. Use a wick stick, chopstick, or other thin tool to gently nudge and align the wicks. Be careful not to damage the wicks in this process.
Next, use wick trimmers to trim the wicks to a uniform height of about 1/4 inch above the wax. Trimming the wicks helps prevent smoking and ensures even burning. According to candle making experts, “Trimming your wicks to all be the same height is the key element in achieving smooth candle tops” (source).
Finally, use a heat gun to gently warm the top of the candle so it becomes slightly soft and smooth any divots or bumps. Do not overheat. Let the candle fully cool and harden again before lighting.
First Burn
When lighting your 3-wick candle for the first time, it is important to allow the wax to completely pool across the entire surface before extinguishing the flame. According to TLC Candle Company, you should allow the candle to burn for at least 4 hours during the first burn to ensure even pooling. The first burn establishes the wax pool for subsequent burns. If the wax does not pool fully on the initial light, you may end up with an uneven melt pool.
It is also recommended to trim the wicks before lighting for the first time. eHow suggests trimming the wicks to 1/4 inch in length to promote an even burn. You can use scissors, nail clippers, or wick trimmers. Make sure not to trim the wicks too short. Adjust the wick length as needed with subsequent burns to prevent smoking, tunneling, or an uneven melt pool.
Maintenance
To maximize burn time and fragrance for a 3-wick candle, proper maintenance is key. Here are some tips for keeping your candle performing at its best:
Keep wicks trimmed to 1⁄4 inch before each use. Long wicks can cause smoke, sooty residue, and uneven burning. Use scissors or a wick dipper to neatly trim wicks.
Avoid exposing the candle to drafts or moisture damage. Keep the candle away from frequently opened doors, windows, or vents that may blow out the flame. Also keep the candle in a dry area to avoid issues with the wax and wicks.
According to TLC Candle Co, “After a successful first burn, you need to maintain your candle. Trim your wicks every time for proper flame control and to help the wax burn evenly.” Proper wick length and position is key for an even burn and maximum fragrance diffusion.
Troubleshooting
Here are some common troubleshooting tips for candles with multiple wicks:
Fix off-center wicks: If the wicks start to lean or bend to one side as the candle burns, you can use a candle wick dipping tool or tweezers to gently straighten them. Hold the wick with the tool and apply gentle pressure to realign it to the center of the candle. Let the wax re-harden before lighting again. You can also trim the wick to remove any excess that may be weighing it to one side.
Manage wax tunnels: Sometimes a wick will burn too quickly and create a tunnel down the side of the candle. To fix this, blow out the candle and use a knife to remove the wax tunnel. Allow the wax to re-harden and then trim the wicks to be slightly shorter before relighting. This source also recommends gently warming the outside of the candle with a hair dryer or heat gun to smooth over any remaining divots.
Trim to control soot: If your wicks start emitting black smoke or soot, it means they are too long. Trim the wicks to 1/4 inch before lighting again. This will help the wicks burn cleaner and prevent excess soot.