How Do You Make Soap For Beginners?
Soapmaking is a fun and rewarding hobby that allows you to create natural, custom soaps from scratch. The basic soapmaking process involves combining oils/fats and an alkali, commonly lye, through a chemical reaction called saponification. This results in the formation of soap and glycerin. With some basic ingredients, equipment, and safety measures, soapmaking is easy for beginners. This guide will provide an overview of the complete soapmaking process, from calculating oil and lye amounts to molding, curing, and cutting your finished soaps. We’ll cover key steps like preparing the lye solution, mixing oils, combining the lye-water with oils, pouring into molds, and allowing adequate cure time. With the right direction, you can make wonderful handcrafted soaps with therapeutic benefits your skin will love.
Safety Precautions
When making soap, it’s crucial to take safety precautions to avoid potential injury from the caustic lye solution. According to Modern Soapmaking, the most important precaution is to mix the lye solution in a well-ventilated area, either outside or under an exhaust hood.
You’ll need to wear protective equipment when making soap. As recommended by Soap Making Resource, be sure to wear rubber gloves, goggles, and long sleeves/pants to completely cover your skin and avoid contact with lye. A mask or respirator is also recommended to avoid breathing in lye fumes.
According to School of Natural Skincare, it’s critical to be mindful and focused when working with lye to avoid spills or splashes. Work slowly and carefully. Have a bowl of vinegar on hand, which can help neutralize lye splashes on skin. Follow all instructions precisely to produce the safest handmade soap.
Ingredients
The main ingredients needed to make soap are oils, lye and water. Different types of oils can be used based on the properties you want the soap to have.
Common oils used in soapmaking include:
- Olive oil – produces a mild, gentle soap that’s moisturizing. According to the Soap Guild, olive oil is one of the most popular oils to use in handmade soap. It creates a creamy lather and conditions the skin (https://www.soapguild.org/buy-handcrafted/benefits/soap-ingredients).
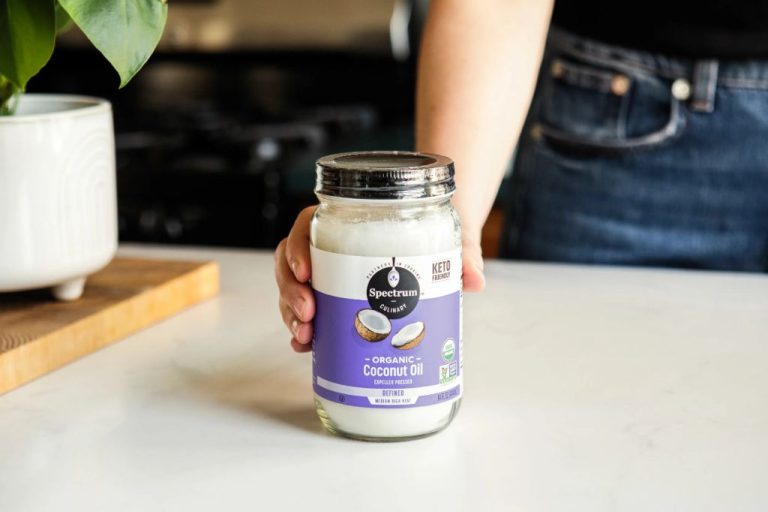
- Coconut oil – creates a fluffy lather and hard bar of soap. Coconut oil also helps cleanse the skin. However, too much can be drying so it’s often combined with other oils (https://www.healthline.com/health/how-to-make-soap).
- Palm oil – makes a hard bar and stable lather. It’s often used along with coconut oil in soap recipes.
- Shea butter – adds skin moisturizing properties.
- Avocado oil – moisturizing for dry skin types.
The main active ingredient that enables saponification (the chemical reaction that turns oils into soap) is lye. Sodium hydroxide is the most commonly used type of lye in soapmaking. Handle lye carefully by wearing gloves and eye protection.
Some optional additives include:
- Essential oils – for fragrance and skin properties.
- Colorants – to naturally color the soap.
- Botanicals – like flower petals or herbs.
Equipment
Making soap at home requires just a few basic pieces of equipment. You’ll need a digital scale to weigh out the ingredients precisely. An accurate scale is critical for safety and for creating a nicely balanced bar of soap. Choose one that weighs in ounces or grams and has a capacity of at least 4-5 pounds (source).

You’ll also need a thermometer to monitor the temperature of the oils and lye solution. A digital thermometer that can read up to at least 170-200°F works best (source). To blend the soap, an immersion or stick blender is ideal. Opt for one with a stainless steel shaft.
For mixing containers, stainless steel or heat-resistant plastic pitchers and bowls work well. Avoid aluminum. You’ll also need soap molds, which can be made from wood, silicone, or heavy plastic. You can use small cardboard boxes lined with plastic for beginner DIY molds.
Calculating Lye & Oil Amounts
The most important step in making soap is properly calculating the amount of lye and oils. This ensures the chemical reaction occurs correctly and results in a safe, usable bar of soap. To calculate the amounts, you’ll need to use an online lye calculator like SoapCalc.
Here are the basic steps for using a lye calculator:
- Enter the weights of the oils/fats in your recipe. Common beginner oils are olive, coconut, palm, and castor oil.
- Input the purity and weight of lye you’ll be using. 100% pure sodium hydroxide lye is recommended.
- Enter your preferred “superfat” percentage, usually 5-10%. This leaves extra oils to make a moisturizing bar.
- Input desired water amount as a percentage of oils. A 30-35% water concentration is typical.
- Click “Calculate” and the calculator will determine the exact amounts of lye and water.
- Follow the calculated amounts precisely for best, safest results.
Reading lye calculator instructions beforehand ensures the process goes smoothly. Taking precise measurements using a digital scale is also vital for an optimal chemical reaction.
Mixing the Lye Solution
The first step in making cold process soap is to mix the lye with water to create the lye solution. This can be a dangerous step since lye is caustic, so it’s important to take proper safety precautions. Lye should always be added to water slowly and carefully to prevent splashing or violent reactions.
Use distilled or filtered water and slowly pour the lye into the water while stirring constantly. Never pour water into lye. Adding lye to water helps disperse the heat created by the chemical reaction. Continue stirring until all of the lye is fully dissolved. The lye solution will quickly heat up above 100°F as the lye activates in the water.
“To make cold process soap, lye is introduced to a liquid like distilled water. The liquid dissolves the lye and creates a lye solution.” (Back to Basics: Lye Safety Guide)
Allow the lye solution to cool down before using it in your soap recipe. The lye solution should be around 100-110°F when added to the oils later in the process. Always work in a well-ventilated area and wear gloves and eye protection when handling lye.
Melting & Mixing Oils
Before mixing your oils into the lye solution, you first need to melt your solid oils and mix in any liquid oils or additives. It’s best to melt the oils either in a double boiler or a soap making crock pot to avoid overheating.
Start by chopping up any solid oils like coconut, palm, or shea butter into small pieces. Add them to your double boiler or crock pot set on low heat. Allow them to melt slowly, stirring frequently to prevent burning at the bottom. You want the oils to be fully liquid with no lumps or clumps.
Once all your solid oils have completely melted, you can add in any liquid oils like olive, sunflower, or avocado oils. If using any additives like honey, oats, clay, or milk, stir those in thoroughly as well. Mix everything together until fully blended and uniform.
Make sure your oils are well below 160°F before adding the lye solution. Higher temperatures can accelerate trace too quickly. The target temperature for combining the lye and oils is around 100-120°F. Allow your melted oils to cool if needed before proceeding.
Citations:
https://www.soapmakingforum.com/threads/how-to-melt-my-oils.30562/
Combining & Mixing
This is the step where you’ll combine the lye-water mixture and the melted oils together. Make sure both the lye solution and the oils have cooled to around 95-100°F. If they are too hot, the soap may seize and get lumpy.
Pour the lye-water solution into the oils, stirring gently to mix. Use a stick blender to blend the mixture, starting on low speed. Blend for 1-2 minutes, or until the mixture starts to thicken and emulsify. According to soapmaking experts, you should use the stick blender on the lowest speed so the soap emulsifies slowly (https://www.soapmakingschool.com/soap-making-equipment-choosing-the-essential-stick-blender/). The best stick blenders for soapmaking have variable speeds and long shafts so you can blend easily in a large bucket or pot (https://tweakandtinker.net/best-stick-blenders-for-soap-making/).
Keep blending until the soap reaches “trace.” This is the stage when the soap starts to thicken up like cake batter. Lift the blender out and drizzle a bit of the soap over the surface. It should leave a trace or trail for a few moments before sinking back in. Don’t blend for too long or the soap may get too thick.
Pouring & Molding
After mixing your soap batter, you’ll want to pour it into your prepared mold(s) as soon as possible. The soap will start thickening and heating up, so it’s important to work quickly at this stage.
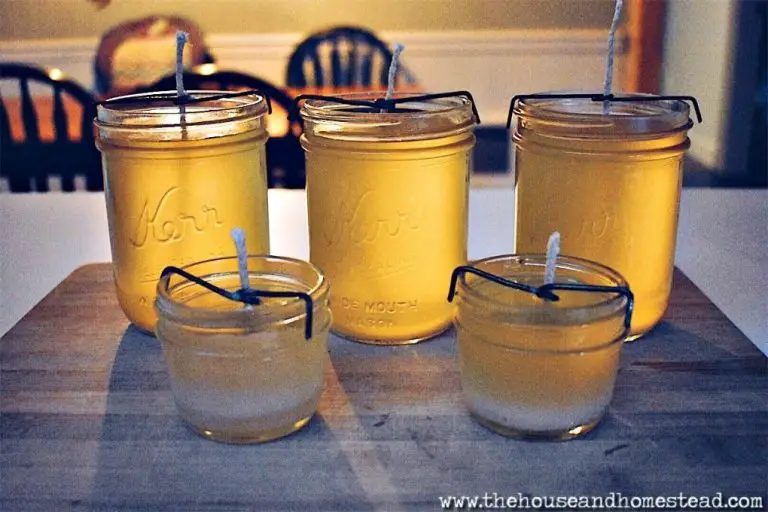
Make sure your molds are ready to go by lightly spraying them with rubbing alcohol (this helps prevent air bubbles). Gently pour the soap batter into each mold, filling them about 3/4 full. Tap the molds on your workspace to release any air bubbles.
Once all the molds are filled, use a spatula to smooth the tops evenly. At this point, you can decorate the tops with seeds, dried flowers, essential oils, or other additives if desired.
Allow the soap to sit undisturbed for 24-48 hours. The soap will firm up as saponification occurs. Once hardened, unmold the soap and cut it into individual bars. Be sure to cut carefully with a non-serrated knife to get clean edges.
Cite: Customizable Soap Bar Mold
Curing & Cutting
After pouring your soap into molds, it’s important to let it cure before cutting and using. Curing allows time for the soap to harden and for excess moisture to evaporate, improving the hardness, clarity, and lather of the soap bars.
Most cold process soap should cure for 4-6 weeks before use. During this time, you’ll notice the soap becoming harder as moisture evaporates. According to this source, a cure time of at least 4 weeks is recommended for most cold process recipes. If your recipe contains a high amount of olive oil or other oils that trace slowly, you may want to allow for a longer 6 week cure time.
After 24-48 hours, the soap should be solid enough to cut into bars. Use a soap cutter or knife to slice the soap into uniform bars. Allow plenty of space between the bars for air circulation while curing. Place the bars on a drying rack or cardboard box, allowing air to reach all sides of the soap as it cures. Turn the bars periodically for even curing and drying.
Proper curing is worth the wait, as it results in hard, long-lasting soap bars with a smooth texture. Patience leads to a superior final product that’s ideal for personal use or gifting.