How Do You Make Candles In A Jar?
Candlemaking in jars has become an increasingly popular craft and hobby. Jars provide a convenient and decorative vessel for making candles at home. The practice allows hobbyists to create customized candles that make great gifts or home accents. Plus, making candles can be an enjoyable and relaxing craft activity.
There are several benefits to making candles in jars rather than other containers. Jars securely contain melted wax and come in a wide range of sizes and shapes to suit different needs. Their transparent or translucent sides also allow the colors and textures of the candles to show through attractively. Additionally, jars are easily found at craft stores, thrift stores, or recycled from food containers. They can be reused repeatedly for candlemaking projects.
A variety of jars can be used for holding candles, including mason jars, glass jars, plastic jars, food jars, and more. The choice depends on factors like the desired look, size, weight, stability, and heat resistance. Small mason jars work well for tea lights or votives while larger glass jars are ideal for pillar candles. Metal tins or plastic containers can also be used, but glass jars tend to be the most popular option.
Selecting Jars
When making candles in jars, the first consideration is selecting the proper jar. Glass and metal are the most common materials for candle jars. Glass jars allow you to see the candle wax and any colors, while metal jars like tin are more opaque. Glass jars also tend to show off labels and designs better. However, metal jars like tin are more durable and stand up to higher temperatures 1.
The size and shape of the jar is also important. The opening of the jar needs to be wide enough to pour wax in easily. Tall, slender jars are great for pillar candles while short, wide jars work well for wax melts and votive candles. Make sure to choose a jar size appropriate for the type and amount of wax you’ll be using. An oversized jar means you’ll need more wax.
Lastly, check that the lid fits properly and seals the jar. You don’t want wax leaking if the candle is tipped over. A tight fit also helps contain fragrance. Plastic lids tend to provide the best seal for candles in jars.
Prepping Jars
Properly preparing jars is one of the most important steps to ensuring your finished candles have a clean, high-quality look. Take the time to carefully clean and dry each jar before pouring wax.
Wash jars thoroughly with soap and hot water, using a bottle brush to scrub the insides. This removes dirt, dust, oils, and residue that could affect wax adhesion. Rinse jars and set them upside down on a clean towel to air dry completely before use.
Once jars are clean and dry, use a glue gun or adhesive wax to securely attach wick tabs centered at the bottom of each jar. The wick must be held straight and taut in place before pouring wax. Position the wick so that it stands 1/4-1/2 inch taller than the height of the finished candle to prevent tunneling.
Take the time to properly prep jars for an end result that looks polished and professional. Cleaned, dried jars with centered, secured wicks will set you up for candle making success.
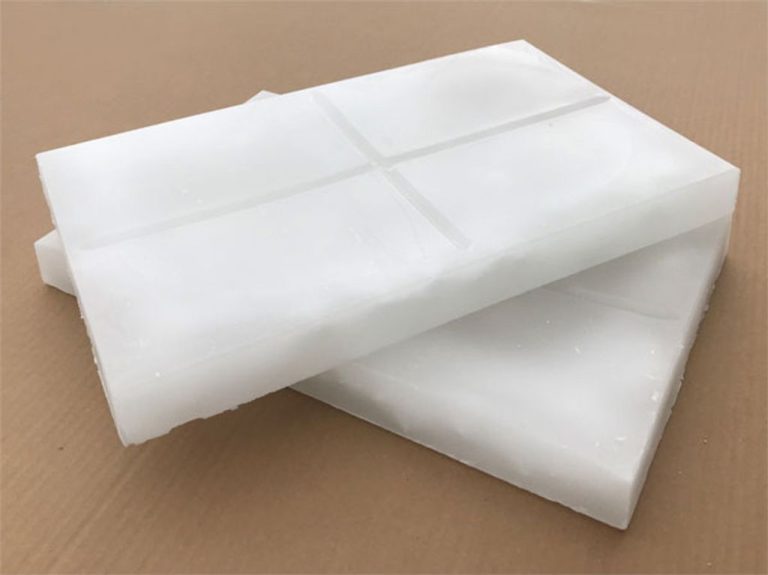
Choosing the Right Wax
When making candles in jars, you have a few options for the type of wax to use. The most common are paraffin, soy, and beeswax. Each has their own advantages and disadvantages:
Paraffin wax is derived from petroleum. It has an excellent throw (scent dispersion) and high melting point, making it ideal for jar candles. Paraffin is also inexpensive. However, some find the natural wax more appealing. According to glassbottleproducer.com, paraffin is one of the best waxes for jar candles.
Soy wax is made from soybeans. It’s a renewable and natural resource. Soy wax blends well with essential oils and has a lower melting point than paraffin, so jars don’t get as hot. However, the scent throw may not be as strong. Soy is also more expensive than paraffin.
Beeswax is all-natural wax made by honeybees. It has a lovely natural honey aroma and pairs well with essential oils. Beeswax has a high melting point and makes a long-burning candle. However, it can be quite expensive and the scent throw is not as strong as paraffin.
The wax melting point is also an important consideration for jar candles. Lower melt point waxes like soy and beeswax are better for small, thin jars that can overheat. Paraffin’s higher melt point makes it suitable for larger, thicker jars.
No matter what wax you choose, you can color it yourself using candle dye blocks or liquid candle dye. This allows you to achieve any color tone desired for your homemade jar candles.
Adding Fragrance
One of the most important aspects of candle making is selecting and adding the right fragrance. You have two main options for scenting your candles – fragrance oils or essential oils. Fragrance oils are synthetic scents made specifically for candle making. They offer a wide variety of scents, are designed to mix with wax, and hold their scent well when burned. Essential oils are natural plant extracts, but not all work well for candles. You’ll get the truest scent, but they fade faster when burned (Candleers, 2022).
When using fragrance oils, a usage rate of 6-10% is typical. Using too little will lead to a weak scent, while too much can alter burning or create an overpowering scent. A good starting point is 1 ounce of fragrance oil per 1 pound of wax. Adjust in small amounts until you reach the desired scent strength. Essential oils usage rates are typically lower at 3-5%. With both oil types, more is needed for container candles than pillar candles since scent is more dispersed (Candleers, 2022).
You can also combine fragrance oils to create custom scents. Stick to 2-3 oils and test small batches first to ensure the scents blend well. Some pairings naturally complement each other, like lavender and vanilla. Avoid mixing too many notes or you may get an unpleasant blended scent.
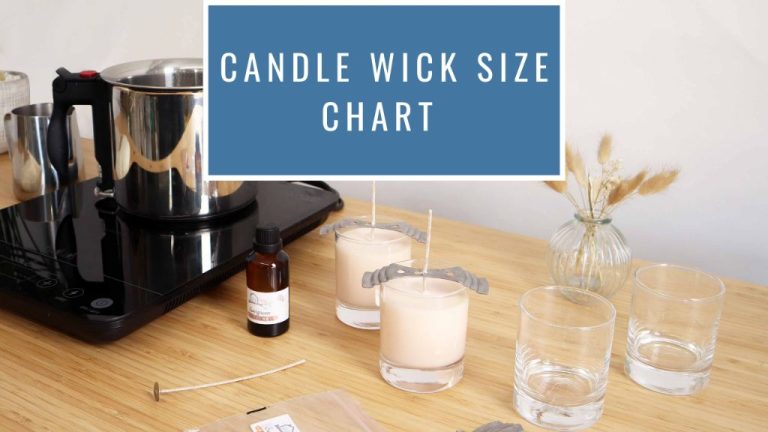
Preparing the Wick
Choosing the right wick size is critical for a quality candle. Wicks that are too small can drown, produce poor flames or leave wax unmelted. Wicks that are too large can create ugly soot marks, burn too quickly and cause the candle to tunnel. Use a wick sizing chart to select the appropriate width and type of wick based on your jar and wax type.
Once you’ve selected your wicks, carefully center and secure each one in the bottom of its jar using hot glue or wax. Make sure the wick stands straight up. Use sharp scissors to trim the wick to 1/4″ from the bottom of the jar before pouring in wax. This allows the proper amount of wick to extend into the melted wax.
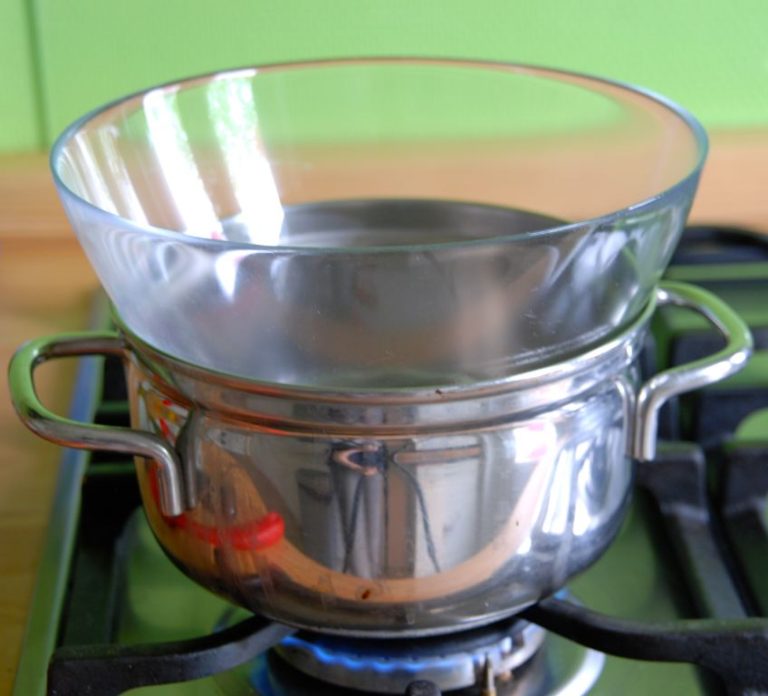
Melting Wax
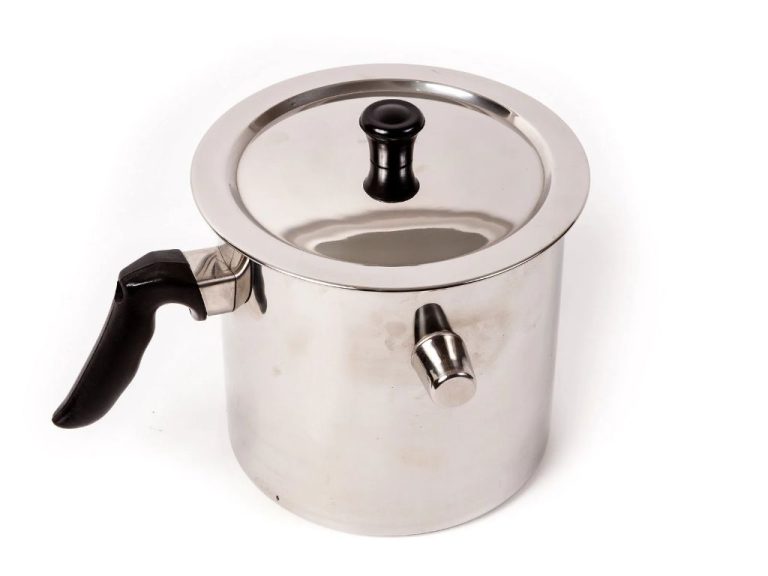
When making candles in jars, you’ll need to safely melt your candle wax to the proper temperature before pouring into the jars. There are a few ways to melt wax for candles including using a double boiler, microwave, or dedicated wax melter.
A double boiler is one of the safest options, as it heats the wax gently and evenly to avoid overheating and burning. Fill the bottom pan with a few inches of water and place the wax in the top pan. Heat the water until the wax fully melts to the proper pouring temperature according to the manufacturer’s instructions, usually between 150-165°F. Stir frequently as the wax melts. [1]
Take care not to overheat the wax. Temperatures over 185°F can cause the wax to discolor, lose aroma, or ignite. Use a thermometer to monitor wax temperature closely. Once melted, you can stir in candle color and fragrance oil at the recommended amounts.
Pouring Candles
One of the most important steps in making candles in jars is properly pouring the wax. There are a few key things to keep in mind during this process:
The wax should be poured at the proper temperature, generally between 135-165°F. Pouring the wax too hot can cause issues like sinkholes or bubbles in the finished candle. Letting the wax cool too much before pouring can lead to adhesion problems between layers. Check the manufacturer’s guidelines for the ideal temperature range for the wax you’re using (Source).
It’s also important to let each layer of wax cool before pouring the next layer. This helps prevent layers from mixing together or causing cracks. Allow about 1-2 hours between pours for each layer to fully set up (Source).
Finally, be sure to top off the candle after the final pour. Once the last layer has cooled and begun to set up, come back and gently pour a thin final layer of wax to create a smooth, even top surface on the finished candle.
Cooling and Curing
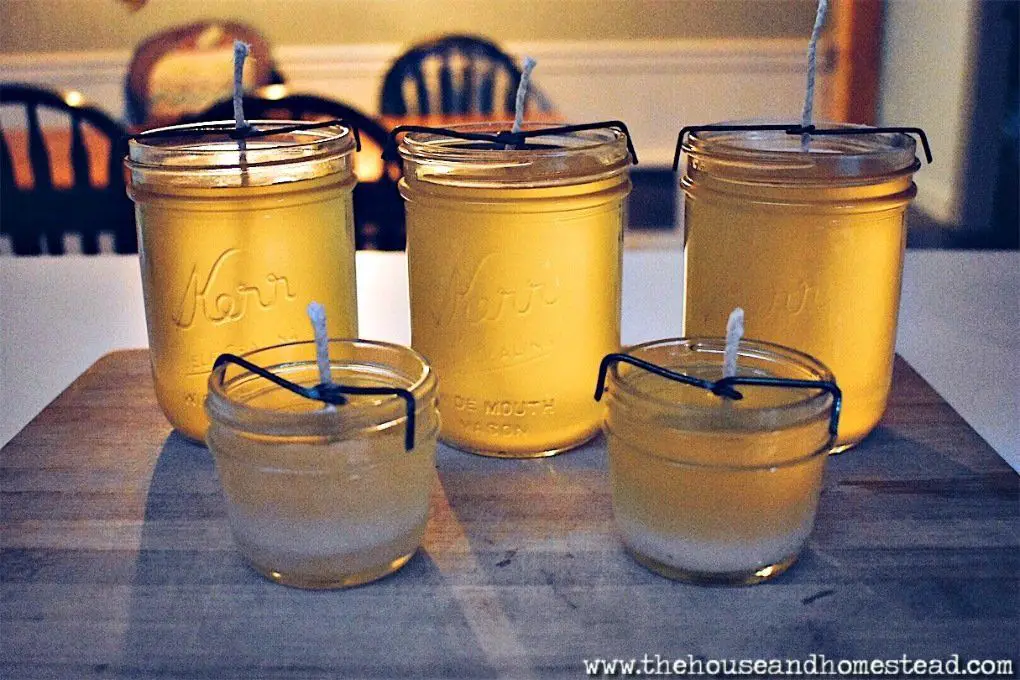
After your candles have been poured into the jars and left to cool at room temperature, you will need to let them go through a curing process before burning. Curing allows the wax to fully set up and strengthen, and allows any trapped bubbles to rise out of the candle. According to https://armatagecandlecompany.com/blog/candle-curing/, you should allow your candles to cure for 1-2 weeks minimum. Paraffin candles need 3-5 days to cure, while soy candles require 7-10 days and beeswax candles need 7-10 days as well.
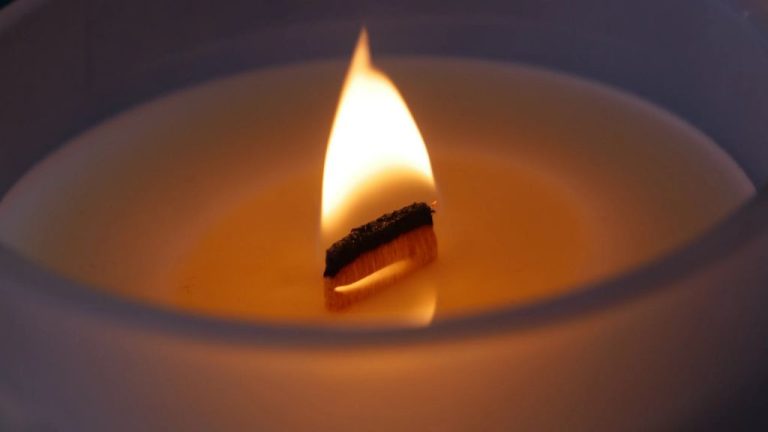
During the curing process, make sure the candle lids are off so the wax can properly set up. Store the candles in a cool, dry place away from direct sunlight. Before burning, it’s recommended to trim the wick to 1⁄4 inch length to prevent excess sooting when the candle is lit. Allowing proper cure time will result in a better quality candle with an even burn and maximum fragrance throw.
Troubleshooting
Candle making may seem straightforward, but problems can arise. Here are some common issues and how to fix them:
Fixing Bubbles and Wet Spots
Bubbles and wet spots occur when the wax cools too quickly before releasing trapped air. To fix, use a heat gun to re-melt the wax and allow air bubbles to rise to the surface. Slowly move the heat gun back and forth over the wet spots until they disappear. Be careful not to overheat the wax or hold the heat gun too close [1].
Dealing with Wick Issues
If wicks are too small, they won’t generate enough heat for full wax melt pool. Switch to a larger wick size. Wicks that are too large will cause soot. Trim wicks to 1⁄4” before each burn to prevent excess soot [2].
Fixing Tunnels and Sinkholes
Tunnels and sinkholes mean the wax is melting unevenly. Use a heat gun to re-melt and level wax. Make sure candle has cured for at least 48 hours before burning. Trim wicks regularly. Next time, pour wax at a lower temperature.