How Do You Infuse Wax With Scent?
Intro
Wax infusion is the process of infusing the scent of essential oils or fragrance oils into wax to create aromatic candles, melts, and other wax products (1). Also known as scented wax or waxed infusions, this technique allows you to customize candles and wax melts with your preferred fragrances. Wax infusion involves blending melted wax with concentrated scents, then pouring the mixture into molds and allowing it to cure and harden.
The most common types of wax used for infusion are soy, paraffin, beeswax, and palm wax. You can experiment with single waxes or blends. The scents are commonly added in the form of essential oils or fragrance oils. Essential oils are derived from plants and capture the natural aroma. Fragrance oils are synthetic oil-based scents designed to mimic aromas. With a wide variety of waxes and scent options available, wax infusion allows for creative candle making with signature scents.
Safety Precautions
When infusing wax with scents, it’s important to take proper safety precautions. This involves having the right protective equipment, ensuring proper ventilation, taking care when handling hot wax, and avoiding skin or eye contact with the wax.
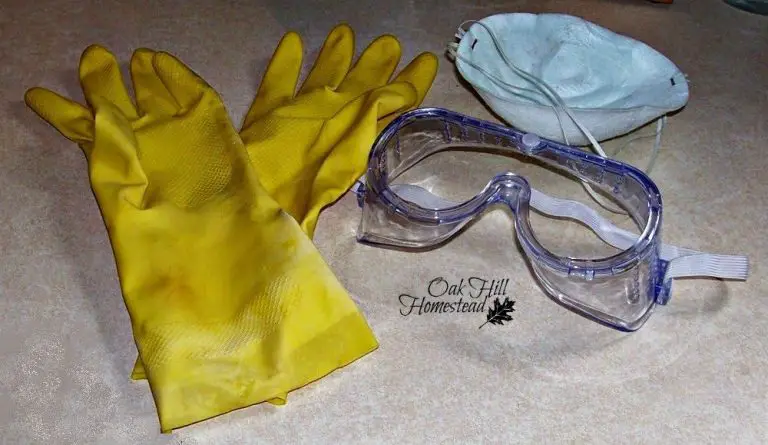
Be sure to wear protective equipment like gloves and eye protection when pouring hot wax. Thick, rubber gloves that cover your wrists and forearms are ideal. Safety goggles that fully enclose the eyes will prevent hot wax splashes from causing injury (Oxford Treatment). Wear long sleeves and closed toe shoes as an extra precaution.
Work in a well-ventilated area since the scent infusing process can release strong fumes. Open any windows or doors and consider running a fan to keep air circulating. This will dissipate the fumes and prevent build up (Campus Safety Magazine).
Exercise extreme caution when handling wax that is melted or hot. Use potholders when moving hot containers and pour slowly to avoid splashing. Allow the wax to fully cool and harden before attempting to move or package the finished product.
Avoid getting wax on your bare skin or in your eyes. The wax can retain heat and cause burns. Flush eyes with water and wash skin thoroughly with soap and water if contact occurs (NCBI). Seek medical attention for burns or if irritation persists.
Choosing Your Wax
When selecting a candle wax to infuse with fragrance, you have several options to consider. The three most common types of wax for candle making are paraffin, soy wax, and beeswax. Each has its own pros and cons.
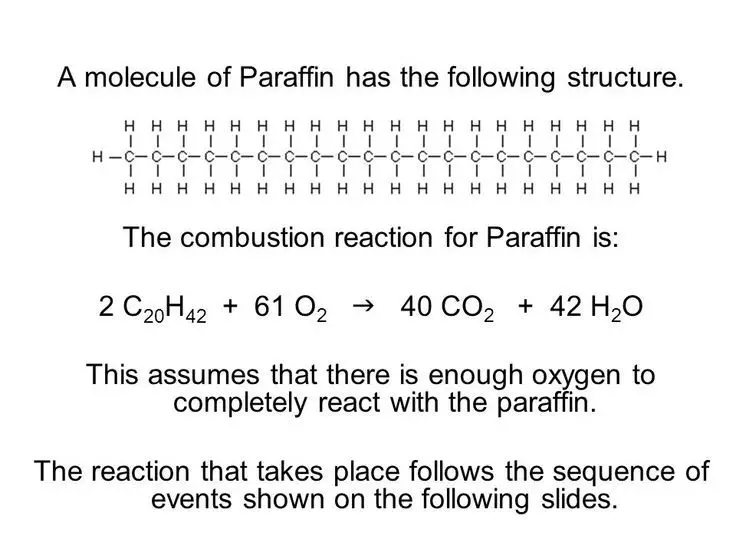
Paraffin wax is derived from petroleum. It has excellent scent throw, meaning it disperses fragrance efficiently as it melts. Paraffin is also inexpensive and easy to work with. However, some consumers prefer to avoid petroleum-based products. Paraffin also can produce more soot as it burns compared to natural waxes.1
Soy wax is made from soybean oil. It has a lower melting point than paraffin so soy candles must be burned cooler to avoid tunneling. Soy wax doesn’t hold fragrance quite as well as paraffin but has decent scent throw. It produces very little soot when burning. As a natural, renewable resource, soy is appealing to many candle makers and consumers.
Beeswax is another natural option, made from honeycomb. It has a lovely natural honey aroma that complements some fragrance oils. Beeswax is also biodegradable. However, it can be quite expensive and difficult to work with compared to paraffin or soy. Beeswax also has a low fragrance throw so it may not be ideal for highly scented candles.
When selecting your wax, consider the scent intensity you desire, production costs, and sustainability factors. Testing different waxes with your fragrance oils can help determine the best pairings.
Choosing Your Scents
When infusing wax with scents, you have a few options for the types of scents to use. The most popular choices are essential oils and fragrance oils. Essential oils are extracted from plants and flowers, so they provide natural scents like lavender, citrus, pine, etc. Fragrance oils are synthetic scents created in labs to mimic natural scents or produce unique aromas.
Essential oils are generally preferred for their authentic aromas and natural properties. However, fragrance oils allow you to achieve more varied scents. Both essential oils and fragrance oils work well for scenting wax melts and candles. Just make sure the oils you use are designed for candle/wax making rather than for other uses like skin applications.
When deciding on scents, consider aromas that pair well together in blends. Floral, fruity, earthy, and spicy oils often combine nicely. Have fun testing different scent combinations to find your favorite wax melt or candle fragrances. Just beware that some essential oils can fade faster than synthetic fragrance oils when burned.
No matter whether you choose natural or synthetic scents, avoid overpowering or unpleasant odors. Select scents you find pleasant at the wax melting stage. This will provide the best home fragrance experience. With so many scent possibilities, you can create custom wax melt and candle blends that you won’t find anywhere else.
Equipment Needed
There are a few key pieces of equipment needed to properly infuse wax with scent:
Double boiler
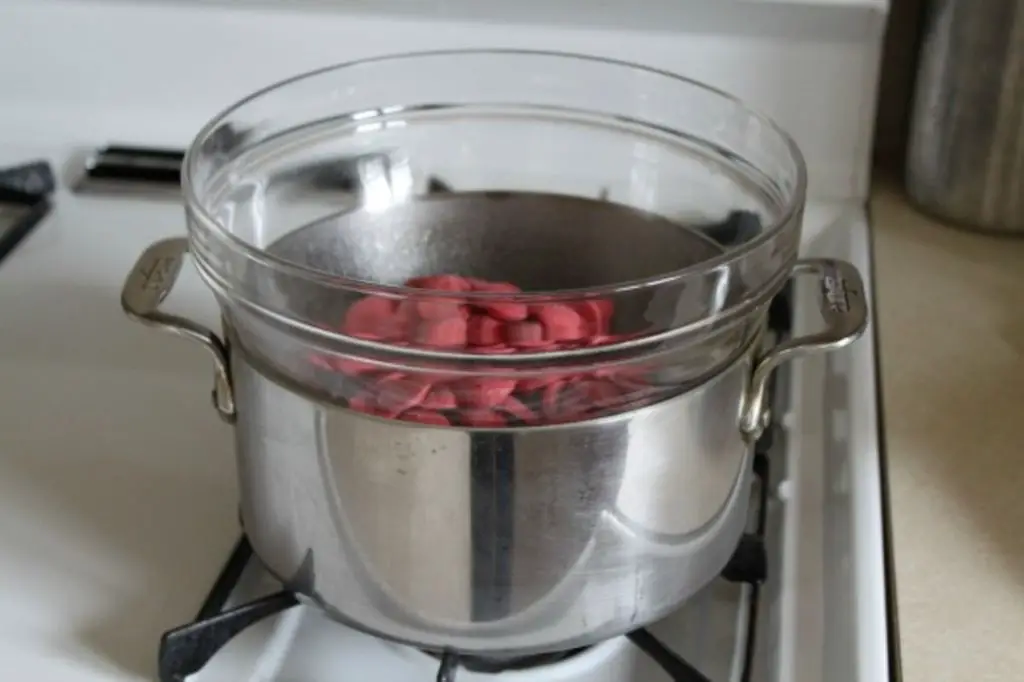
A double boiler is essential for melting wax and infusing scents. The double boiler allows you to gently heat the wax to the desired temperature without scorching it. Choose a double boiler large enough to hold the amount of wax you plan to infuse. Glas or stainless steel double boilers work best.
Some examples of double boilers designed for candle making include:
- This 2 quart stainless steel double boiler from Wax Melters
- These electric wax warmers from California Skin Care Supply
Thermometer
A thermometer allows you to monitor the temperature of the wax throughout the process. Look for a thermometer designed specifically for candle or wax melting with a range between 90-200°F. Digital thermometers provide the easiest temperature monitoring.
Spoon or Stirring Utensil
Use a long handled, stainless steel spoon or stir stick to mix the wax and scent together. Glass and silicon can also work. Make sure the utensil reaches the bottom of your double boiler.
Preparing the Wax
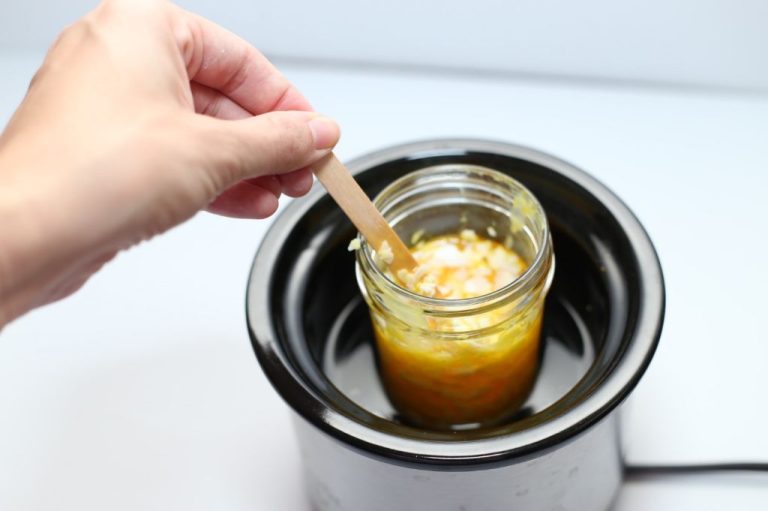
Before infusing your wax with scent, you’ll need to properly prepare the wax. This includes melting the wax, mixing, and allowing it to cool. When melting wax, it’s crucial to use the double boiler method and avoid exceeding 185 degrees Fahrenheit. This prevents burning the wax. Choose an appropriate double boiler setup like a metal bowl suspended above a small pot of water.
Gradually melt the wax, stirring periodically as it softens. Once fully liquefied, remove the wax from the heat. Mix in any additives at this point, like dye blocks or essential oils. It’s easiest to incorporate them when the wax is fully melted.
After mixing thoroughly, pour the wax into silicone molds or containers. Allow the wax to cool completely before moving to the next step. Cooling may take 30 minutes or longer. Rushing this curing stage can cause defects in the final product. Patience prevents bubbles and cosmetic issues. Once cool and solid, the wax is prepped for scent infusion.
Adding the Scent
When adding fragrance oil to melted wax, it’s important to use the right amount. According to CandleScience, a common ratio is to use 1 ounce of fragrance oil per pound of wax, which is about 6%. This ratio can be adjusted up or down depending on the type of wax and intensity of scent you desire.
After measuring out the desired amount of fragrance oil, thoroughly mix it into the melted wax. Stir continuously for 2-3 minutes to fully incorporate the scent. Make sure there are no fragrance oil pockets or uneven mixing. According to Candle Shack, add no more than 100g fragrance oil per 1000g wax.
Let the scented wax cool slightly before pouring into containers or molds. Cooling to 135-165°F helps improve scent throw and alignment in the final candle. Avoid pouring too hot, as very high temperatures can burn off some of the fragrance.
Pouring the Wax
Once you have added your fragrances or dye and fully mixed the wax, it’s time to pour it into containers or molds. Make sure the wax is around 185°F when pouring, as this is the optimal temperature for allowing the wax to spread evenly and adhere to the sides of the container [1]. Preheat your glass containers to 130-140°F to further aid side adhesion.
Pour the wax slowly and evenly into each container, filling about 1/3 to 1/2 full on the first pour. This allows the wax to start cooling and hardening from the bottom up. Let this first pour cool completely before adding a second pour to fill the container fully. Cooling between pours prevents sinkholes from forming. Allow the candles to cure 24-48 hours before use so they fully harden.
Curing the Wax
After pouring your infused wax into containers, it’s important to let it cure fully before using the candles or melts. Proper curing allows the wax to cool completely and harden, helps remove air bubbles, and allows any moisture to evaporate. This helps ensure an even burn and optimal fragrance throw. Candles made with soy wax or other vegetable waxes typically need 1-2 weeks to cure, while paraffin candles may only need 24-48 hours (Source).
Ideal conditions for curing are around room temperature, away from direct sunlight or drafts. Keep the candle lids on during the curing process to prevent evaporation or dust settling on the wax. Once fully cured, the wax will be solid all the way through. If you light the candle before it has fully set, it may tunnel or have an uneven melt pool. Patience during the curing stage is important to allow your fragrant candles to perform their best. Testing wicks and burn quality after a full cure will provide the truest results (Source).
Using Your Infused Wax
Once your infused wax has fully cured, it’s ready to use! Here are some tips for getting the most out of your creation:
Proper storage is important to preserve the scent and quality of your infused wax. Keep it in an airtight container away from heat and light. Glass jars work great for storage.
To use your infused wax, you’ll need to melt it again. Doing this slowly on low heat, such as in a double boiler, will help prevent losing the scent. Don’t overheat or you may burn off some of the fragrance.
One of the most popular uses for infused wax is making scented candles or wax melts. Simply pour your melted wax into candle jars or silicone molds. Add wicks for candles. Allow to fully cure for 24-48 hours before lighting candles or melting wax melts.
You can also use infused wax to make items like lotions, balms, or perfumes. Get creative with your infused wax in homemade beauty products and more!