How Do You Even Out Candle Wax?
Uneven candle wax is a common problem that many candle users face. As a candle burns, the wax melts and pools around the wick. Over time, this can create an uneven surface, with wax building up higher on one side of the container. According to statistics from the National Candle Association, the U.S. retail market for candles is over $3 billion annually, so uneven wax is an issue that affects millions of households.
There are a few reasons why it’s important to fix and prevent uneven wax buildup. Aesthetically, uneven wax just doesn’t look very nice, and can detract from a candle’s appearance. More importantly, uneven wax can cause functional problems. It can make the candle unstable, increasing the risk of tipping over. Excess wax on one side can also clog the wick, preventing the candle from burning properly. Additionally, fixing uneven wax helps the candle burn evenly down to the bottom, maximizing its usable life. With the popularity and prevalence of candles, it’s an issue worth addressing.
Causes of Uneven Wax
There are a few common causes of uneven wax or tunneling in candles:
- Multiple wicks – Having more than one wick in a candle can lead to uneven burning because the flames compete for wax. This makes the wax melt inconsistently.
- Drafts – Air currents from fans, open windows or air vents can blow the candle flame to one side, making it burn unevenly and tunnel down on that side. Keep candles away from drafts for even burning.
- Improper wick length – If the wick is too short, the flame will be too small and not generate enough heat to melt the wax evenly. Long wicks give a larger flame but can create excess smoke and soot.
Proper wick length for the candle size and wax type is crucial for even burning. Follow the manufacturer’s wick guidelines.1
Preventing Uneven Wax
There are a few simple steps you can take to help prevent uneven wax burning and tunneling in candles:
Use the proper wick length. Make sure the wick is trimmed to 1⁄4 inch before lighting and that the flame reaches the full width of the candle without going over the edges. Over-trimming the wick can lead to tunneling (source).
Avoid drafts. Strong air currents from fans, open windows, or air vents can blow the flame to one side, causing uneven melting. Shield the candle from drafts or move it to a protected area (source).
Use a single wick. Candles with multiple wicks often burn unevenly as the flames compete. Stick to a single, centered wick for the most even burn.
Fixing With a Heat Source
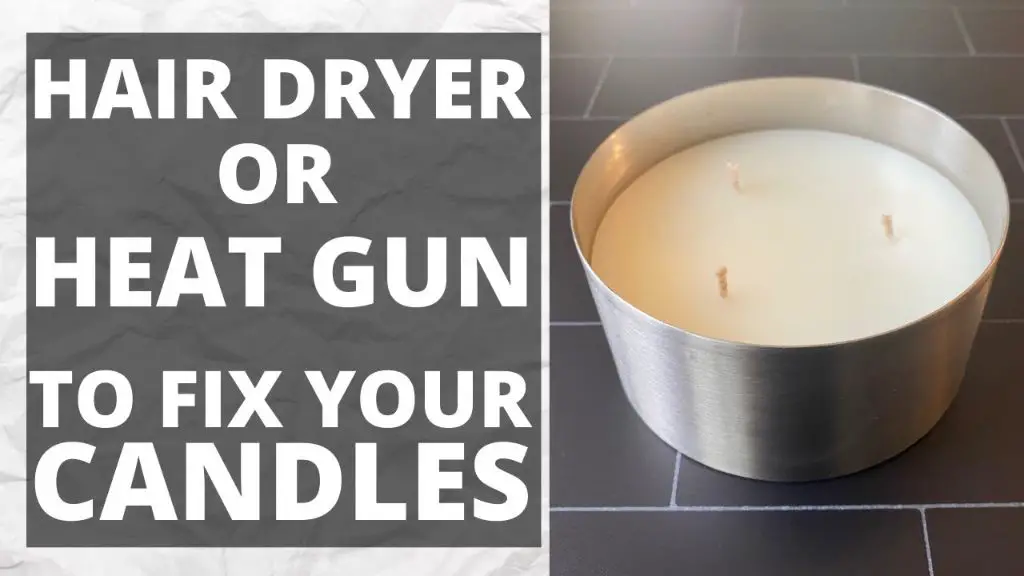
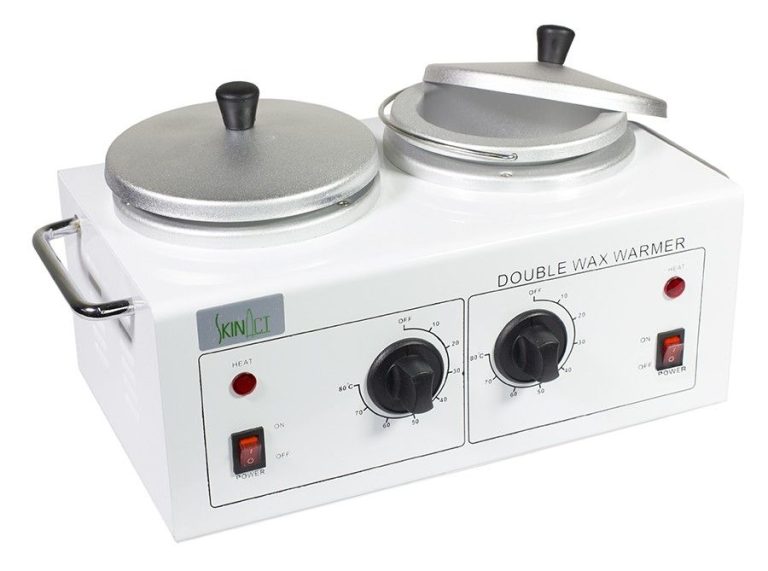
One effective way to even out dips, holes, and ridges in candle wax is by using a heat source to re-melt the wax. This allows the wax to become liquid again so it can fill in the empty space and create an even top surface.1 Some common heat sources you can use include:
- A blow dryer – Use the high heat setting and blow hot air directly onto the uneven wax to melt it. Slowly move the blow dryer over the area in a circular motion until the wax liquifies and smooths out.
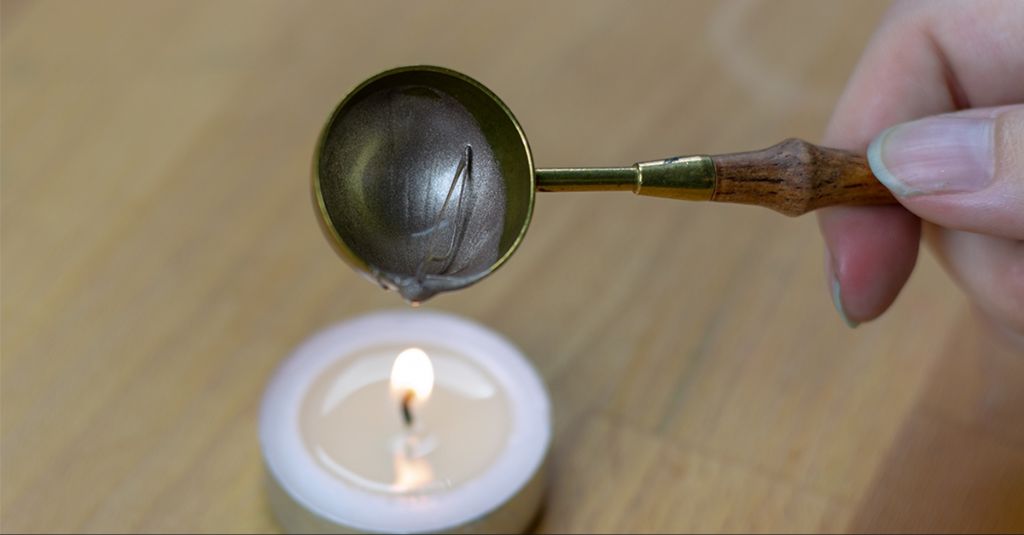
- A lighter or match – Carefully hold the flame 1-2 inches above the uneven wax and move it around to melt the area. Blow out the flame before the wax gets too hot.
- The stove – Turn on a burner to low-medium heat, and hold the candle 3-4 inches above the burner. Rotate slowly until the wax melts and evens out. Be very careful not to get the wax too hot or hold the candle over an open flame.
Focus the heat source only on the uneven spots rather than the whole candle. Melting only small sections at a time gives you more control. Allow the wax to cool and harden fully before adding another layer. With patience and the right heat application, you can smooth out blemishes for a perfectly even candle top.
Fixing by Scraping
One way to quickly even out the candle wax is by scraping away the high spots. This can be done by using the back of a spoon, a butter knife, or a credit card. Gently scrape the buildup of wax on the edges to level it with the sunken middle portion of the candle. Be careful not to scrape too aggressively or you may damage the candle vessel. Only remove enough wax to make the surface even again. Scraping is a simple fix that doesn’t require any heat source. However, it is more of a temporary solution, as the tunneling may still occur again with continued burning. For a more permanent fix, combining scraping with some of the other methods may help.1
Centering the Wick
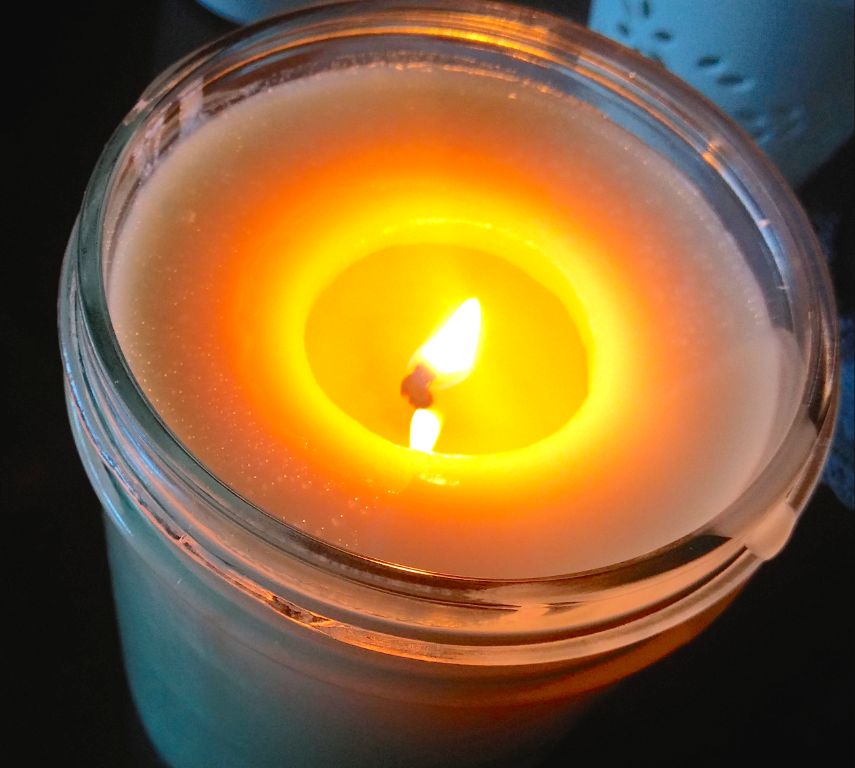
As the candle burns down, the wick can become off-center if the wax pool melts unevenly. Recentering the wick helps the candle burn evenly and prevents tunneling.
To recenter the wick, wait until the candle has completely solidified again after burning. Use tweezers to gently grasp the wick and position it back in the center of the wax pool (Source). You can also use a wick centering tool or toothpick to nudge the wick back into place.
If the wax pool is still warm or soft, you can dip the end of tweezers or a wick centering tool into the wax to create a small amount of glue. Then use the wax to adhere the wick in the center as it hardens (Source). This helps secure the wick in the proper position.
Recentering the wick every time you extinguish the candle will help maintain an even burn and extend the candle’s life.
Wick Trimming
Trimming your candle’s wick is an important part of maximizing your candle’s burn time and preventing issues like tunneling. You should trim your wick to 1⁄4 inch before lighting the candle for the first time. After that, you should trim the wick every 4 hours of burn time, or approximately every 2-3 uses for most candles (Marstewart.com, 2022).
Trimming the wick to this optimal height ensures that the wick does not become engulfed by melted wax, which can create issues like soot buildup or cause the flame to grow too large. It also prevents tunneling, where the edges of the candle burn faster than the middle. With a properly trimmed wick, you can enjoy an even, consistent burn.
Use scissors or nail clippers to snip the wick. Avoid leaving loose strands and trim just above the melted wax line. Candle wick trimmers, often included with candle accessories, make the process easy. Simply place over the wick and squeeze to get a straight cut (Harlemcandlecompany.com, 2022).
Troubleshooting
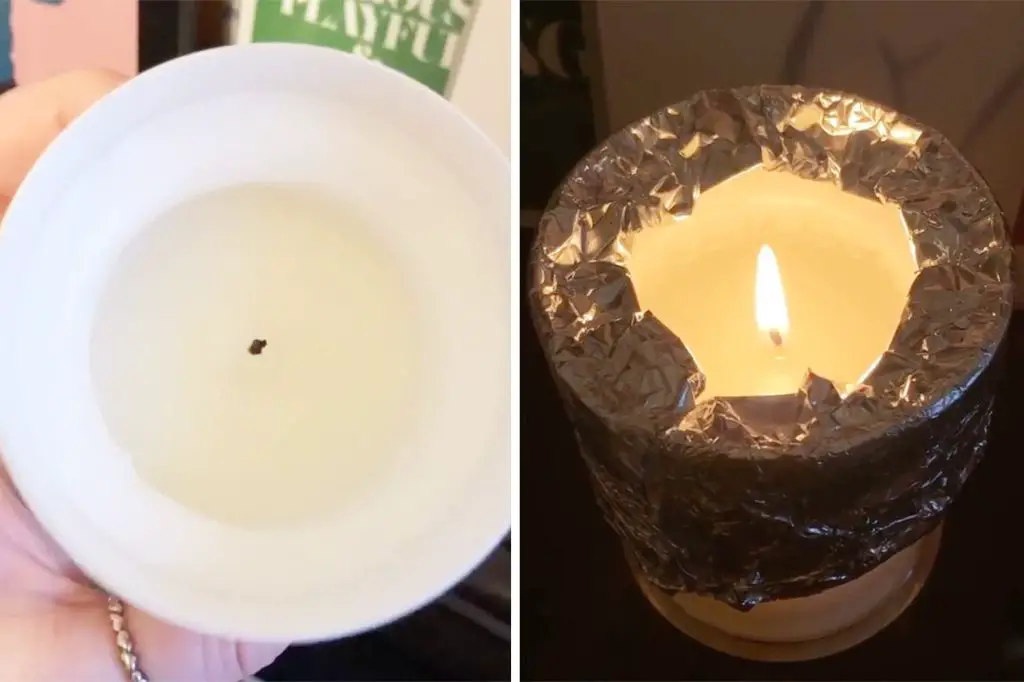
If the techniques mentioned above like trimming the wick, scraping the wax, and using foil to fix tunneling do not work, it’s a good idea to contact the candle manufacturer for additional troubleshooting tips. Many candle companies provide guidance for getting the most even burn from their candles. Consulting the manufacturer can uncover specific burning instructions for that candle, as factors like wax type, vessel shape, and wick size all impact how evenly it burns. The maker may suggest adjusting things like wick height or recommend what size foil disc to use for tunneling based on that particular candle’s specifications. Reaching out to the company shows them the wax is not burning properly and allows them to improve the candle design. If all troubleshooting still fails to fix an uneven candle wax pool, it may be time to replace the candle with a new one.
When to Get a New Candle
If you’ve tried the troubleshooting tips but your candle continues to burn unevenly, it may be time to replace it. Here are some signs it’s time to get a new candle:
- The sides are extremely warped or lopsided no matter what you try.
- Wax buildup on the sides is over 1 inch thick.
- The wick keeps falling over no matter how centered.
- The candle smells burnt or rancid.
- Smoke or soot persists.
- You can’t get an even top layer of wax.
- The wick is mostly encased in wax.
While some tunneling is normal, deep tunneling that exposes the glass combined with the above issues typically means the candle has reached the end of its useful life. At that point, it’s best to retire it and start fresh with a new candle.
Conclusion
In summary, evening out candle wax is important for both safety and aesthetics. As a candle burns down, wax can pool unevenly, creating deep ridges that increase the risk of the candle tunneling down one side, the wick drowning or becoming inaccessible, and the flame growing too large. This poses a potential fire hazard. Additionally, uneven wax simply looks unappealing, detracting from a candle’s intended decorative purpose. There are several effective techniques for smoothing out wax, from using a heat source to scrape off excess buildup, centering the wick, and trimming the wick to an optimal height. With some simple preventative measures and occasional maintenance, you can keep candle wax even and avoid safety risks. Evening wax periodically results in an attractive, long-lasting candle that burns cleanly from start to finish.