Can You Make Candles In Any Glass Jar?
Making candles in glass jars has become very popular in recent years for both the beautiful, rustic look the jars provide and their versatility. Glass jars allow you to easily reuse and repurpose containers to create personalized, homemade candles. In this article, we will cover everything you need to know about safely making candles in any glass jar.
We will provide an overview of considerations like choosing an appropriate jar, preparing it, adding wax and wicks, decorating, and burning safety. With the right steps, you can make beautiful, homemade candles in glass jars of nearly any shape and size.
Safety Considerations
When choosing a glass jar for candle making, it’s crucial to select one that can withstand high temperatures. Ordinary glass jars and containers can crack or shatter when heated, posing serious risks. Instead, opt for jars made from heat-resistant borosilicate glass, which is designed to withstand thermal stress. According to CandleScience, borosilicate glass jars are safe up to 400°F.
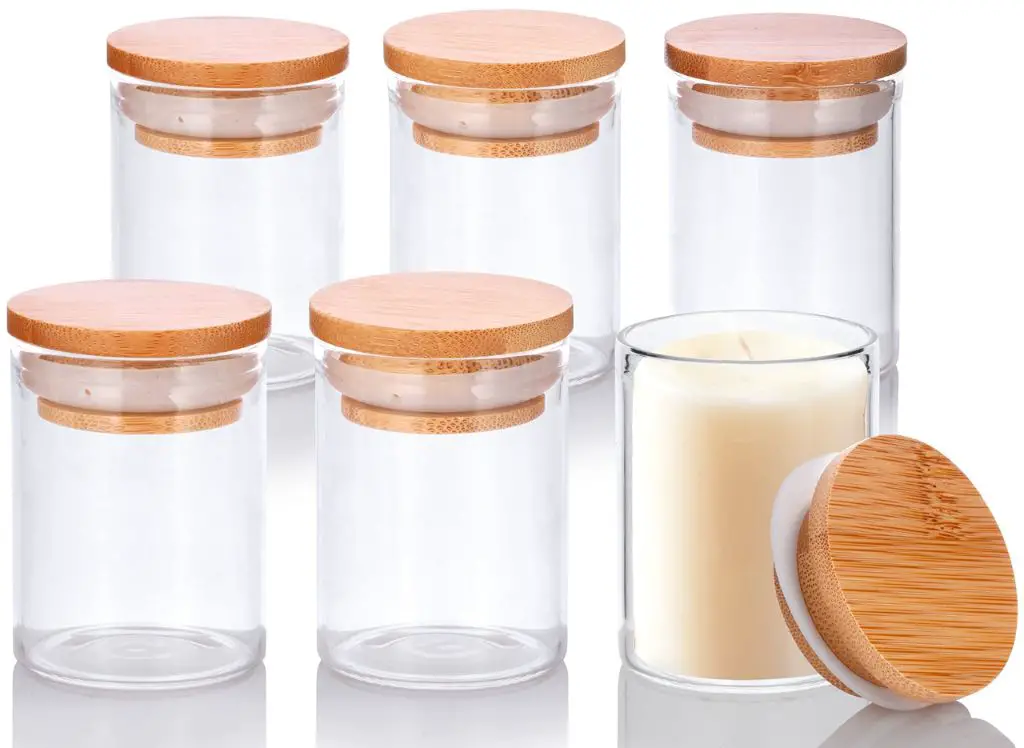
Mason jars are a popular choice, as they are made from tempered glass and can handle temperatures up to 250°F (Source: https://villagecraftandcandle.com/blogs/news/what-type-of-jars-are-best-for-candles). Canning jars are designed to be boiled during food preparation, making them suitable for candles. Look for mason jars specifically marketed for crafting and candle making for best results.
Avoid using any jars with paint or metallic coatings on them, as these can burn or flake off when heated. It’s also best to steer clear of vintage jars, as their age and origin is uncertain. When in doubt, perform a small test by adding a bit of wax and briefly heating the jar to ensure no cracking occurs before making a whole candle.
Choosing the Right Jar
When choosing a glass jar for candles, it’s important to consider the size, shape, opening width, and style.
Look for a jar that is proportional to the diameter of the finished candle. The candle should fit snugly but have enough room to melt down the sides as it burns. Too small of an opening can make it difficult to pour wax and add the wick (citation 1).
The shape of the jar can complement the look of your candle. For example, straight-sided mason jars work well for pillar candles, while more rounded shapes create a traditional candle appearance. Make sure to match the style of the jar with the overall candle design (citation 2).
In general, look for thick, heat-resistant glass jars specifically made for candle making. Avoid fragile containers like drinking glasses. The glass should be able to withstand the high temperatures of melted wax (up to 185°F) without cracking (citation 1).
Preparing the Jar
Before making candles, it’s crucial to properly prepare the jars. First, wash the jars thoroughly with soap and hot water to remove any residue, dust, or oils. Make sure to wash both the inside and outside. According to Delta Faucet, it’s best to use very hot water when washing mason jars[1]. After washing, rinse and dry the jars completely. Any moisture left in the jar can affect how the wax adheres
Inspect the jars closely for any cracks, chips, or flaws. Imperfections in the glass can cause the candle to tunnel or the glass to break when the candle is burned. Reject any jars with damage. It’s also important that the jars are fully dry before adding wax. Water or moisture trapped in the jar will prevent the wax from properly adhering to the glass. Let the prepared jars dry upside down on a towel until completely moisture-free.
Adding Wax
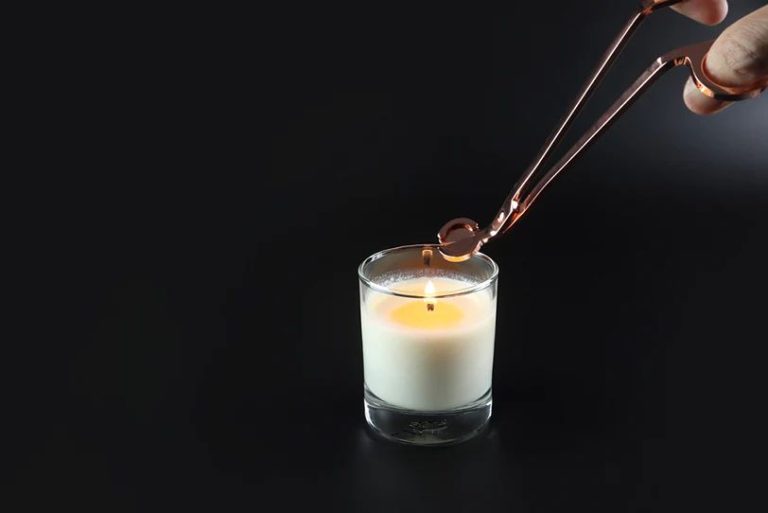
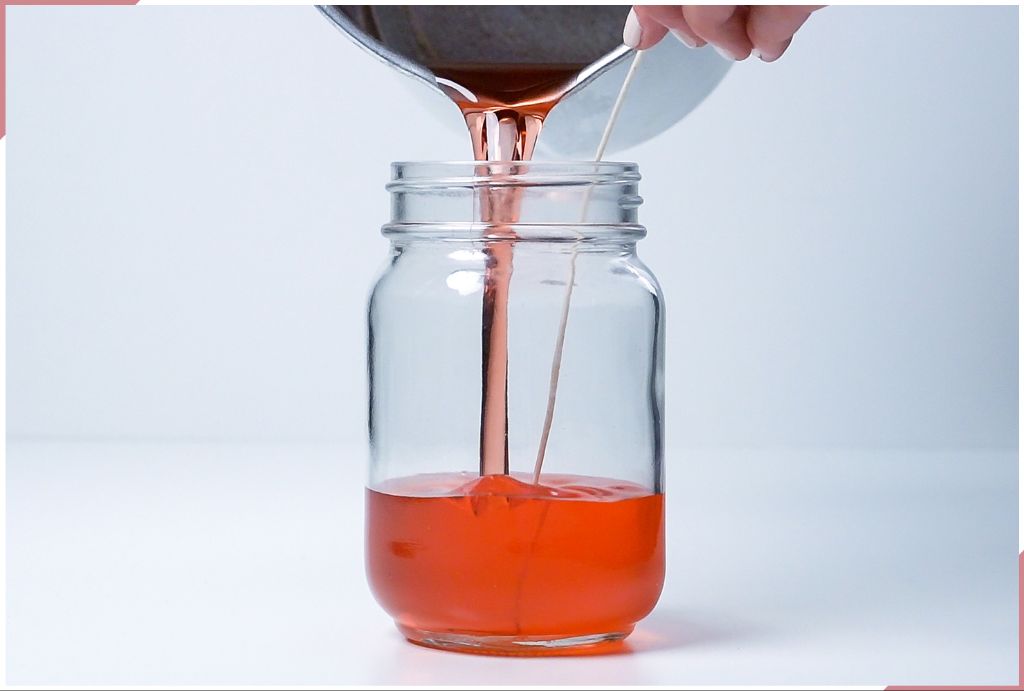
The right amount of wax is crucial for a successful candle. To determine how much wax you need, fill the empty glass jar to the top with wax flakes, then pour them out and weigh the flakes. This will give you the wax weight for one fill. You’ll need to fill the jar fully twice to account for the first pour and a top off pour (Delta Faucet). It’s important to melt the wax fully before pouring. Heat wax flakes or wax chunks slowly over low heat until fully melted. Do not overheat or burn the wax. Carefully pour the wax into the glass jar in two stages – until full for the first pour, then top off after the first layer has begun to set (Laurel Twist). Pour slowly and carefully to prevent spills and allow the wax to settle smoothly.
Wick Size
Choosing the proper wick size is crucial for a well-burning candle. The general rule is to use a wick diameter that matches the width of the jar. Wider jars need thicker wicks that won’t drown in wax, while narrow jars call for thinner wicks to avoid sooting and mushrooming.
For example, a 4-inch wide jar would use a CD-4, CD-5, or CD-6 wick. But a 2-inch wide jar would need a CD-2, CD-3, or CD-4 wick. Refer to a wick sizing chart to match your jar.
Proper wick centering is also important. The wick should be straight and centered in the middle of the jar. Tie or glue the wick to a pencil or chopstick placed across the mouth of the jar to hold it in place while pouring wax.
Secure the wick to the bottom of the jar with special wick stickers, hot glue on the glass, or by embedding the wick ends in melted wax. This prevents the wick from floating up or falling over when the candle is lit.
Setting the Candle
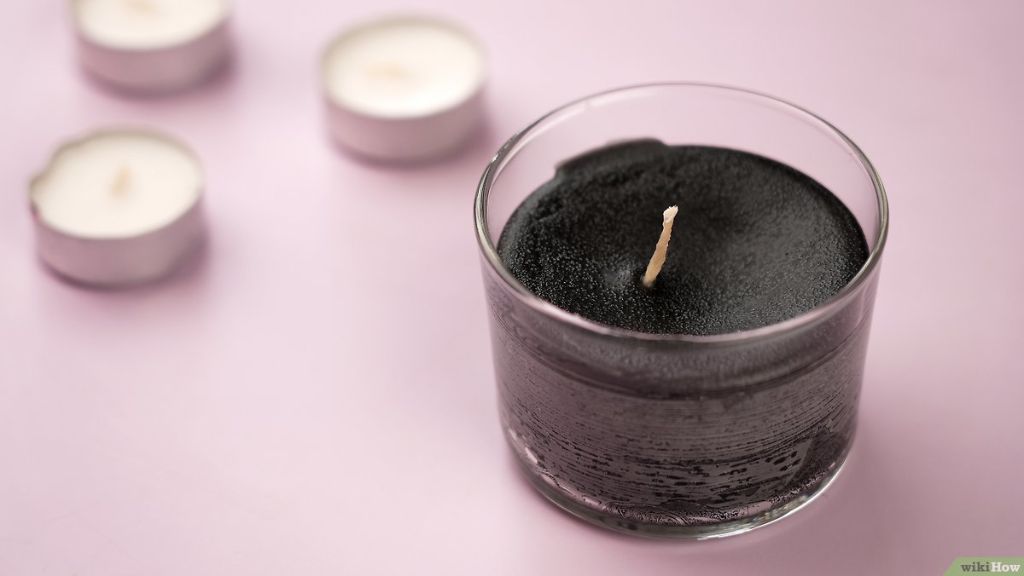
Once your candle wax is poured into the jar, you’ll need to allow adequate time for it to fully set before lighting. Depending on the size of the jar, setting the wax can take 24-48 hours. The candle wax often shrinks and pulls away from the sides of the jar as it cools and hardens. This means you may need to do multiple pours, allowing each layer to fully set before adding more wax. Test the candle first before burning it to make sure the wax has hardened completely throughout the jar. Light the candle for a few minutes and blow it out to see if a full melt pool forms on top. If wax remains unmelted around the edges, let the candle set for longer before burning.
According to wikiHow, letting the wax cool to 130-140°F before pouring into the jar allows time for a full set. Have patience and avoid lighting the candle too soon. Adequate setting time ensures safety and proper melting when burning.
Decorating
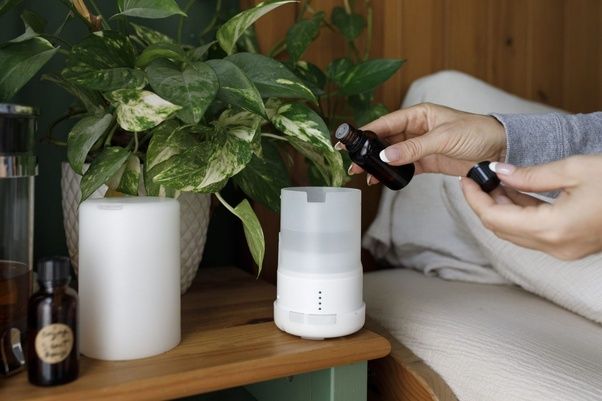
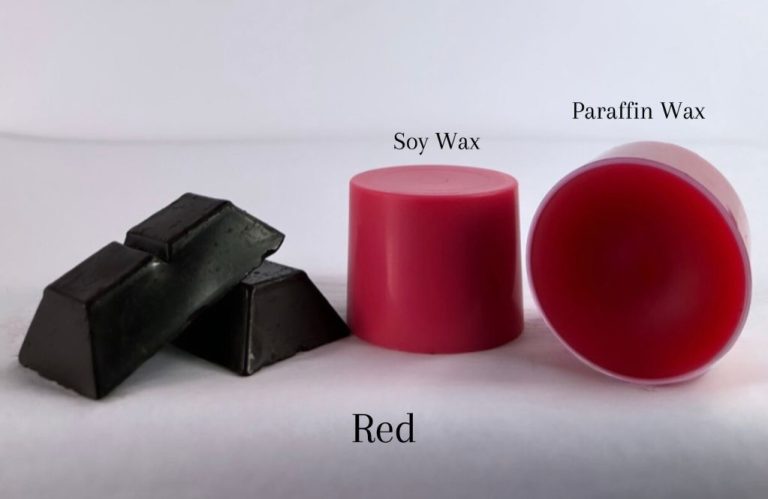
Adding oils for fragrance and dye for color are simple ways to decorate your homemade candles in glass jars. Essential oils like lavender, citrus, vanilla, cinnamon, and mint can provide lovely scents. Use candle dye to tint the wax in vibrant colors like red, blue, yellow, etc. There are also many creative ways to embellish the exterior of the jar.
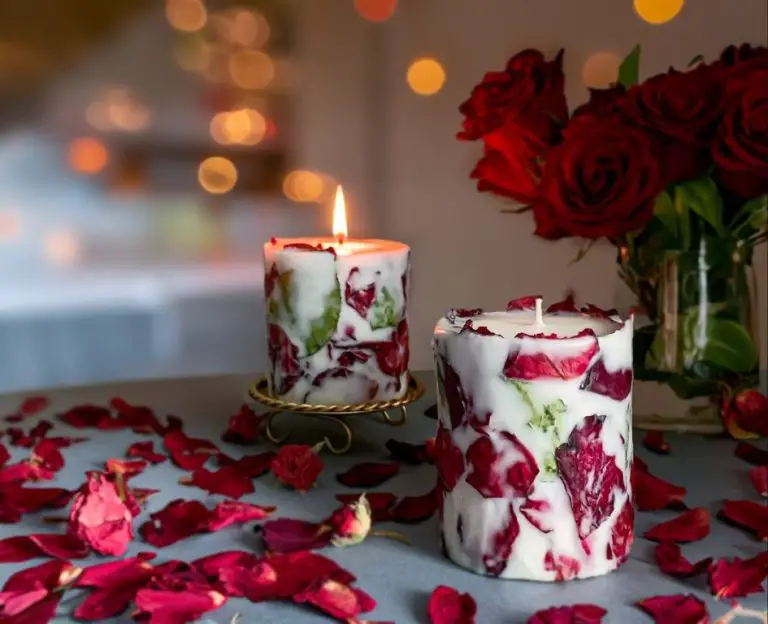
Try tying raffia, ribbon, raffia, or twine around the rim of the jar. Add decorative touches like seashells, beads, sand, pinecones, flowers, or other small objects in the jar before pouring wax. Affix silk flowers, fabric, lace, burlap, etc. to the outside of the glass. Paint or mod podge the jar for a unique look. Attach a lampshade over the jar for ambient lighting. Get creative with paint, glitter, decals, stickers, and more. The possibilities for decorating homemade candles in glass jars are endless!
See this Pinterest board for tons of inspiring ideas: https://www.pinterest.com/candlemonth/diy-candle-jar-decorating/
Burning Safely
When burning your homemade jar candles, safety should always be a top priority. According to Jenkins Restorations, using a glass jar is considered best practice for candle safety, as it keeps the flame from touching anything flammable. However, there are still precautions you should take.
Before lighting the candle, be sure to trim the wick to 1/4 inch. This will help prevent smoking and uneven burning. Also make sure to keep the candle away from drafts, as drafts can cause the flame to become uneven and release more soot. Using a candle base or holder can also help stabilize the candle and prevent tipping and spills.
Never leave a burning candle unattended. According to Suffolk Candles, most candles do not burn out on their own, so blow out the flame before leaving the room. Do not burn candles overnight. With proper precautions, you can safely enjoy your homemade jar candles.
Conclusion
Making candles in glass jars can be a fun and creative hobby that allows you to customize candles to your preferences. The key steps include choosing an appropriate glass jar, preparing it properly, adding wax and wicks, decorating if desired, and burning the candle safely. Taking the right precautions like using heat-resistant jars, avoiding cracks or flaws, allowing proper cure time, trimming wicks, and never leaving a lit candle unattended, will ensure your homemade candles burn cleanly and avoid accidents.
The benefits of candlemaking with glass jars include the ability to reuse and repurpose jars, make customized scented candles, and control the ingredients. Glass jars also showcase the candle design beautifully. DIY candles in glass make great homemade gifts. With some basic safety knowledge and preparation, you can tap into your creativity and make stunning candles in glass jars to enjoy.
In summary, candlemaking allows you to create beautiful, personalized candles with glass jars. Follow the proper steps to ensure safety and success. With some practice, you’ll be able to make professional-looking candles to enhance any space.