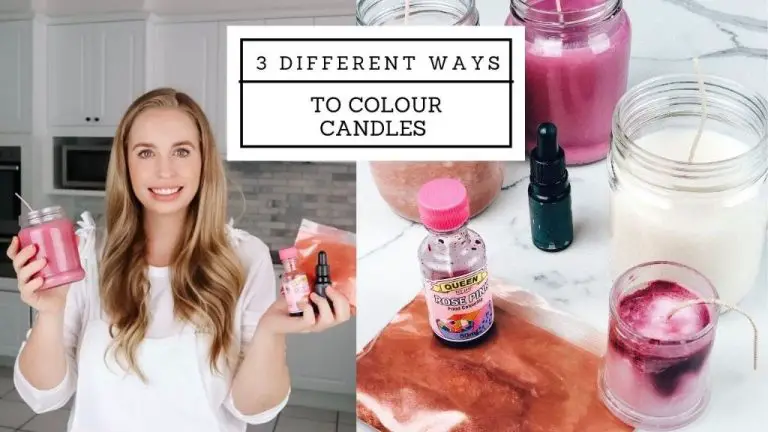
How Can I Color Wax At Home?
Colored wax is a temporary hair coloring product that allows you to add fun pops of color to your hair without the damage of traditional dye. It comes in a waxy stick form that you apply directly to the hair. The colored wax coats the hair strands, adding vibrant color that washes out with shampoo. It’s become a popular DIY beauty trend for its ease of use and temporary, commitment-free color results.
Coloring wax at home has many benefits. It allows you to try bold hair colors without permanently altering your hair. The color washes out within a few shampoos, making it great for parties, festivals, costumes, or just trying a new look. It’s gentle on hair since it coats strands rather than penetrating the cuticle. The conditioning ingredients like beeswax even impart moisture and shine as you color. You can layer colors for a rainbow effect or focus on select pieces. It’s an affordable and low-maintenance way to experiment with color.
Required Materials
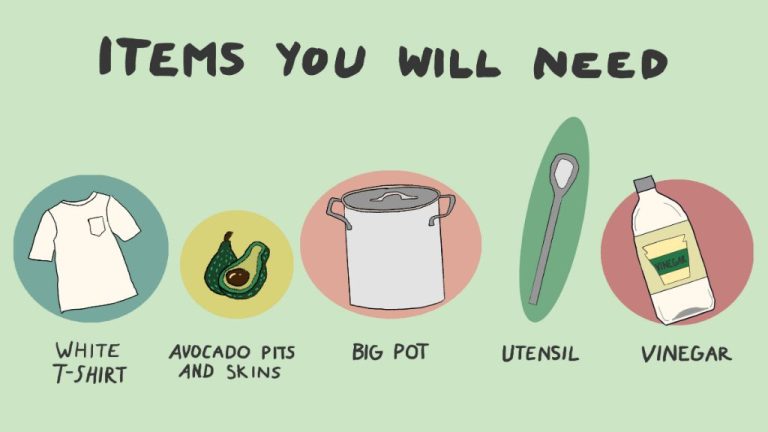
To color wax at home, you will need the following materials:
Wax – The most common types of wax used for candle making are paraffin, soy, and beeswax. Paraffin wax is inexpensive and easily accepts coloring but can produce more smoke. Soy wax is natural and clean-burning but may not hold color as well. Beeswax produces fragrant, non-toxic candles but can be expensive. Choose the type of wax suitable for your needs and budget. Have at least 1-2 lbs of wax on hand for coloring experiments (Brambleberry).
Dyes/Colorants – Candle dyes specially formulated for wax come in convenient flakes, blocks, or liquids with concentrated color. Alternatives like crayons, markers, chalk, mica powder, or food coloring can also be used but may produce inferior results. Have a range of candle dye colors or alternative colorants available for mixing custom shades.
Double boiler or makeshift double boiler – Melting wax requires indirect heat to avoid scorching, so a double boiler is essential. If you don’t have one, you can create a makeshift double boiler by placing a heat-safe bowl over a pot of gently simmering water. The bowl should fit snugly without touching the water.
Choosing Dyes
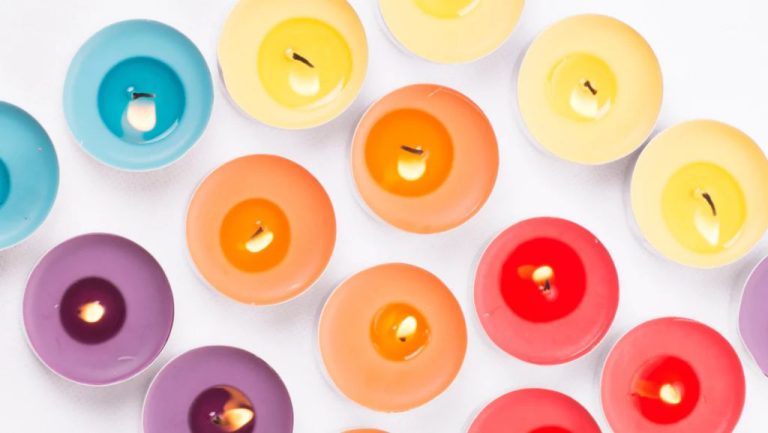
When coloring wax at home, you have several options for dyes. The most common types are liquid dyes, powdered dyes, shavings, and blocks. Each has their own advantages and considerations when coloring wax.
Liquid dyes are extremely vibrant and concentrated. Only a small amount is needed to achieve bold, saturated colors. They mix easily into melted wax. Liquid dyes come in many colors, but can be messier to work with than dry dyes.
Powdered dyes also create intense, vivid colors. A little powder goes a long way. They dissolve easily into wax. Powdered dyes are inexpensive and convenient for mixing custom colors. However, they can clump if not mixed thoroughly.
Dye shavings are thin slivers of concentrated dye. They melt directly into wax for brilliant color. Shavings give you precise control over color strength. But they are more limited in color options compared to powders and liquids.
Dye blocks are solid blocks of pigment that melt into wax. They slowly release color for a translucent effect. Blocks don’t blend as seamlessly as other dye types. But they create interesting marbled color variations.
Consider the kinds of colors you want when choosing dyes. Liquids and powders offer the widest range and custom mixing. Shavings and blocks provide unique coloring techniques. Also factor in your budget. Liquids tend to be the most expensive, while powders are very affordable.
Preparing the Wax
Before coloring the wax, it’s important to make sure the wax is clean. Any debris, dust, or impurities in the wax can cause uneven coloring results. Start with brand new blocks of uncolored wax whenever possible. If reusing old wax, melt it down and filter it through a clean cheesecloth or fine mesh strainer to remove any particles (source).
You may also want to consider adding fragrance oils or essential oils to scent your wax before coloring it. It’s easier to incorporate scents at the melting stage rather than after the wax has cooled and hardened. Start with 0.5-1 ounce of fragrance oil per 1 pound of wax and adjust to your preferences (source).
Melting the Wax
One of the most important steps in coloring wax at home is properly melting the wax. The melting point of wax varies depending on the type of wax being used. Paraffin wax, for example, melts between 115-150°F. Soy wax melts between 135-145°F. Beeswax has a melting point of 144-147°F. It’s crucial to know the melting point of the specific wax you are using.
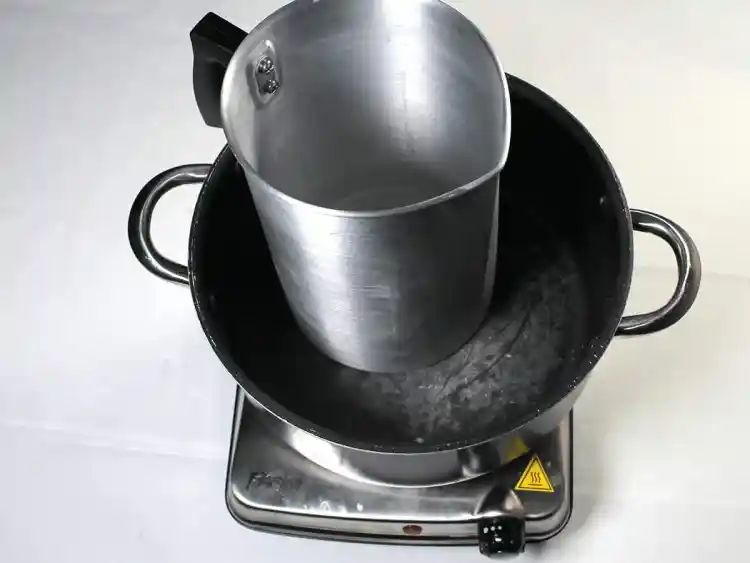
The best method for melting wax is to use a double boiler. This allows you to heat the wax indirectly, reducing the risk of burning or scorching it. To use the double boiler method:
- Fill the bottom pot with 2-3 inches of water and bring it to a gentle simmer on the stove.
- Place your wax in a heat safe container that fits comfortably in the simmering pot without touching the bottom.
- Allow the wax to melt slowly, stirring occasionally.
- Avoid overheating the wax. Turn off the heat once the wax is fully melted.
Melting the wax properly ensures it reaches the ideal temperature and consistency for coloring and pouring. Taking it slowly with the double boiler prevents burning the wax.
Adding Color
Properly adding color to wax is crucial for getting vibrant, evenly mixed hues. According to Bramble Berry, you should add the dye when the wax is around 185°F to ensure it fully melts and incorporates. They recommend adding a small amount of dye first, such as 1/8 teaspoon per pound of wax, and stirring thoroughly for 2 minutes. You can then check the color and gradually add more dye, a pinch at a time, until reaching the desired vibrancy.
When mixing colors, WikiHow suggests starting with a larger amount of your base color, then adding small amounts of the secondary color. Mix well after each addition, allowing the colors to fully combine before adjusting. Go slowly, as it’s easier to make a color darker than to lighten it. Test on a spoon or piece of wax paper periodically to check the color mixture.
Testing Colors
Before pouring your colored wax into molds or containers, it’s important to test the colors first using small samples of wax. This allows you to assess how the colors look when fully set, which can differ from how they appear when liquid. Some tips for testing wax colors:
Melt a small amount of plain wax in a disposable container. Add drops of dye and stir thoroughly to mix in the color. Pour into a silicone mold or spoon and allow to fully harden and cool. The color may appear different once set, so resist judging the hue when the wax is still warm.
Testing colors on samples allows you to tweak and adjust the dye amounts before coloring a whole batch of wax. You can experiment by adding more drops of a certain color if the test sample is too light or off-hue. Take notes on the number of drops added so you can reproduce the color consistently.
Allow the test samples to set overnight before making a final color determination. Colors can change slightly as the wax fully cures and hardens. Don’t rely on the color when the wax is still warm, as it may misrepresent the final result.
Keep test samples together in a container so you have color references for future wax projects. Label each sample with the dye(s) and number of drops used.
By testing colors first and allowing adequate cure time, you’ll achieve beautiful, vibrant and consistent colors in your finished wax pieces.
Pouring and Cooling
Once you’ve added your desired dye colors and thoroughly mixed them into the melted wax, you’ll want to carefully pour the liquid wax into molds to cool and harden. It’s important to pour the wax at the right temperature for optimal results.
The ideal pouring temperature is between 150-165°F (65-75°C). If the wax is too hot, it may scorch or lose its color vibrancy. If it’s too cool, it may start to solidify too quickly and not flow smoothly into the mold. Use a thermometer to monitor the temperature and wait until it drops into the target range before pouring.
As for the cooling process, to ensure the wax cools slowly and minimized cracks/imperfections, place the filled molds somewhere free of drafts or direct airflow. Let the wax cool at room temperature, which generally takes 1-2 hours. Don’t try to rush the cooling by placing it in the refrigerator or freezer. The drastic temperature shift could cause the wax to contract too quickly and crack.
Once fully cooled and hardened, the colored wax is ready to be unmolded and used! Store leftover colored wax in an airtight container if you want to reuse it for future projects.
Storing and Reusing Colored Wax
Properly storing your colored wax will help preserve the colors and allow you to reuse it for future projects. Here are some tips:
Storage Containers:
Store colored wax in airtight containers, like glass jars or plastic containers with tight-fitting lids. This prevents the wax from absorbing moisture and odors which can affect the color and quality over time.
Clean, dry glass jars or tin cans work well for storing smaller amounts of colored wax. For larger amounts, use large plastic containers or buckets with lids.
Label the containers with the color and type of wax so you know what’s inside. Store different colors separately so they don’t mix together.
Melting and Reusing:
To reuse colored wax, simply melt it again using a double boiler or slow cooker on low heat. Avoid overheating as this can burn the wax.
Stir the melted wax regularly to fully incorporate any colorants. Pour into molds to create new wax pieces, or dip candle wicks to make colored candles.
Mixing small amounts of unused colored wax together creates fun new colors. But be careful not to muddy the colors by mixing too many.
With proper storage, you can reuse colored wax multiple times. Just maintain a low melt temperature and stir thoroughly before pouring into projects.
Safety Tips
When coloring wax at home, it’s important to keep safety in mind. Here are some tips to follow (Northwood Candle Supply; Twist O’ Vents; Lone Star Candle Supply):
Ventilation – Make sure to color wax in a well-ventilated area. Open windows or use a fan to circulate fresh air. Avoid breathing in wax fumes.
Skin protection – Wear long sleeves and pants to protect your skin from hot wax splatters. Use heat-resistant gloves when pouring hot wax. Tie back long hair.
Supervise children – Do not leave melting wax or hot candles unattended around children. Keep all candle making materials safely out of reach of kids.