Diy Christmas Candle Ideas
Making your own candles for the holiday season can be a great way to spread festive scents and decorative cheer on a budget. DIY Christmas candles allow you to customize colors, scents, shapes, and designs while avoiding the high prices of store-bought candles. With some basic supplies like wax, wicks, fragrance oils, dye blocks, and containers, you can create beautiful, one-of-a-kind candles that make thoughtful gifts or add a homemade touch to your holiday decor.
This guide will walk through easy, beginner-friendly techniques for making layered, shaped, scented, glittery, and other decorative Christmas candles. Whether you want to craft simple jar candles or more ambitious candle projects, there are fun DIY ideas here for all skill levels. Get ready to unleash your creativity and fill your home with holiday candle creations you made yourself!
Supplies Needed
Here are the main supplies you’ll need for making DIY Christmas candles:
Wax
The most common types of wax for candle making are paraffin, soy, and beeswax. Paraffin wax is inexpensive and makes candles that burn cleanly. Soy wax is made from soybeans and is a natural, renewable resource. Beeswax produces candles with a lovely honey aroma.Craft stores like Micheal’s carry all these types of wax in slab or pellet form.
Wicks
Wicks draw the melted wax up to fuel the flame. The width of the wick should match the diameter of the candle. Too small a wick will produce a weak flame, while too large a wick can create smoke and drips.
Candle Jars/Containers
Glass and metal containers work best, as they withstand higher temperatures. Upcycled jars from food like jams or pickles are a budget choice. Or use seasonal containers like ornament bulbs or pine cones.
Scents/Oils
Essential oils infuse candles with festive fragrances like pine, cinnamon, peppermint or winter spice. Use oils sparingly as they can alter the melt point if too much is added.
Dyes
Liquid candle dyes are concentrated so only small amounts are needed to tint the wax. Simple food coloring can be used, but the colors are lighter.
Decorations
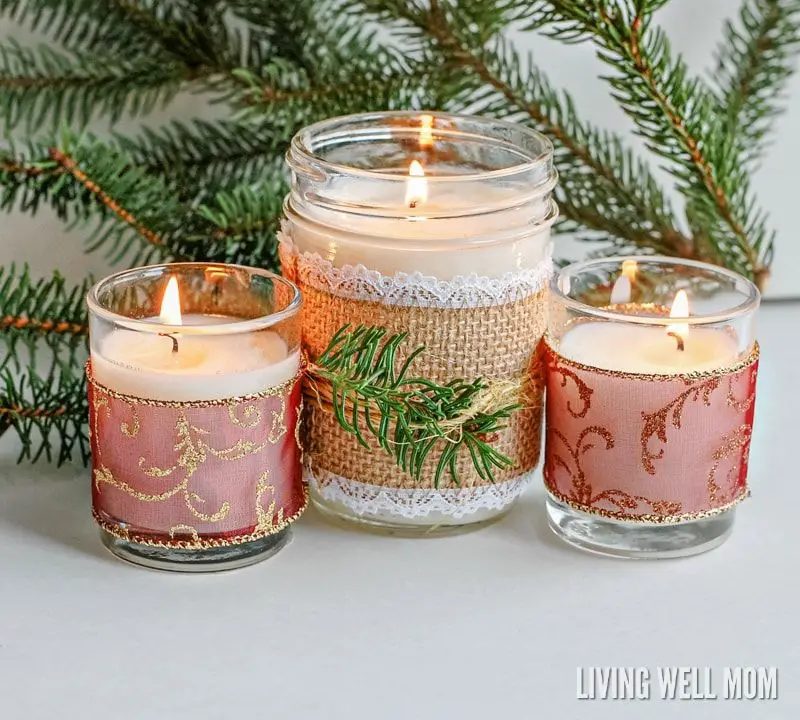
Add sparkle with glitter or shiny sprinkles. Or top with pine cones, cinnamon sticks or other natural objects. Fabric trim tied around the jar adds a lovely touch.
Making Basic Candles
Making basic candles involves just a few key steps. First, you’ll need to melt the wax. According to Candlescience, waxes like soy, beeswax, or paraffin should be melted to a temperature between 150-165°F to ensure proper pouring and cooling results.
Next, prepare the wick by cutting it to about 1/2 an inch longer than you want the finished candle height to be. Attach the wick to the bottom of the candle vessel using wick stickers or hot glue, making sure it’s centered (Candlescience).
Once the wax is fully melted, add any desired colors or scents, stirring well to fully incorporate. Then carefully pour the wax into the waiting vessel, leaving some room at the top for the melted wax to pool as it cools (Proflowers).
Finally, allow the candle to cool completely undisturbed, which can take up to 48 hours. This helps prevent sinkholes and allows an even finish. Once cool, trim the wick to 1/4 inch (Candlescience).
Scented Candles
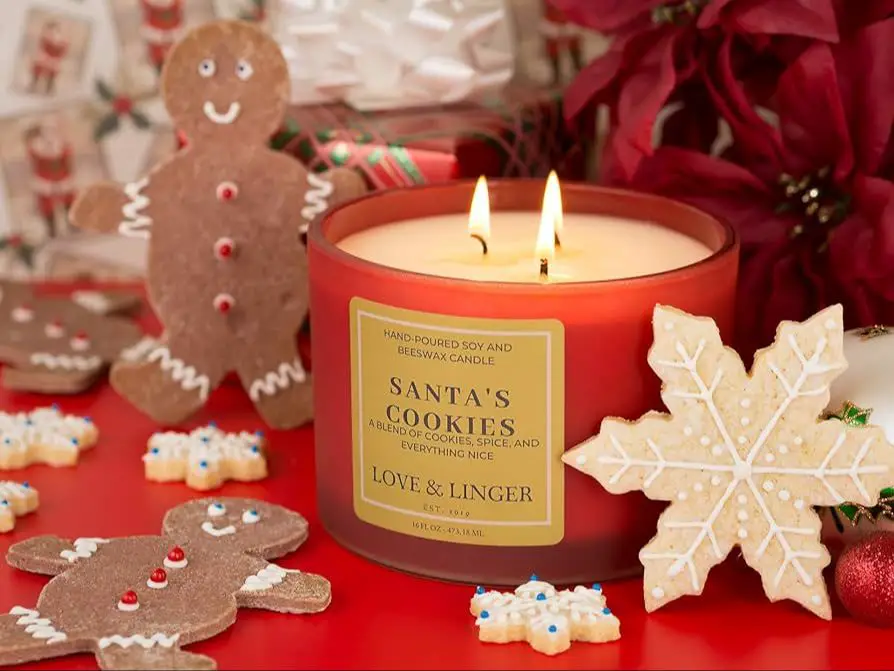
Scented candles can add a festive aroma to your home during the holidays. When making scented candles, carefully choose complementary scents that evoke the Christmas season. Some popular scents for Christmas candles include pine, cinnamon, cranberry, and vanilla (https://storables.com/articles/how-to-make-christmas-candles/).
To add scent, you can use essential oils or fragrance oils specially formulated for candle making. Add several drops of oil to the melted wax before pouring into jars or molds. Start with 1-2 drops of oil per ounce of wax. You can add more if the scent is too faint. Stir well to fully incorporate.
Be sure to test the scent strength once the candle has fully cooled and hardened. The cooling process can cause some scents to become stronger or weaker. Adjust the amount of fragrance oil for future batches if needed.
Layered Candles
Layered candles are a fun way to create a colorful, striped effect in your homemade candles. To make a layered candle:
First, prepare the candle jars and wicks as usual. Then melt your wax and divide it into separate pouring pots for each color layer. Make sure to add color and fragrance to each layer as desired.
Start by pouring a thin layer of one color along the bottom of the jar and let it partially set up. Then pour a layer of a contrasting color on top, followed by a thin layer of white to create definition between the colors. Continue alternating pouring colored layers and white layers until you’ve filled the jar. Make sure to fully let each layer set up before pouring the next.
The key is pouring thin layers and allowing time for each layer to cool and harden before adding the next. This prevents the colors from blending together.
Using white wax between each color layer will help create a clear striped effect. Have fun experimenting with different color combinations!
Shaped Candles
Shaped candle molds allow you to create fun and festive candles perfect for the holidays. Silicone molds are the best option for shaped candles, as they are flexible and allow for easier candle removal. Some fun Christmas shapes to consider are trees, snowmen, snowflakes, and gingerbread men.
When working with shaped molds, make sure to grease them well so the candles can release easily. Once your candle has cooled completely, flexing and massaging the mold can help loosen it. Slowly peel back the mold from the bottom up to reveal your custom shaped candle!
Sources:
https://www.diys.com/best-candle-making-molds/
Glitter Candles
Adding glitter is a fun way to dress up basic candles and make them sparkle. There are a few tips for getting an even glitter distribution in your candles:
First, make sure to use cosmetic-grade glitter designed for candle making. Craft glitter or regular fine glitter can burn and create toxic fumes, so candle supply shops like TikTok recommend using cosmetic grade glitter.
Mix the glitter in when adding fragrance or dye to the wax so it gets evenly distributed. Stir thoroughly to spread the glitter throughout the wax before pouring into containers.
Another option is to sprinkle glitter on the top of the candle after pouring for a pretty shimmery effect. Let the wax slightly harden first so the glitter stays.
There are many glitter options like fine micro glitter or chunkier hexagonal glitter. Metallic glitter in silver, gold, copper or multi-colored glitter provide beautiful sparkling accents to candles.
Decorative Candles
You can decorate plain candles easily to create festive and unique designs. Some popular decorative items to add include berries, pinecones, glitter, and more. Here are some ideas for decorating candles:
Attach berries, pinecones, cinnamon sticks, star anise, and other natural items with hot glue. Make sure the items are dry first. Apply a small dab of hot glue on the back of the item, then quickly press onto the candle surface for a few seconds until it sets. You can cluster items together for a nice effect. See this tutorial for attaching pinecones: Amazon tutorial.
Wrap twine, ribbon, raffia, or fabric around the candles in various patterns. Secure at the back with hot glue. Try crisscrossing or twisting the materials for fun textures. Metallic ribbon and burlap make nice options. Get creative with different materials!
Use stencils and glitter to add coordinating designs. Apply the stencil, brush on glue, sprinkle glitter over the top, then remove the stencil. Holiday shapes like trees, snowflakes, stars, etc. look great. See some stencil ideas on Etsy: Etsy stencils.
With some simple decorative touches, you can transform plain candles into beautiful, homemade holiday decor!
Jar Labels
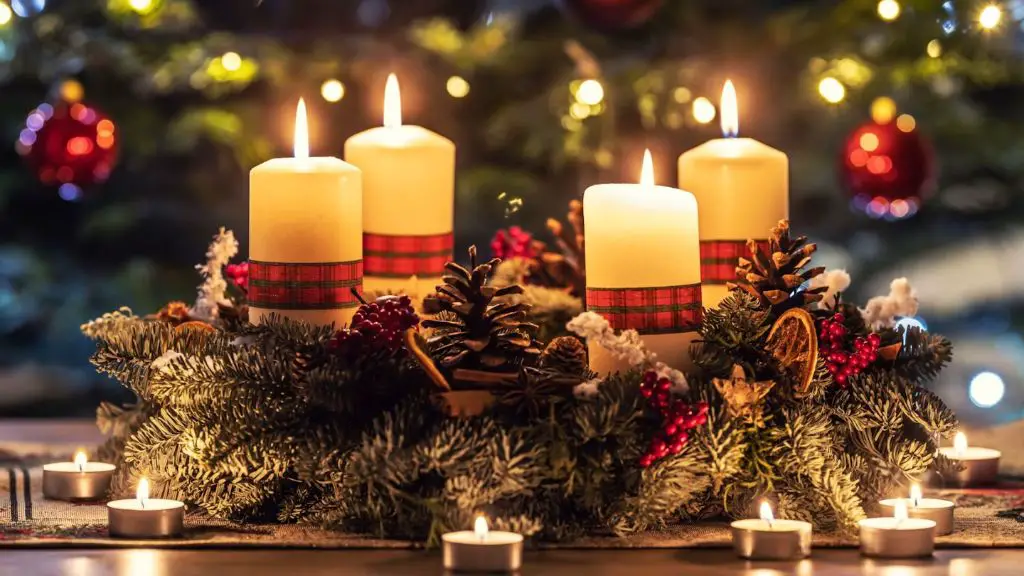
Adding a custom label to your homemade candles can make them look professionally made and add a nice personal touch. When designing labels, get creative with shapes, materials, drawings, stamps, and decorations. Print the labels on cardstock, scrapbook paper or sticker paper so they look polished.
Attach the labels with a glue stick, double-sided tape, or a glue dot. Make sure the glue is strong enough to adhere through any wax that melts and drips down the jar. For a really secure hold, tie a piece of twine or ribbon around the jar over the label. Some ideas for DIY labels include:
- Hand-drawn designs
- Digital prints of photos, artwork or quotes
- Vintage seed packet images
- Pressed flowers under a sticker label
- Calligraphy names or messages
Getting creative with labeling will make your handmade candles extra special gifts or home decor items. Just be sure not to cover too much of the jar or people won’t be able to see the lovely candle inside!
Safety Tips
When making DIY candles, it’s important to follow some key safety tips to avoid potential fire hazards. According to the National Candle Association (https://candles.org/fire-safety-candles/), you should always allow homemade candles to cool completely before burning them for the first time. The wax needs time to fully harden and cure, which can take up to 2 weeks. Burning a candle too soon can cause the wax to melt unevenly or the candle to tip over while lighting.
The National Fire Protection Association (https://www.nfpa.org/education-and-research/home-fire-safety/candles) recommends trimming candle wicks to 1⁄4 inch before lighting to avoid large flames. Long wicks can produce excessive smoke and dripping wax. Trim the wick every few hours as the candle burns.
Never leave a burning candle unattended. Extinguish the flame when leaving a room or before going to sleep. Unattended candles are a leading cause of home fires. Always place candles in sturdy holders on an uncluttered surface away from drafts. Keep them away from flammable materials like curtains, furniture, bedding and decorations.

