Can You Use Rit Dye To Dye Candle Wax?
Rit dye is a popular household dye made by the Rit brand that has been around for over 100 years. It was first introduced in 1918 as a liquid dye solution and became widely used for dyeing textiles and fabrics in the home. Rit dye works on many types of fabrics including cotton, silk, wool, nylon, rayon and blends. Today, Rit produces a range of dye products including all-purpose dyes, fabric dyes, fashion dyes and specialty dyes for synthetic fibers. Rit dyes are commonly used for tie-dyeing t-shirts and other clothing as well as dyeing fabric for quilting, arts and crafts.
Recently, crafters and candle makers have begun experimenting with using Rit dye to color candle wax. By adding dye to melted wax, it is possible to create candles in any color imaginable. The dyed wax can be used to make solid colored candles, layered candles, or tie-dyed candles with swirling colored patterns. Dyeing wax with Rit dye allows for creativity and customization when making decorative or scented candles at home.
Safety Considerations
When working with dye, it’s important to take proper safety precautions. According to Rit Dye’s safety data sheets, you should wear gloves and work in a well-ventilated area when dyeing wax. The dyes contain chemicals that can irritate skin and eyes, so contact should be avoided. Be sure to thoroughly wash hands after handling the dyes.
Work surfaces should be protected from spills and splatters. Clean up any drips or spills right away to prevent staining. It’s also recommended to wear an apron or old clothes to avoid dye stains on your clothing.
Rit Dye states that their dyes are non-toxic when used as directed. However, the dyes should be kept out of reach of children and pets. Do not ingest the dye. Overall, with proper precautions, dyeing candle wax with Rit Dye can be done safely.
Required Materials
The main materials you need to dye candle wax are:
- Rit dye – This is a commonly used household dye that works well for coloring candle wax. You can find it at most craft and big box stores. Make sure to use the powdered form rather than the liquid dye.
- Wax – You can use paraffin, soy, beeswax, or other candle waxes. The dye will work with any of these bases. According to Brambleberry, the dye disperses best in soy wax.
- Double boiler – This allows you to gently melt the wax. You don’t want to overheat it.
- Containers and spoons – You’ll need something to melt the wax in and stir the dye. Glass or metal work well.
- Gloves – Dye can stain skin, so wear gloves when handling.
You may also want to have silicone molds ready for pouring the dyed wax into candles or other shapes. The materials are very simple and many can be found at home.
Preparing the Dye
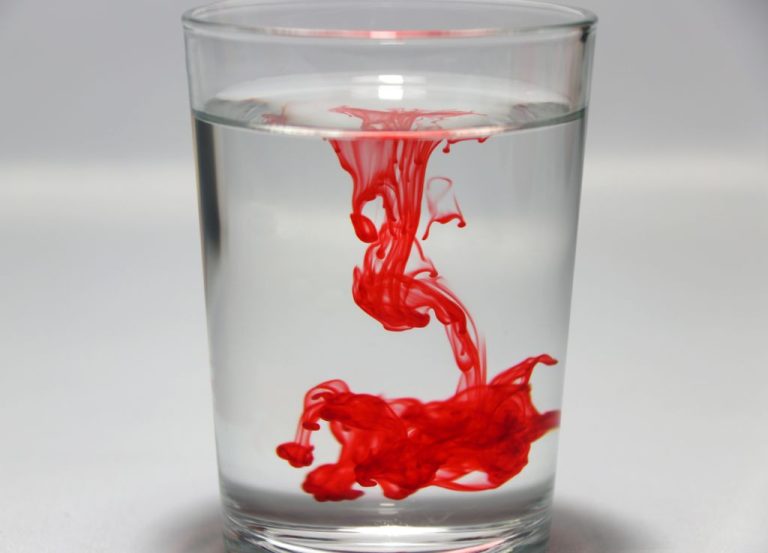
Before adding the dye to the melted wax, it’s important to properly prepare the dye according to the package instructions. Rit All-Purpose dye comes in liquid and powder forms. The liquid dye contains mostly water, so it is not recommended for candle wax. The powder dye is the best option.
To prepare the powder dye, mix it with very hot water per the instructions, usually 1-2 tsp of dye powder to 1 cup of 195°F water. Make sure to stir continuously until the dye fully dissolves. Allow the prepared dye to cool to room temperature before adding it to the wax.
It’s also crucial to use the right amount of dye for the quantity of wax. The standard ratio is 1⁄2 to 1 tablespoon of prepared liquid dye per 1 pound of wax. Adding too much dye can negatively impact burn time and scent throw. Start with less dye and increase incrementally until reaching the desired color intensity.
Once the dye is prepared properly, it’s ready to be incorporated into the melted wax.
Melting the Wax
When dyeing candle wax, it’s important to use a double boiler to gently melt the wax. This involves placing a heatproof bowl over a pot of simmering water. The steam from the water heats the bowl just enough to melt the wax without scorching it.
Different types of candle wax have varying melt points that you’ll need to consider:
- Paraffin wax melts between 115-150°F.
- Soy wax melts between 115-145°F.
- Beeswax melts between 144-147°F.
- Palm wax melts between 135-145°F.
- Gel wax melts between 150-160°F.
Make sure you heat the wax slowly and stir it frequently. Melting too quickly or overheating can burn the wax. Monitor the temperature with a thermometer and remove the wax from heat before it exceeds the recommended melt point.
Adding the Dye
Once the wax is fully melted, you can begin adding the dye. It’s important to add the dye slowly while stirring constantly. This will help ensure even color distribution throughout the wax. According to Lonestar Candle Supply, you’ll typically want to use 0.1-0.5% dye by weight for darker colors like black, and up to 1-2% dye by weight for lighter colors like pink or yellow.
As you’re adding the dye, continue stirring slowly to incorporate it. Avoid splashing as this can cause uneven coloring. Stir thoroughly for at least 2-3 minutes after adding all the dye to make sure it’s fully blended. Check for any dye specs and keep stirring until the color is uniform. The key is taking your time and stirring slowly and constantly as you add the dye.
Cierra Candles recommends adding dye a little at a time until you achieve the desired color intensity. You can always add more, but it’s hard to lighten a color once the dye is added. They suggest keeping track of how much dye you’ve added by marking the outside of the dye bottle with a permanent marker as you go.
Pouring the Wax

Once the wax has fully melted and you’ve added the dye, it’s time to carefully pour the wax into containers to set. Pour slowly and steadily to prevent spilling or splattering. Make sure to pour all the way to the bottom of the container so the wax fills it up completely.
At this stage, you can also add fragrance if desired. Standard usage is 1 ounce of fragrance oil per 1 pound of wax. Add the fragrance oil after the dye, mix to fully incorporate throughout the wax, then pour into containers. The fragrance will infuse the wax as it cures. Popular scents like vanilla, lavender, citrus, and pine work well for homemade candles.
Use caution when pouring, as the wax will be extremely hot. Wear protective gloves and clothing in case of splashing or spills. Work slowly and carefully. Do not fill containers to the absolute top, leave a little headspace for the wax to shrink slightly as it cools and sets.
Cooling and Curing
Allowing the dyed wax to cool properly is key to avoiding cracks and achieving the best results. According to The Candle Maker’s Store, after pouring the wax into containers, allow the candles to sit undisturbed as they cool and harden. Cool the candles at room temperature for at least 24 hours before moving them. If the wax cools too quickly, such as by placing the candles in the refrigerator, it can cause cracks as the outer wax hardens faster than the inner wax.
Additionally, dyed wax candles require a proper curing time for optimal burning. The Candle Science blog recommends allowing containers candles to cure for 7-14 days after pouring and cooling. For pillars, cure at least 2 weeks. As candles cure, excess moisture evaporates from the wax which helps the wax hold its shape and burn cleanly. Moving candles before fully cured can cause issues like wet spots, sink holes, and bending pillars.
Be patient and allow dyed wax candles to cool gradually at room temperature for at least 24 hours, then cure 7-14 days before burning. Following proper cooling and curing steps will result in beautifully colored candles with an even burn.
Uses for Dyed Wax
There are several creative ways to use dyed candle wax for DIY crafts and home decor projects:
Making candles is one of the most common uses for dyed wax. You can create candles in any color by adding liquid dye to the melted wax before pouring into containers and candle molds. This allows you to coordinate your candle colors with your home’s decor or make candles for holidays and special occasions. For example, red and green candles for Christmas or pastel colors for spring.
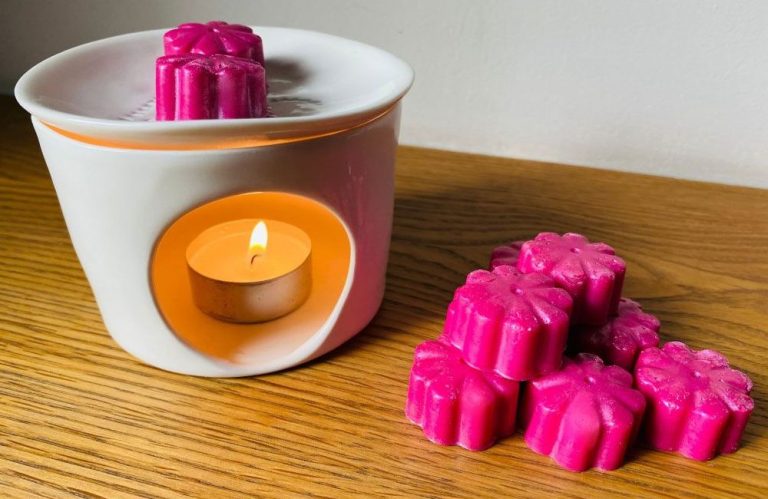
Another way to use dyed wax is to make wax melts. These are small chunks of scented wax that are warmed to emit aroma. You can dye the wax to coordinate with the scent you add. For instance, light blue wax for ocean breeze scented melts. The dye adds visual appeal when pouring the wax into melt tins or silicone molds.
Dyed wax can also be used to seal and decorate envelopes and crafts. Simply melt the wax and use a brush to “paint” a thin layer over the project. Try coordinating the wax color to your stationery. The wax adds protection from moisture and gives crafts a polished, finished look.
Tips and Tricks
When dyeing candle wax, there are some tips and tricks to keep in mind for best results:
Experiment with mixing colors: You can create custom colors by mixing RIT dye powder colors. Start with small amounts of each color and add more as needed to achieve the desired shade. Mixing complementary colors works best. Be aware that some colors like red, purple and pink can easily overpower other shades.
Troubleshoot issues:
- If the color is too light, add more dye powder a little at a time until reaching the desired shade.
- If the color morphs or fades as the wax cools, try reducing the dye powder amount. Too much dye can cause the color to change.
- If the color sinks to the bottom, stir vigorously after adding the dye to fully incorporate it.
- If the wax seizes up or hardens too quickly, gently reheat to melt again before pouring.
By starting with small amounts of dye powder and making adjustments as needed, you can achieve vibrant custom colors in your candle wax.