Can You Use Plastic Molds For Wax Melts?
Introducing Wax Melts
Wax melts, also known as wax tarts, are scented wax products used in aroma diffusers or burners to scent and fill a room with fragrance. Wax melts work by melting the wax, which disperses the scent through heat diffusion rather than burning a wick like typical candles. They do not require a wick since they are not burned directly with a flame.
The concept of scented wax without a wick originated in the 1990s when companies like Scentsy began selling small scented wax cubes. These waxes were designed to be gently warmed in special electric warmers, melting the wax and dispersing fragrance.According to Heaven Scent by Joanne, the origins of wax melts can be traced to companies like Candles by Victoria, Scentsy, and PartyLite. Initially, they were designed as an alternative safer option compared to burning candles, while still allowing people to enjoy home fragrance.
Wax melts have grown enormously in popularity over the last decade. They allow people to enjoy a variety of fragrances by easily switching out wax cubes. The market has expanded with small businesses and independent sellers offering an array of scented wax melt options.
Benefits of Using Plastic Molds
Plastic molds offer several advantages for making wax melts at home.
One of the main benefits is that plastic molds are reusable. As long as you clean them properly after each use, plastic molds can be used over and over again to make batches of wax melts.[1] This makes them very cost-effective compared to single-use molds.
Plastic molds are also relatively inexpensive and easy to find. Many craft stores sell plastic molds in various shapes and sizes that work well for wax melts. You can also find affordable plastic molds online in bulk quantities.
The variety of plastic molds available is another big advantage. You can find plastic molds shaped like flowers, seashells, hearts, gems, and more. Fun novelty shapes make your homemade wax melts unique. The diversity of mold options allows you to get creative with different melt designs.[2]
Overall, reusable, affordable, readily available plastic molds offer flexibility and convenience for making customized wax melts at home.
Types of Plastic Molds
There are several types of plastic that can be used to make molds for wax melts. Some of the most common options include:
Silicone
Silicone is one of the most popular choices for wax melt molds. It is heat resistant, flexible, and easy to remove the finished wax melts from. Silicone molds come in a wide variety of fun shapes and designs like flowers, hearts, animals, and more (Shop Wax Melt Molds).
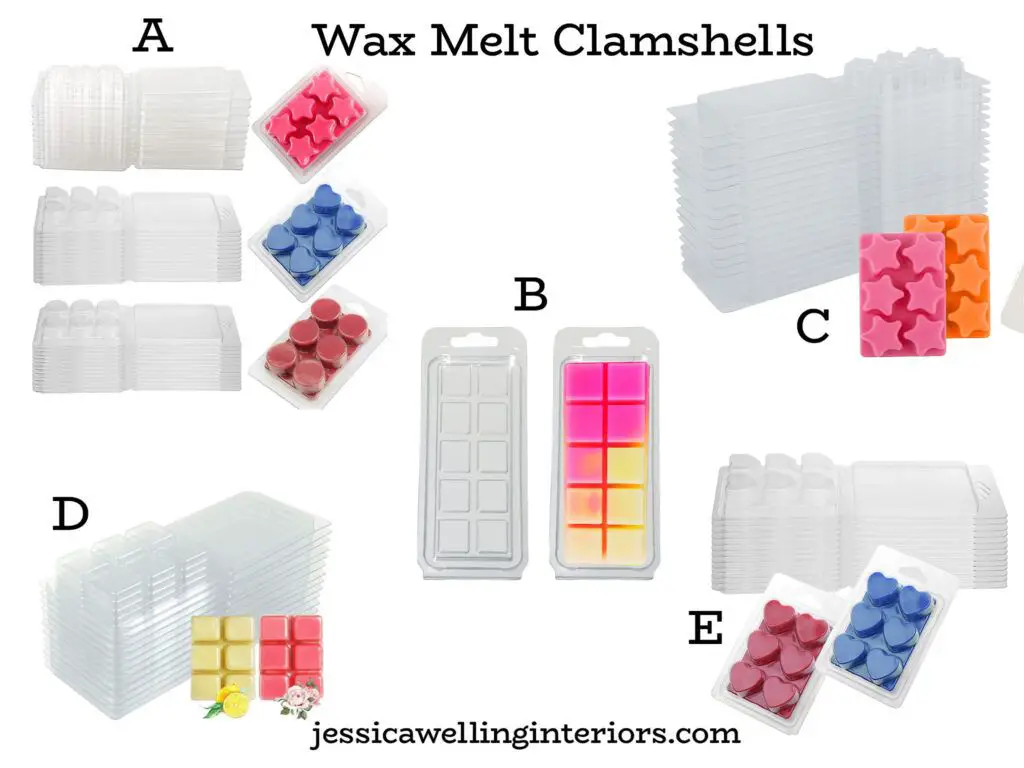
Plastic Resin
Plastic resin molds are durable and withstand high temperatures. They allow for intricate designs and crisp details in the finished wax melts. You can find plastic resin molds shaped like gems, sea shells, and other decorative shapes.
Ice Cube Trays
For a budget-friendly option, you can repurpose empty plastic ice cube trays. These make simple square or round wax melts. Look for flexible trays made of silicone or plastic for easy removal.
Candy Molds
Similar to ice cube trays, plastic candy molds can be reused to make fun shaped wax melts. You can find a variety of holiday and novelty shaped candy molds.
Soap Molds
Soap making molds are also suitable for wax melts, as they are designed to withstand high temperatures. You can find interesting shapes like bars of soap, seashells, geometric shapes, and more.
Preparing the Molds
Before pouring wax into plastic molds, it’s important to properly prepare them so the finished wax melts release easily. The main steps are cleaning, coating with a mold release agent, and allowing time to fully dry.
Start by washing the molds in hot, soapy water to remove any residues. Make sure to scrub thoroughly inside cavities and around edges. Rinse and dry completely. Then apply a thin, even layer of mold release spray or liquid, like silicone or vegetable oil. Coat all surfaces, paying special attention to corners and crevices so wax won’t stick. Let the release agent dry for at least 30 minutes before pouring in wax. This ensures it fully evaporates and provides a barrier for clean removal.
Taking the time to prep plastic molds prevents wax from sticking and makes unmolding quick and easy. Following these simple steps helps guarantee your homemade wax melts lift out flawlessly.[1]
Choosing Wax for Melts
When making wax melts, you have several wax options to choose from. Some of the most popular wax types for melts are:
Paraffin Wax – This petroleum-based wax is affordable and makes melts that are hard and long-lasting. However, some find the scent throw to be weaker compared to natural waxes. Sources: https://nikura.com/blogs/discover/best-wax-for-wax-melts
Soy Wax – Made from soybeans, this renewable and biodegradable wax is known for its great scent throw. It’s easy to work with but can be more expensive than paraffin. Soy wax melts also tend to burn quicker. Sources: https://www.candlescience.com/learning/choosing-a-soy-wax/
Beeswax – Natural beeswax produces melts with a lovely honey scent. However, it can be prone to frosting and is one of the more expensive wax options. It also has a low melting point.
Coconut Wax – This natural wax is praised for its strong scent throw. It can be mixed with other waxes. Coconut wax melts absorb fragrance oil well but are softer than soy or paraffin.
When selecting wax, consider factors like cost, scent projection, hardness, melting point, and environmental footprint. Testing different wax types can help determine which performs best for your needs.
Making the Wax Melts
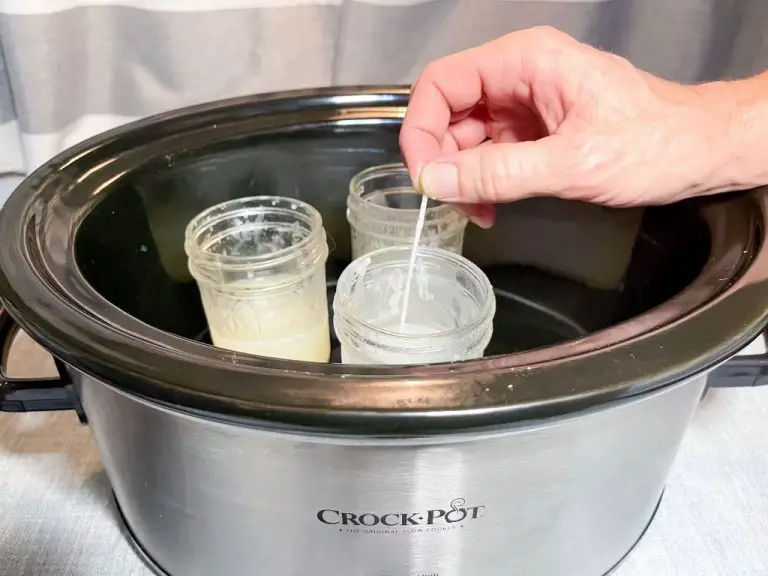
Making wax melts requires just a few ingredients and simple steps. The first step is to melt the wax using a double boiler or microwave safe container. Many candle and soap making waxes work well for wax melts like soy, paraffin, or beeswax. Refer to the manufacturer’s directions for proper melting instructions. Heat the wax slowly and avoid overheating to prevent discoloration. Aim for a temperature around 185-200°F to ensure proper melting.
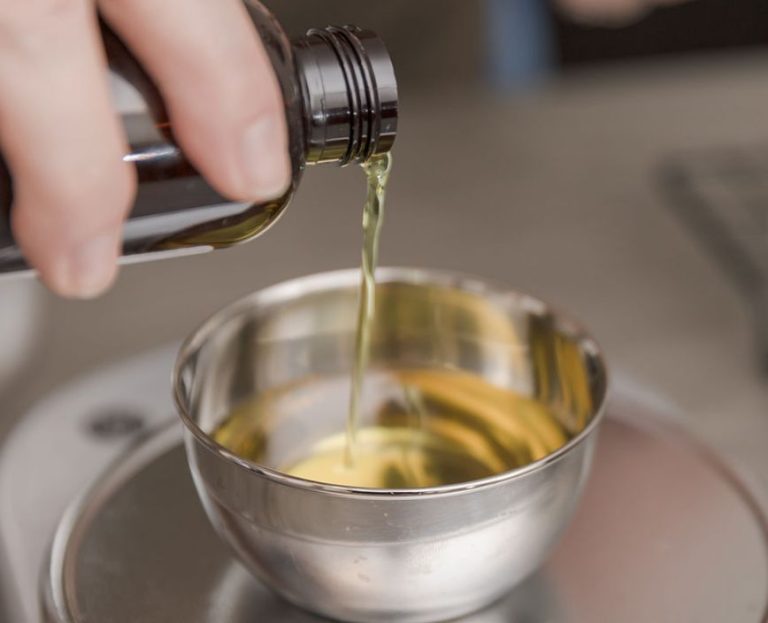
Next, add any desired fragrance oil and liquid dye once the wax is melted. Use .5 to 1 ounce of fragrance oil per pound of wax. Start with less if using a strong fragrance. Mix in dye one drop at a time until you achieve the color intensity you want. Stir thoroughly to fully incorporate the fragrance and dye.
Now you’re ready to pour the wax into your plastic molds. Work quickly before the wax starts to cool and thicken. Carefully pour the wax into each cavity, filling it about 3/4 or 1/2 full to leave room for the melt to pool once melted. Allow the wax melts to fully cool and harden for at least 4-6 hours before removing from the molds. The cooling time allows the wax to properly set up and easily release from the plastic.
Store your finished wax melts in an airtight container away from direct light and heat to help preserve the scent. Now you’re ready to enjoy the aromatic melts in your wax warmer!
Source: https://cosyowl.com/guides/how-to-make-wax-melts-at-home
Unmolding and Storing
It’s important to let wax fully set before attempting to remove wax melts from plastic molds. Letting wax harden completely will help the melts release easily without breaking. Most waxes take 24-48 hours to fully cure.
To help with unmolding, run a craft knife carefully along the edges before turning the mold over and flexing the plastic. You can also place molds in the refrigerator for 15-30 minutes before attempting to remove melts. The cooler temperature will help shrink and contract the wax away from the mold walls.
For storage, place wax melts in airtight glass jars or silicone containers with lids. According to this source, wax melts can last 1-2 years or longer without losing fragrance if stored properly. Avoid plastic containers which may hold onto fragrance. Keep wax melts in a cool, dry place away from heat and light to maximize shelf life.
Using the Wax Melts
Once your wax melts are made, it’s time to use them! Wax melts are designed to be melted in a wax warmer, which gently heats the wax to release its fragrance. The most common way to use wax melts is in electric wax warmers. These consist of a heating base that you plug in, and a dish on top that holds the wax melt. Simply place your wax melt in the dish, turn on the warmer, and let the wax melt. The melting process usually takes 15-30 minutes. As the wax melts, the aroma will fill the room. Most warmers will keep the wax melted for 4-6 hours before turning off. If you want it to run longer, you’ll need to replace the wax melt once it’s used up.
One of the great things about wax melts is that they provide fragrance without having an open flame. The wax warmer gently heats the wax just enough to make it release scent. This makes wax melts an appealing option for dorm rooms, nurseries, offices, or anywhere you want to add nice fragrance safely. The wax melt fragrance will diffuse around the room as long as the wax stays melted.
It’s easy to change scents whenever you want – simply swap out your old wax melt for a new one. Make sure your warmer is turned off and completely cool before handling. Then pop out the old wax and replace it with something new. The options are endless!
When you’re done using your warmer, let it fully cool and harden again before cleaning. You can wipe down the dish with a paper towel to remove any wax residue. Proper cleaning will keep your wax warmer working great for a long time.
Creative Mold Ideas
One of the best things about using plastic molds for wax melts is that they can take on just about any fun shape imaginable. From simple circles, squares, and hearts to more elaborate shapes like pineapples, seashells, and even gummy bears, plastic molds open up a world of possibilities for creative wax melt designs. According to Pinterest, some popular creative mold ideas include:
Flamingos, unicorns, and other whimsical shapes that can delight kids and adults alike. Fun novelty molds are great for themed gifts or parties.
Fruit shapes like lemons, oranges, and strawberries that give off a tropical, summery vibe. These colorful, fruity shapes can provide a scent experience that matches their appearance.
Complex 3D molds that can embed small decorations inside the wax itself for an extra surprise. Try using small beads, glitter, or confetti inside molds shaped like gift boxes, treasure chests, or jewelry.
Layering different colored waxes inside a single mold is another creative way to achieve beautiful, one-of-a-kind melt designs. Alternating complementary colors can result in a striped, marbled, or gradient look.
The options are nearly endless when using plastic molds, giving crafters the freedom to let their creativity run wild. The end result is custom wax melts that not only smell amazing but also delight the senses with their appearance.
Safety Tips
When working with wax melts, it’s important to keep safety in mind. Here are some tips for properly handling wax melts:
Always supervise children and pets when melting wax. The wax can get very hot, so keep little hands away to avoid burns. Store unused wax melts out of reach of children and pets as well.
Make sure your wax melter is on a stable, heat-resistant surface. Don’t place it near curtains or other flammable materials. Never leave a melting wax unattended.
Allow wax melts to fully harden before handling. Melted wax can cause burns if touched before it sets.
Properly clean and maintain your wax melter to prevent overheating. Follow all manufacturer instructions.
Never burn wax directly over a stovetop flame. Always use a wax melter designed for wax melts.
Ventilate the room when melting wax, as some may find the fragrance overwhelming in enclosed spaces.
Be careful handling recently melted wax, as it can remain very hot for a while after removed from the melter.
Store wax melts in a cool, dry place away from direct sunlight to preserve the fragrance oils.
If a wax melt catches fire in the melter, do not try to extinguish with water. Carefully smother the flame or use a fire extinguisher.
Always practice caution and common sense when working with hot wax. Take steps to prevent accidents and burns.

