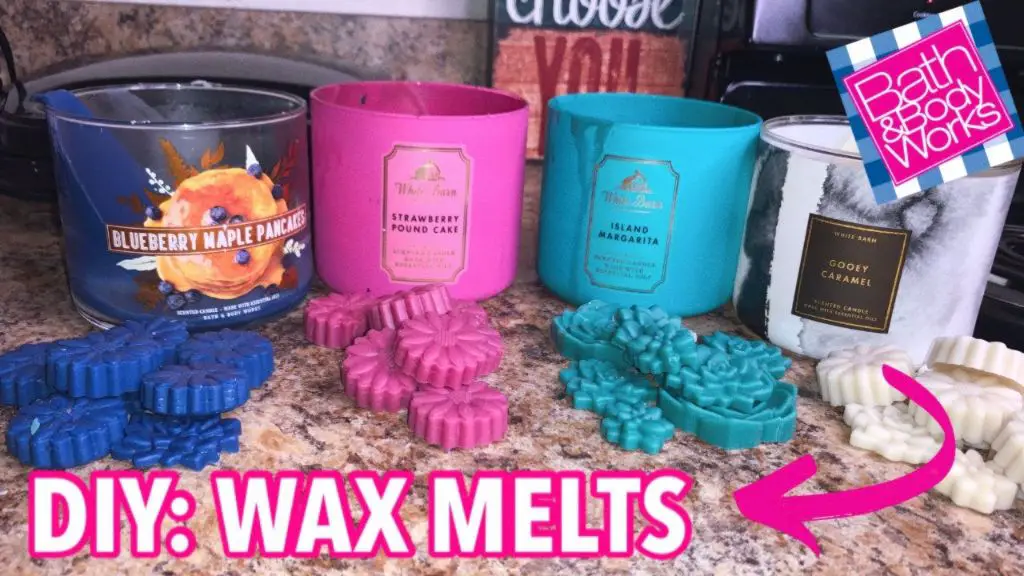
Can You Turn Bath And Body Works Candles Into Wax Melts?
Wax melts have become increasingly popular over the past few years as an alternative to traditional scented candles. Wax melts are small pieces of scented wax that are melted in an electric wax warmer, slowly releasing their fragrance. Unlike candles which release scent only when lit with an open flame, wax melts provide continuous fragrance as long as the warmer is powered on. This allows the scent to evenly fill the room over a longer period of time.
Wax melts have several advantages over candles. They don’t have a wick or flame, making them much safer to use around kids and pets. The wax also lasts longer, as you use only what melts in the warmer instead of burning through the entire candle. Wax melts are reusable too – just turn off the warmer and the wax will re-harden so you can use it again. Their portability and customization options have also driven their popularity. With so many fragrance choices, you can pick a different scent for each room or mood.
Why Turn Candles into Melts?
Turning old candles into wax melts allows you to save money by repurposing candles you already have at home. Wax melts from retail stores can be expensive, with popular brands selling melts for $5 or more per pack. By making your own melts, you avoid these costs and put your leftover candle wax to use.
Additionally, making melts gives you the freedom to customize scents by mixing and matching wax from different candles. You may discover new favorite scent combinations this way. Repurposing candle wax also lets you continue enjoying discontinued or seasonal fragrances beyond when the candle runs out.
As this guide notes, making homemade melts can be an affordable, creative endeavor that reduces waste from old candles.
What You’ll Need
The main ingredient for making wax melts out of old Bath & Body Works candles is the candles themselves. Look for candles that are partially used, as you’ll need to scrape out the wax. Avoid candles with a lot of soot on top.
In addition to candles, you’ll need a few supplies commonly found in wax melt kits:
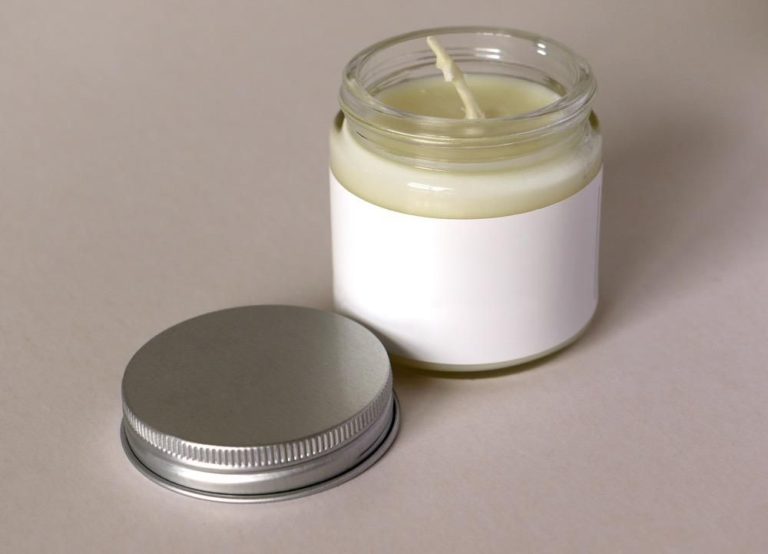
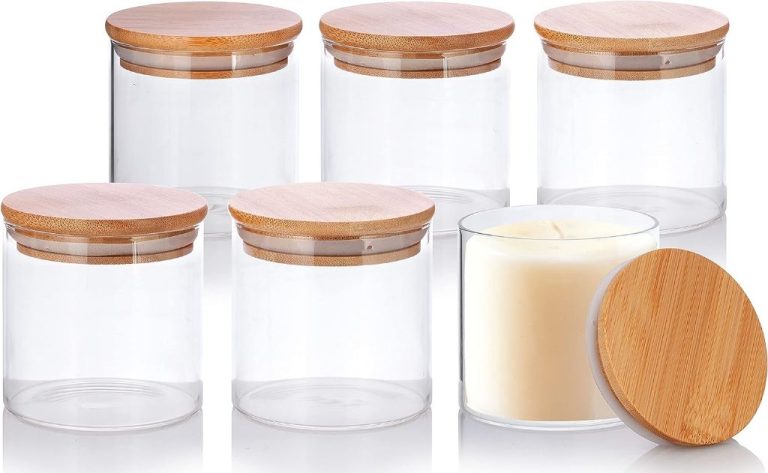
- Glass or plastic jars/tins to pour the melted wax into for wax melts
- Fragrance oils to add different scents
- Wax dye for coloring (optional)
- A pour pot or double boiler to melt the candle wax
- A thermometer to monitor wax temperature
- Wicks for wax melts (optional)
With old B&BW candles and the right supplies, you’ll have everything you need to transform the candles into homemade wax melts.
Prepping the Candle Wax
The first step in turning candles into wax melts is prepping the candle wax. Start by unwrapping the candle completely and removing any wicks. Cut the candle wax into chunks about 1-2 inches in size to make it easier to melt.
To melt the wax, create a double boiler using a pour pot and a saucepan. Fill the saucepan with a couple inches of water and place it on the stove over medium heat. Put the pour pot on top, resting it on the rim of the saucepan so it sits above the water. Add the chunks of candle wax to the pour pot.
As the water simmers, it will slowly melt the wax in the pour pot. Make sure to stir occasionally so the wax melts evenly. Once fully melted, you have prepared candle wax ready for turning into melts![1]
Adding Fragrance
If you want to add fragrance to your wax melts, you can use fragrance oils. The benefit of fragrance oils is they generally have stronger scents than essential oils and the fragrance will last longer in the wax. When adding fragrance oil, use 0.5-1 oz of oil per pound of wax. So for example, if you have 1 pound of melted candle wax, add 0.5-1 oz of fragrance oil and mix thoroughly before pouring into molds.
Some tips when working with fragrance oils:
- Measure precisely using a scale or measuring cups/spoons. Too much fragrance can make melts smell “perfumey.”
- Stir well to fully incorporate the fragrance.
- Use a toothpick to test the fragrance level before pouring. The scent should be strong but not overpowering.
- If using essential oils instead, use more oil as they are not as concentrated. Try 2-3 oz per pound of wax.
Browse a selection of wax and soy wax safe fragrance oils to find your desired scents. Test out sample sizes first to determine if you like the fragrance at the recommend levels before purchasing larger bottles.
Coloring and Pouring
Once the wax is melted, you can add dye if you want colored wax melts. Use candle or soap dyes formulated for wax to get vibrant colors. Stir the wax continuously as you add the dye until the color is evenly distributed throughout the wax. You can add multiple colors for a fun tie-dyed effect. See How to Make Tie-Dye Wax Melts for color combination ideas.
When you’re happy with the color, carefully pour the wax into the containers you’re using for your melts. Silicone molds and clamshells work great. Make sure you pour slowly and steadily to prevent spills and bubbles in the wax. Allow the wax melts to fully harden before attempting to remove them from the mold.
Adding Wicks
One of the most important steps when turning Bath & Body Works candles into wax melts is adding the wicks. Since you are transforming a candle into melts, you will need to add new wicks into the wax once it has been poured into the melt containers. Here are some tips for adding wicks successfully:
Place wick tabs in the center of the containers. It’s crucial that the wick is centered in the middle of the wax melt container so it burns properly. Use wick stickers or a wick centering device to hold the wick upright and in place while pouring the wax (source).
Let the wax fully harden before pulling wicks up. After pouring the melted candle wax into the containers, let it fully harden overnight before attempting to straighten and center the wicks. If you try to adjust the wicks before the wax has set, you may accidentally pull the wick out of place.
Use the appropriate wick size. Choose a wick that is made for wax melts so it burns cleanly and efficiently. The width of the wick should match the width of the melt container for optimal results.
Letting Harden
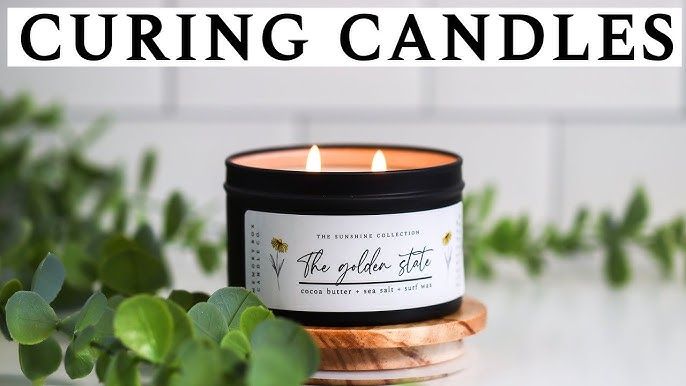
Once you have poured your melted candle wax into molds, it’s important to allow the wax melts to fully set up and harden before removing them from the molds. According to fragrance oil manufacturer Fragrance Oils Direct, you should allow your wax melts to cure for around 48 hours.
Let your freshly poured wax melts sit undisturbed as they cool and harden. Don’t move them, shake them, or otherwise disrupt the cooling process. The wax needs time to completely solidify and shrink away from the sides of the molds. If you disturb the wax too soon, it could become misshapen or stick to the molds.
Plan to let your wax melts cure in their molds for at least 6-12 hours before attempting to remove them. For best results, wait a full 48 hours if possible. This extended cure time will allow the wax to fully harden and the melts will be easier to remove from the molds without breaking or distorting their shape.
Using Your Melts
Once your homemade wax melts have hardened completely, you’re ready to use them! Simply place one wax melt cube on an electric or candle wax warmer. As the wax melt heats up and liquifies, it will release its lovely fragrance into the air. Be sure not to overheat the wax, as too high a temperature can cause the scent to “burn off.” Enjoy that wonderful aroma!
Store unused wax melt cubes in an airtight container in a cool, dry place. Properly stored, your homemade wax melts should retain their scent for many months.
Troubleshooting
If your wax melts aren’t performing as expected, there are a few troubleshooting tips to try. Here are some common issues and solutions:
Weak Scent Throw
If your wax melt fragrance seems faint, try adding more fragrance oil next time, up to 10% of the wax weight. Make sure to add the fragrance oil after the wax has cooled to 185°F to avoid losing scent through high heat according to CandleScience.
Sweating or Oiliness
Excess fragrance oil or adding fragrance at too high of a temperature can cause sweating or an oily surface according to Supplies for Candles. Try reducing the amount of fragrance oil to 6-8% next time.
Poor Texture
Overheating the wax or using the wrong wax type can result in a grainy or crumbly texture. Make sure to heat the wax just until melted, and use a wax with a higher oil content, like soy wax, for smooth melts.