Can You Make Candles In Tin Container?
Making candles in tin containers has become a popular DIY craft. Tin cans and containers make for attractive and inexpensive candle holders that can be customized in many ways. However, there are some important considerations when making candles in metal containers versus glass or other materials.
The main benefits of using tin for candles are that tin cans are free or very cheap, readily available, and can be decorated easily. Tin also conducts heat well, helping melt candle wax efficiently. Additionally, the metal containers are durable and reusable.
However, there are some downsides to keep in mind. Tin conducts heat so well that it can cause the candle wax closest to the container to get too hot, potentially creating sinkholes or tunnels in the wax. The metal surface can also lead to wet spots. Additionally, tin containers should never be left unattended when burning a candle, as the metal could potentially get hot enough to ignite. Proper wick length and positioning are especially important in tin candles.
With the right precautions, techniques and wick, beautiful and functional candles can be created in tin containers. But extra care should be taken compared to using glass or other materials. Tin can be a good candle holder option but has some unique considerations.
Candle Wax Types
There are several main types of wax commonly used in candle making, each with their own properties and characteristics:
- Paraffin wax – This is a petroleum-based wax made from crude oil. It is inexpensive and readily available (source: https://www.marthastewart.com/8061950/candle-wax-type-guide). Paraffin wax candles burn cleanly and are easy to work with. However, paraffin releases more soot than other waxes when burned.
- Soy wax – Made from hydrogenated soybean oil, soy wax is a renewable and biodegradable alternative to paraffin. It is easy to work with and gives a smooth appearance to candles. Soy wax burns slowly and cleaner than paraffin (source: https://www.marthastewart.com/8061950/candle-wax-type-guide). The drawback is it can produce less fragrance throw than other waxes.
- Beeswax – This natural wax is produced by honeybees. Beeswax candles have a honey aroma and burn brighter than other waxes. However, beeswax is more expensive and can be challenging to work with alone due to its high melting point (source: https://www.marthastewart.com/8061950/candle-wax-type-guide). It is often blended with other waxes.
- Gel wax – This is a mineral oil-based wax that produces candles with an ultra-smooth finish. Gel wax allows for highly detailed designs but requires pouring at lower temperatures than typical waxes (source: https://www.marthastewart.com/8061950/candle-wax-type-guide). It can be more challenging for beginners to work with.
Preparing the Tin
Before making candles in tin containers, it’s important to thoroughly clean and prepare the tin to prevent leaks. Start by removing any labels and thoroughly washing the tin with soap and water. Make sure to completely dry the tin after washing. If there are any rough edges on the rim of the tin, it’s a good idea to smooth them with a metal file so they don’t cut the wax.
Next, apply a thin coat of melted candle wax to the inside of the clean, dry tin and allow it to fully dry and harden. This will seal the surface of the metal and help prevent leaks. According to an instructional candle making video, apply the wax by melting a small amount of soy candle wax flakes or pellets, then use a paint brush to brush a thin layer over the entire interior surface of the tin 1. Allow this sealant layer to fully dry before pouring your candle wax. The tin is now ready for candle making!
Applying an initial wax coating is an important step when making candles in tin containers. It helps block any small gaps and creates a non-porous surface for the poured wax to adhere to. Taking the time to properly clean and prepare tin containers will result in professional looking, leak-free candles.
Wick Types
There are several common types of wicks used in candle making, each with their own properties and uses:
Cotton – Cotton wicks are the most common and versatile type. They are made of natural fibers braided together, making them rigid enough to stand upright but still flexible. Cotton wicks burn cleanly and are suitable for most candle wax types (https://candles.org/elements-of-a-candle/wicks/).
Wood – Wooden wicks are made from thin pieces of wood, usually bamboo. As they burn, wood wicks crackle, providing an audible and visual effect. They should only be used with wax with a high melting point, like soy, palm, or beeswax (https://www.cotebougie.com/blog/en/the-different-types-of-candle-wicks/).
Paper – Paper wicks are inexpensive but don’t last as long as other wick types. They are best used in containers candles where the wick is partially submerged in wax.
Metal – Metal-core wicks have a cotton wick wrapped around a thin metal core, typically zinc or tin. The metal helps the wick stand upright and burn slower. These wicks work well for beeswax or gel candles.
Wick Positioning
Proper wick positioning is crucial for candle performance. When using multiple wicks in a candle, it’s important to space them evenly to allow the wax to melt evenly. According to CandleScience, wicks should be placed at least 1.5 inches apart for best results [1]. You can use a wick sticker tool or a ruler to measure and place wicks.
Wick height is also important. Wicks that are too short won’t burn properly, while wicks that are too tall can produce big flames and smoke. As a general rule, trim wick ends to 1/8 inch for containers 2 inches wide or smaller, 1/4 inch for containers 2-3 inches wide, and 1/2 inch for containers larger than 3 inches [2]. Adjust wick height if needed after the first burn to optimize the flame. Centering wicks and trimming to the proper height will result in even burning and wax pool formation.
Melting and Pouring
Once you have your candle container and wick prepared, you will need to melt and pour the candle wax. Most candle wax melts between 160-185°F, with paraffin wax specifically melting between 120-150°F (source:https://www.marthastewart.com/8046367/how-to-make-candles). Use a double boiler to melt the wax gently and slowly. Avoid overheating the wax as this can discolor it or create an unpleasant burnt smell. The wax is ready to pour when it has fully melted and reached the manufacturer’s recommended temperature.
For most wax types, the ideal pouring temperature is between 135-165°F. Pour the wax slowly and carefully into the prepared container, being careful not to disturb or move the wick. Allow the wax to cool and solidify completely before handling the candle. This may take 6-12 hours depending on the size and shape of the candle. Do not trim the wick until the candle has fully set (source: https://www.bhg.com/decorating/do-it-yourself/how-to-make-candles/).
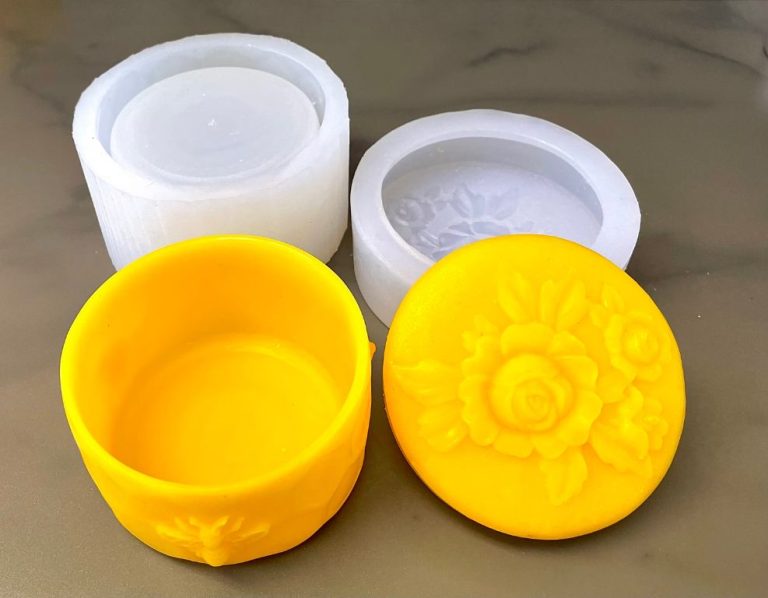
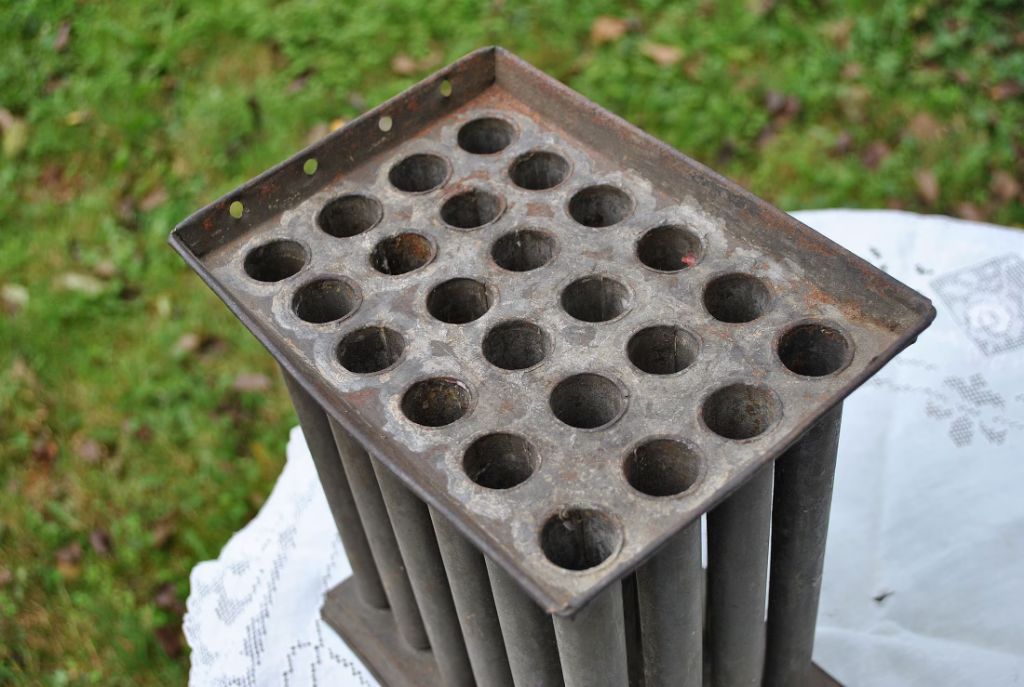
Candle Molds
A candle mold is a container used to create the shape of a candle. Tin is a common material for molds since it can withstand high temperatures. Tin molds come in a variety of shapes and sizes. Some key considerations for tin candle molds include:
Shapes
Tin candle molds can create tapers, pillars, votives, and containers in round, square, star, heart, and other shapes. The mold’s design determines the finished candle shape.
Lehman’s
Sizes
Tin mold sizes range from small votives to large pillars. Consider the candle diameter, height, and wax capacity needed. Votives are typically 1-2 inches wide and 1-3 inches high. Pillar molds may be 2-4 inches in diameter and 4-12 inches high.
Removable vs Built-In
Some tin molds have removable sides allowing candles to slide out once cooled and hardened. Other molds are one solid built-in piece without removable sides. Removable sides make candle removal easier. Built-in molds maintain a consistent shape.
Samson Historical
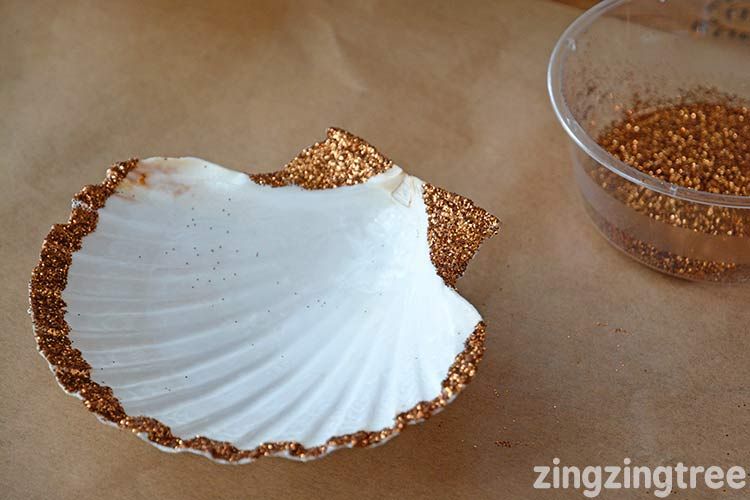
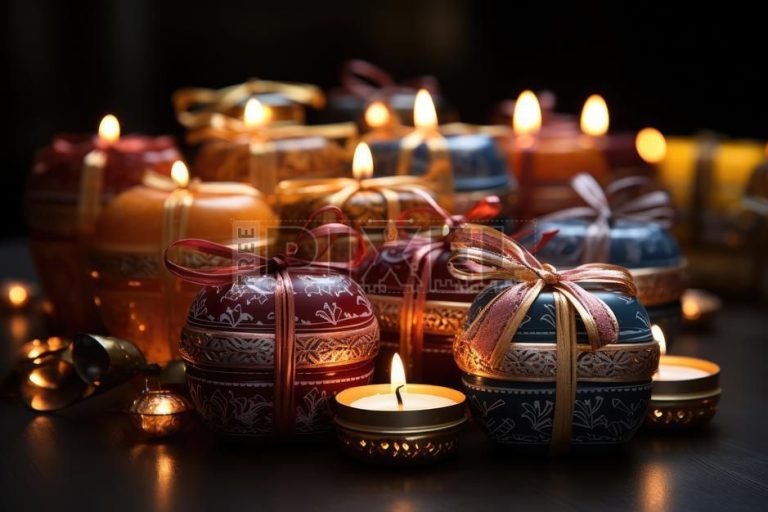
Decorating
Once your candle is poured and set, it’s time for the fun part – decorating your tin candle! There are many creative ways to make your candle stand out.
Painting the outside of the tin is a simple way to customize the look. Acrylic craft paints work well for painting metal surfaces. You can paint the entire outside of the tin or just add accents. Some popular techniques are ombre gradients, stripes, polka dots, and florals. See examples of painted tin candles at https://www.pinterest.com/pumagirl95/tin-candles/.
Adding scents through essential oils or fragrance oils is another way to enhance your candle. You can directly scent the wax while melting it. Or, add a few drops of essential oils to the bottom of the container before pouring the wax. Popular scents for candles are floral, fruit, spice, and woodsy aromas. Experiment to find your favorite!
Troubleshooting
Making candles in tin containers can sometimes lead to issues like tunneling, soot, and weak flames. Here are some troubleshooting tips:
Tunnels
Tunneling, when a hole forms in the center of the candle as it burns, happens because the wax pool isn’t getting hot enough to melt all the way to the sides. To prevent tunnels, make sure you’re using the right size wick – too small and the flame won’t be hot enough. A bigger wick will increase melt pool temperature. You can also double wick the candle to raise the temperature. Finally, adding vybar or beeswax to your soy wax blend will help increase melting point.
Soot
Sooting occurs when there is unburned carbon released from the flame. It’s generally caused by a wick that is too large for the wax and jar size. Try a smaller wick to reduce excess carbon. You can also add more vybar or beeswax to make the wax harder and improve its burning ability. Make sure to trim wicks to 1⁄4” before each burn to prevent mushrooming. Finally, avoid drafts which can cause the flame to smoke and release soot.
Weak Flames
A weak flame that goes out easily is another common problem, usually due to too small of a wick. Move up 1 or 2 wick sizes to increase melt pool temperature. You can also double wick the candle, or try a braided or hand-rolled wick which are thicker. Make sure the candle isn’t in a draft, and trim the wick to 1⁄4” before lighting.
Safety Tips
When making candles, be sure to follow some basic safety precautions. This will help prevent accidents and injuries.
Select a spacious, well-ventilated work area that is clutter free. Make sure young children and pets are not underfoot. Tie back long hair and avoid wearing loose clothing that could catch fire if it comes into contact with a flame or hot wax. Wear closed toe shoes to protect your feet from hot wax spills.
Always use extreme caution when handling hot wax. Pour wax slowly and carefully to avoid splashing. Allow freshly poured candles time to fully cool and harden before handling. Be very careful not to burn yourself.
When trimming wicks, only trim to 1⁄4 inch length. Trim wicks over a trash can to catch falling wick trimmings. Make sure wicks have completely cooled before trimming to avoid getting burned. Use wick dippers or trimmers specially designed for trimming wicks.
Be sure to follow all manufacturer safety recommendations for any candle making materials and equipment you use. With some simple safety steps, you can enjoy candle making safely.