Beginner Candle Making With Soy Wax
Introduction: A Brief History of Candle Making and The Benefits of Soy Wax
Candles have been used for light and ambiance for thousands of years. The earliest candles were made from animal fat and beeswax as early as 3000 B.C. in Egypt and China [1]. Candlemaking evolved across ancient civilizations, with major developments like wicks and molds advancing the art. Paraffin wax, made from petroleum, became popular in the mid-1800s as a cheaper alternative to natural waxes. While paraffin is commonly used today, there has been a resurgence in natural waxes like soy due to its renewable source and burn qualities.
Soy wax is made from hydrogenated soybean oil, creating a soft, clean-burning natural wax. First manufactured in the U.S. in the 1990s, soy wax has quickly grown in popularity for container candles, votives, pillars and more. It has several benefits compared to paraffin:
- Made from a renewable resource (soybeans)
- Biodegradable and non-toxic
- Cleaner burn with less soot
- Slightly lower melt point than paraffin
- Natural material that accepts both dye and fragrance
With a long history and compelling benefits, soy wax is an excellent choice for modern candlemaking.
Supplies Needed
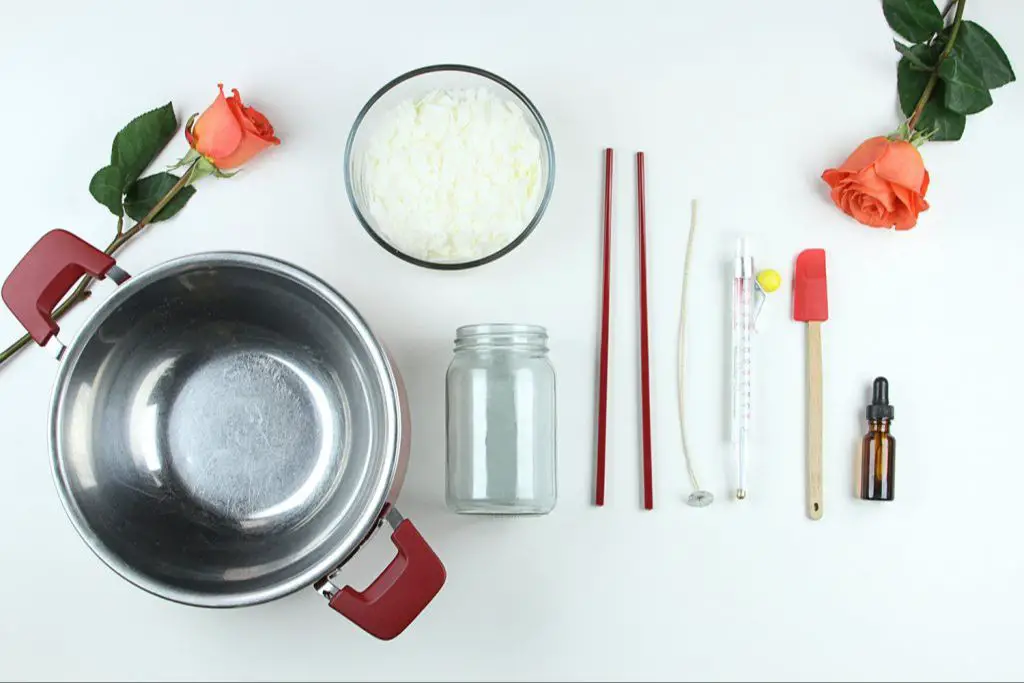
When making candles with soy wax, there are some basic supplies you’ll need:
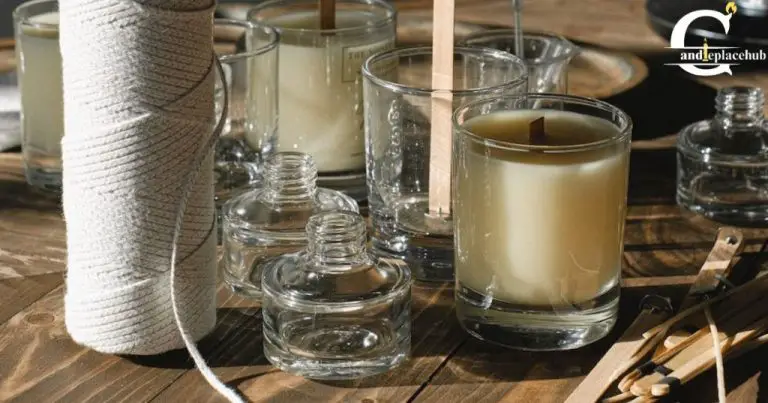
Soy Wax – Soy wax is the main ingredient for making soy candles. Popular options are natural soy wax flakes or soy wax beads. Soy wax has a low melting point which makes it easy to work with. It’s important to use high quality wax formulated for candle making. Candle Making Supplies
Wicking – Proper wicking is crucial for candle performance. Wicks designed for soy wax burn cooler and are usually flat or square braids. Make sure to match the wick size to the candle diameter.
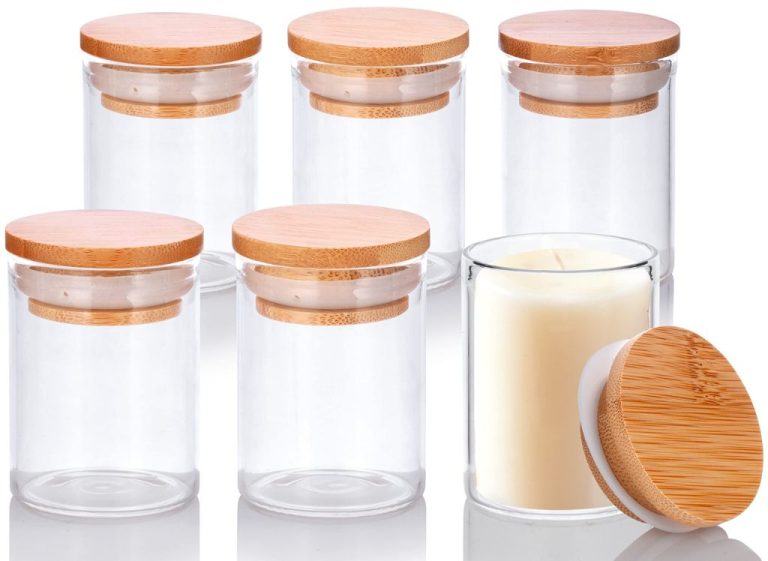
Candle Vessels – Glass and metal vessels work well for soy candles. Make sure the container opening is at least 1 inch wider than the candle to allow for the melt pool. Vessels should be heat resistant.
Fragrance Oils – Use candle safe fragrances at 6-10% by weight. Essential oils can be used at 3-5%. Too much fragrance can make candles smell overpowering.
Dyes – Liquid dyes specially formulated for soy wax produce vibrant colors. Use 1-3 drops per pound of wax. Pigments and hard dyes can also be used.
Preparing the Wax
Properly preparing the soy wax is an important step for successful candle making. Soy wax needs to be melted to a specific temperature before adding fragrance oils and dyes. According to the All Seasons Wax Company (https://allseasonswaxcompany.com.au/blog/fragance-oil-and-soy-candles-complete-guide), fragrances should only be added when the wax temperature is below the flash point of the fragrance, generally between 50-55°C. There are a few options for melting soy wax – in the microwave, using a double boiler, or with a wax melter. Just avoid overheating the wax. According to Soycandlemakingtime (https://soycandlemakingtime.com/melting-soy-wax/), microwaving works but a double boiler setup helps prevent burning or scorching the wax.
Once the wax is melted to the proper temperature, fragrances and dyes can be incorporated by stirring thoroughly. Use the manufacturer recommended usage rate for fragrances and dyes since using too much can reduce scent throw or cause issues with proper wax curing. Stirring the wax consistently while adding fragrance helps ensure even mixing.
Wicking
Choosing the right wick size is crucial for soy candles. The wick must be large enough to allow the wax to melt pool properly, but not so large as to cause excessive sooting from a too-large flame. As a beginner, it’s recommended to start with CD or ECO wicks, which are designed for soy wax. Refer to manufacturer guidelines to select the proper width based on your container size.
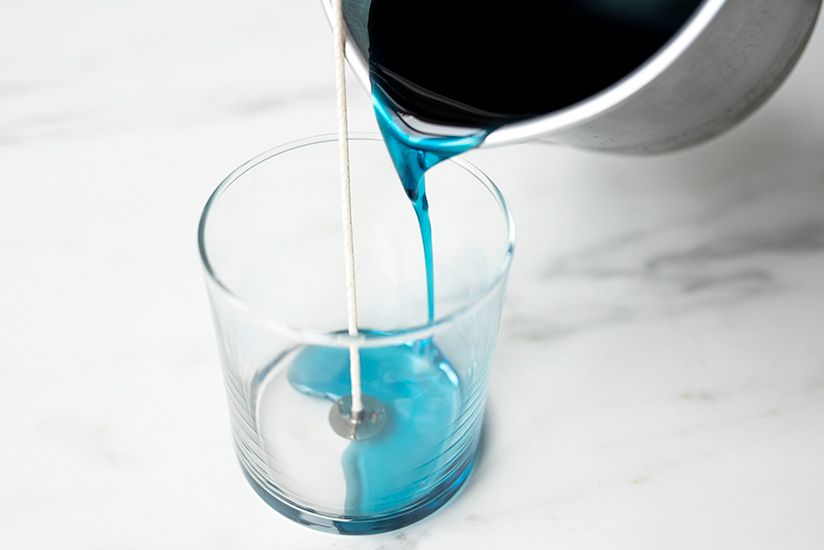
Before pouring, prepare your wicks by centering them in the container. Use a glue dot, double-sided tape, or a bit of wax to adhere the tabbed end to the bottom. The wick should stand upright in the center. For wide containers, use wick bars for extra stability. Keeping the wick upright prevents it from shifting while pouring (Source: https://www.youtube.com/watch?v=uCdKInLKPdg). Proper wick preparation is key to achieving optimal melt pools and clean burns.
Pouring
Proper pouring temperature is crucial for achieving a smooth top and even finish on your soy candles. Soy wax typically needs to be poured between 120-135°F to allow time for the wax to pool evenly before starting to set up (Soy Candle Making Tips & Troubleshooting Techniques, [URL]). Cooling the wax too quickly can result in an uneven finish. Allow candles to cool and harden completely before moving or testing for firmness, as disturbing them prematurely can ruin the finish.
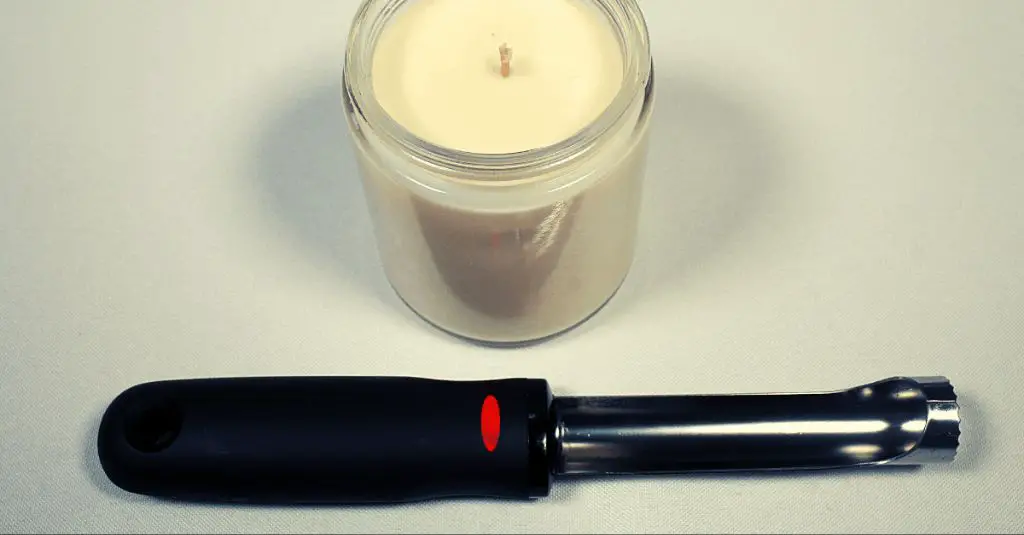
As soy wax cools, it will shrink and pull away from the sides of the container, leaving an empty space. To prevent holes, wait until the candle has fully set up and then top off the container with a second pour of 120°F wax (How to Make A Soy Candle, [URL]). This helps maximize an even burn and finish.
Be patient and allow candles to cure for 24-48 hours before lighting. Premature burning can cause issues like tunneling. Once cured, trim wicks to 1⁄4 inch before the first burn for best results.
Troubleshooting
Some common issues that can arise when making soy candles include frosting, tunneling, wet spots, sink holes, poor scent throw, and more. Here are some tips for troubleshooting common soy candle problems:
Frosting occurs when some of the oils come out of solution and crystallize on the surface of the candle. This can create an unattractive white frost-like appearance. To prevent frosting, avoid cooling your soy wax too quickly. Allow the candles to cool slowly at room temperature (source).
Tunneling happens when the wax on the sides and top of the container melt faster than the wax in the center. This leaves a tunnel down the middle. To fix, pour candles at a slightly lower temperature, between 120-130°F (source).
Wet spots occur when oils pool at the bottom of the container instead of blending with the wax. To prevent wet spots, make sure to stir the wax thoroughly and allow enough time for the fragrance oil to bind with the soy wax before pouring.
Sink holes can happen when the wick is too large for the diameter of the candle. Use a smaller wick or double wick to prevent sink holes.
To improve scent throw, use the recommended fragrance load for soy wax. Usually 6-8% is ideal. Cure the candles for at least 2 weeks to allow the scent to fully develop.
Curing
Curing is an important step when making soy candles. Curing refers to allowing the candles to rest undisturbed for a period of time after pouring and cooling. This allows the wax to fully solidify and the fragrance to stabilize within the wax.
There are a few key reasons to cure soy candles:
- Allows fragrance to fully blend with wax – When candles are first poured, the fragrance oil may not have fully blended and absorbed into the wax. Curing gives time for this to happen, allowing for an optimized scent throw.
- Prevents frosting – Quickly burning an uncured candle can cause frosting on the glass from the oils. Curing helps prevent this.
- Stabilizes color – In colored soy candles, curing gives dyes time to completely disperse and stabilize.
The recommended curing time for soy candles is 1-2 weeks. This allows ample time for everything to stabilize properly. Some people cure soy candles for up to 4 weeks, but most fragrance and wax stabilization occurs within the first 1-2 weeks.1
During the curing period, soy candles should be stored in a cool, dry place away from light and heat. Once cured, they are ready to burn and enjoy!
Designing soy candles
One of the most fun parts of candle making is designing creative candles by adding embellishments and using unique vessels. Soy wax candles lend themselves well to enhancements since soy wax adheres nicely to containers and decorations.
Some ideas for embellishing soy candles include adding dried flowers, seashells, beans, coffee beans, dried fruit, herbs, spices, essential oils, glitter, and more. Get creative with the types of embellishments you add either on top of or embedded within the wax. Just be mindful that any combustible materials near the wick may pose a fire hazard. Arts and craft stores are great places to find unique embellishments to customize your soy candles.
Soy wax also pours nicely into a wide variety of vessels, giving you lots of options for shapes and sizes. Try using canning jars, tea cups, glasses, bowls, tin cans, and anything else that strikes your fancy. Thrift stores and garage sales can be treasure troves for finding quirky containers on the cheap. Just be sure any vessel you use for a candle can withstand heat from the flame.
An important final touch is labeling your soy candles. Create custom labels that communicate the candle’s scent and ingredients. Labels can be designed on the computer and printed on sticker paper, or handwritten on pretty paper or fabric. Get creative with shapes, graphics, textures, and embellishments. Clear labeling not only makes your candles look professional but also conveys important safety and usage information to the end user. Refer to the Midnight Drift Soy Candle example for artistic yet informative labeling.
With infinite options for customization, designing your own soy candles is a fun outlet for creativity. Let your imagination run wild, and your homemade soy candles will be as beautiful as they are fragrant.
Selling Soy Candles
Once you have perfected your soy candle making process, it’s time to think about how to sell your creations. Marketing and pricing your candles properly are key to building a successful handmade candle business.
Some tips for marketing your soy candles include having great product photos, creating social media accounts to promote your brand, offering sampler packs or gift sets, and partnering with local shops on consignment 1. Make sure to clearly convey your brand story and product benefits like natural ingredients and unique scents.
When pricing your candles, consider all costs like materials, labor, packaging, and shipping. A common formula is to take the cost of materials and multiply by 2-3x. Compare to other handmade and boutique candle brands as well. Selling soy candles for $15-25 is typical for a 6-8 oz candle 2.
You can sell soy candles through your own e-commerce website, local craft fairs and farmers markets, consignment in gift shops or boutiques, wholesale to stores, or even contract manufacturing for private label brands. Expanding your sales channels can help you grow an established candle making business.
Summary
Making candles with soy wax offers many benefits for beginner candle makers. Soy wax is easy to work with, has excellent scent throw, and makes clean-burning candles. The flexibility of soy wax also allows for creative candle designs. Beginners will enjoy experimenting with different wicks, scents, containers, and coloring techniques.
Additional resources for beginners include online tutorials, books, starter kits, and community groups. Joining a local candlemaking guild is a great way to connect with other beginners and learn from experienced candle makers. Some helpful online resources include this soy candle making tutorial, candlemaking Facebook groups, Reddit communities like r/candlemaking, and YouTube channels like Royalty Soaps.
With practice and passion, beginners can go from hobbyist to professional candle maker, turning their creations into a small business. The candlemaking community is welcoming and eager to nurture newcomers. Soy wax makes the learning curve gentle for new candle makers.

