How Can I Color My Candles?
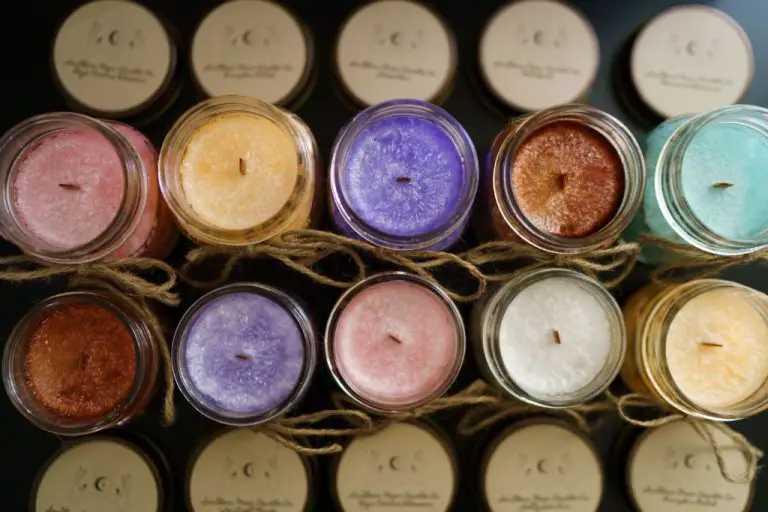
Candles come in a wide variety of colors, but sometimes you want to customize the color yourself to match your decor or create a unique look. There are several techniques for coloring candles including dyeing, painting, adding color chips, and layering wax. The most common candles that people color are pillar candles, votives, tapers, and container candles made from paraffin or soy wax. Coloring your own candles allows you to achieve exactly the shade you want and make coordinating sets for special events or holidays. It also enables you to reuse old candles by giving them a makeover with new color. This article provides an overview of the most popular techniques for coloring candles at home.
Dyeing Candles
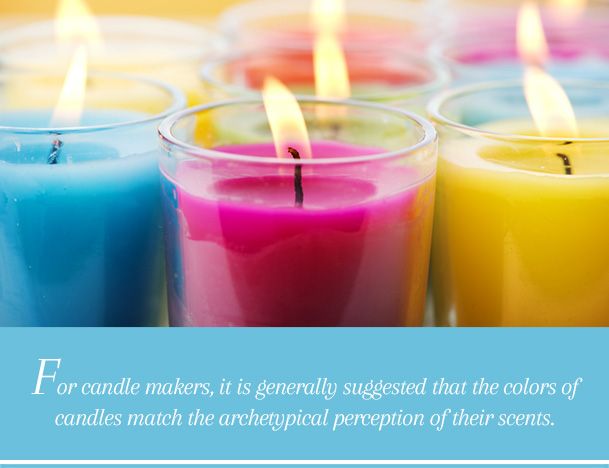
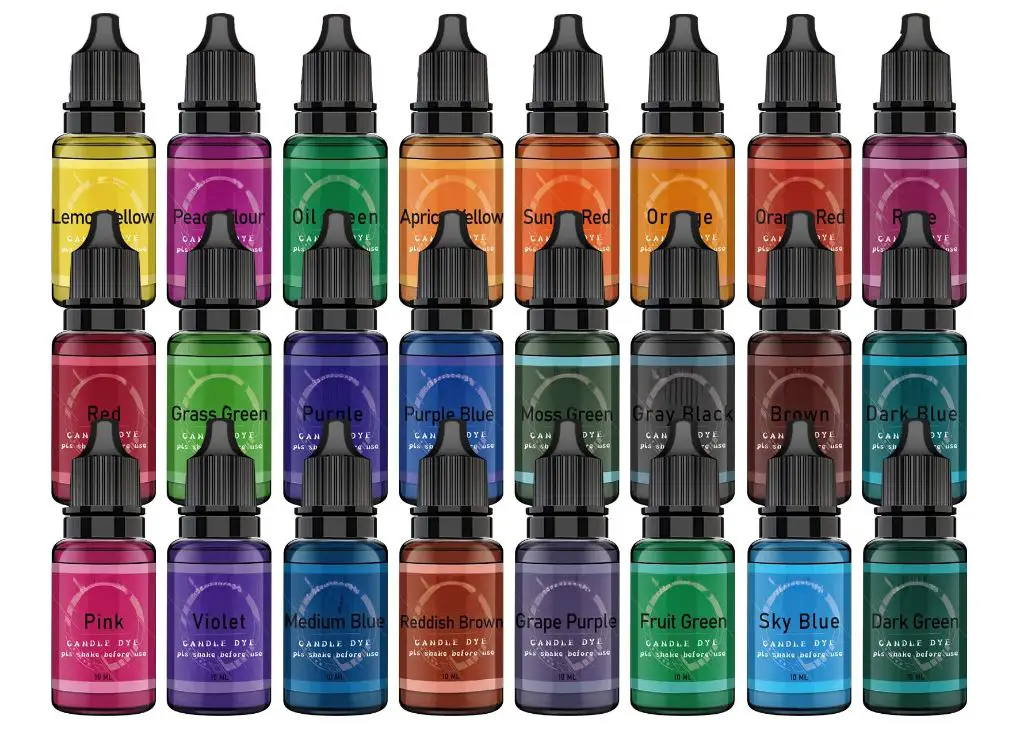
One of the most common ways to color candles is by using liquid candle dye. Liquid dyes come in a wide variety of vibrant colors and work well for both wax and soy candles. When dyeing candles, it’s important to add the dye slowly and mix thoroughly to achieve an even color throughout the wax or soy wax blend.
For wax candles, add 4-8 drops of liquid dye per pound of wax and make sure to mix well before pouring into containers or candle molds. Soy wax tends to absorb more color, so start with 2-4 drops of dye per pound of soy wax. Mix the dye into melted wax at 175-185°F. Stir constantly for 5-10 minutes to fully incorporate the dye.
Highly concentrated candle dye, such as CandleScience Dyes, typically produce deeper, more vivid colors compared to general purpose liquid dyes. Opt for dye specifically formulated for candle making for best results. Focus on primary colors, metallics, and neons for fun pops of color.
If the finished candle is too light or streaky, remelt the wax and add more dye as needed. But be careful not to over-dye, as it can mute the color. Maintaining the proper wax temperature and thoroughly mixing are key to evenly dyeing candles.
Embedding Crayons
One popular way to add color to candles is by embedding crayon chips or shavings directly into the wax. According to this WikiHow article, you’ll need about one crayon per color for every 1 cup (225 grams) of wax. To evenly distribute the crayon pieces, it’s best to add them to the wax once it has partially cooled to 130-140°F.
The ideal wax type to use is a smooth, opaque wax like paraffin or soy wax. Stay away from translucent waxes, as the crayon pieces will be more visible. Medium sized crayons from Crayola or Cra-Z-Art are recommended over jumbo or mini sizes for easier mixing. For color mixing, you can combine two complementary colors like red and green or try a triad with three colors equally spaced on the color wheel.
Shave crayons with a vegetable peeler or cheese grater and stir the shavings into cooled wax before pouring into containers. Avoid overloading the wax with too many crayon pieces as this can clog the wick. For best results, test out small batches before making large quantities of crayon candles.
Using Candle Dyes
Powdered and solid candle dyes are an effective way to add vibrant colors to candles. Unlike liquid dyes, powdered dyes are composed of concentrated pigments that deliver intense, consistent colors.
When using powdered candle dyes, it’s important to fully melt your wax first before adding the dye. The dye must be thoroughly incorporated into the wax to properly disperse the color. A good guideline is to use 1/8 to 1/4 teaspoon of dye per pound of wax, adjusting as needed to achieve your desired color depth (1).
You can combine multiple powdered dyes to create custom color blends. Start with small amounts of each color and add more as needed. Complementary colors like red and green will tone down each other’s intensity. Contrasting color pairs like orange and blue will create bold, striking effects.
For vibrant colors in larger candles, use more dye relative to the wax amount. In a standard 16 oz jar, 1/2 to 1 teaspoon of dye is sufficient to achieve a saturated finish. Pillar candles may require only 1/4 teaspoon or less. Go slowly when adding dye to avoid over-coloring the wax.
With the right strategies, powdered dyes allow for tons of creativity and customization when coloring candles!
Painting Candles
Painting candles is a fun way to add color and designs. When painting candles, it’s important to use the right materials and techniques.
For painting wax or soy candles, acrylic paint works best. Look for acrylic paints designed for ceramics and glass, as these adhere to slick surfaces better than regular acrylics. Some recommended brands include DecoArt Dazzling Metallics, FolkArt Enamel Acrylic, and Americana. Avoid using oil or watercolor paints, as they may not bond properly with wax or soy surfaces.
Make sure to use very thin layers of acrylic paint. Thick coats can crack or peel off the candle surface when the candle is burned. Gently wipe away any excess paint with a dry cloth. Let each layer dry completely before adding another layer of paint.
To seal painted candles, use a acrylic sealer like DecoArt Triple Thick Crystal Clear Glaze or Krylon Crystal Clear Acrylic Coating. This helps protect the paint from damage during handling or burning. Apply 2-3 thin coats of sealer, letting each coat fully dry in between.
If the paint cracks, chips, or peels, the wax or soy may not have been fully cured before painting. Try gently warming the candle with a heat gun prior to painting to melt the top layer of wax and improve paint adhesion.
For best results painting candles, work in thin layers, use candles that are fully cured, and properly seal the paint after finishing. With the right supplies and techniques, you can create beautiful hand-painted candles.
Source: https://www.lemon8-app.com/discover/Painting%20techniques%20for%20candles?region=us
Adding Color Chips
Color chips are a fun way to add pops of color and visual interest to candles. Chips come in a wide variety of sizes and colors, allowing you to create custom looks. Here are some tips for successfully adding chips to candles:
Chips can be purchased from online candle making suppliers or craft stores. Look for wax-safe chips made specifically for candles. Acrylic chips and confetti tend to burn up or melt when exposed to flame. Ideal chip sizes are between 1/8” to 1/4” as they are large enough to see but small enough to mix well into wax.
To distribute chips evenly, melt wax fully and stir frequently when adding chips. For best results, add chips to wax that is 175°F to 185°F. Higher temperatures can cause chips to melt. Gently fold chips into wax off heat until fully mixed. Avoid overmixing to prevent breaking chips into smaller pieces.
Settling and clumping can occur if chips are not fully incorporated. Reheat the wax to reliquefy if needed and stir again. Maintaining proper wax temperature is key. Consider mixing in multiple smaller batches to increase control over chip distribution.
With the right chips and proper mixing technique, you can create beautifully colorful and decorative candles with added visual flair.
Layering Wax
Layering different colored waxes is a fun way to create colorful, striped candles. Here are some tips for getting clean, crisp layers:
Instructions for layering colored wax:
- Prepare your candle vessel and wicks as normal.
- Melt your first color in a pouring pot, heating to the proper temperature for pouring (around 150-165°F).
- Pour the wax into the vessel about 1/3 of the way.
- Let this layer partially set up before pouring the next color.
- Melt your second color in another pouring pot and heat to pouring temp.
- Carefully pour the second color over the first layer. It helps to pour it over the back of a spoon to help it spread smoothly.
- Repeat with additional colors as desired.
Pouring temperatures for layered wax effect:
Each layer should be poured at the proper wax pouring temperature. But you want the layer underneath to already be partially set up before pouring the next color. The bottom layer should be cooled to about 130-140°F before adding the next layer.
Creating stripes versus swirls with layers:
To create stripes, make sure each layer sets up fully before adding the next color. For swirls, pour the next layer when the previous one is still warm so the colors can swirl together.
Troubleshooting frosted or blurred layers:
If your layers turn out frosted or blurred together, it means the wax underneath was still too warm. Allow more time between layers. Pouring too hot can also cause issues. Ideal pouring temp is 150-165°F.
Using Mica Powder
Mica powder is a popular way to add shimmer and color to candles. When adding mica powder to candles, it’s important to mix it thoroughly into the melted wax to ensure even color distribution. According to Pigmently, using too much mica powder can lead to clumping, so start with a small amount and add more as needed.
There are many types of mica powder to choose from. Pearl mica delivers a shimmery sheen, while colored mica like red, blue, and gold adds vibrant hues. Metallic mica powder creates a glittery look. Combining pearl and colored mica can produce a multidimensional, duo-chrome effect.
To mix mica powder into candles, first melt your wax completely. Then, stir a small amount of mica powder into the wax. Mix thoroughly for 2-3 minutes to distribute the mica evenly. Check for clumps, and continue mixing until the color is uniform. Add more mica powder if desired, mixing well after each addition. Too much mica can clog the wick, so use a minimal amount.
If clumping occurs, try sifting the mica powder before adding it, or use a toothpick to break up clumps during mixing. Warming the mica powder slightly can also help increase flow. With proper mixing techniques, mica powder infuses candles with beautiful, shimmery color.
Embellishing Candles
Adding embellishments like flowers, glitter, sequins, and other decorative elements can transform simple candles into beautiful works of art. There are a few techniques for properly securing embellishments to candles so they stay in place and don’t fall off when the candle is lit or moved around. Some key tips include:
Embellishments can be added to candles before or after pouring. If adding before pouring wax, make sure embellishments are securely attached to the candle vessel using hot glue. If adding after, wait until candle wax has fully set and hardened, then attach using strong hold glue dots or epoxy (source).
When adding lightweight embellishments like glitter or flower petals, sprinkle them onto the wax surface before it fully hardens so they sink in slightly and adhere. Heavier items like charms or shells should be firmly glued down (source).
Some popular embellishments for candles include pressed flowers, seashells, beads, charms, glitter, sequins, and ribbon. Natural elements like dried botanicals, pinecones, and sand can create nice textures. Avoid any flammable materials (source).
When decorating, group embellishments in clusters or patterns for visual interest. Adding too many small pieces can look cluttered. Focus on 1-3 statement embellishments, or create a theme with colors and textures. Lightly scent matching decorations or the wax itself for a cohesive sensory experience.
With the right embellishments and technique, it’s easy to turn plain candles into beautiful, personalized works of art perfect for gifts or home decor.
Conclusion
Colored candles can really bring a beautiful element to your home decor and special occasions. We covered many techniques of candle coloring such as using candle dyes, painting, chips, wax layers, and mica powder. Following the proper usage guidelines for each method is key to achieving vibrant colored candles. Definitely experiment with blending different colors as well to make custom shades. Don’t forget to have fun and get creative with the candle design – consider swirls, layers, drips, glitter, and embellishments like flowers or crystals.
To summarize some best practices, always do a test sample with a new colored wax or technique, add dye in small increments to achieve the desired shade, and cool candles completely before handling or moving to prevent distortion. Proper wick choice and heat control while burning can also help the color last. If you have any other tips or tricks for coloring candles, or any questions that come up, feel free to reach out!