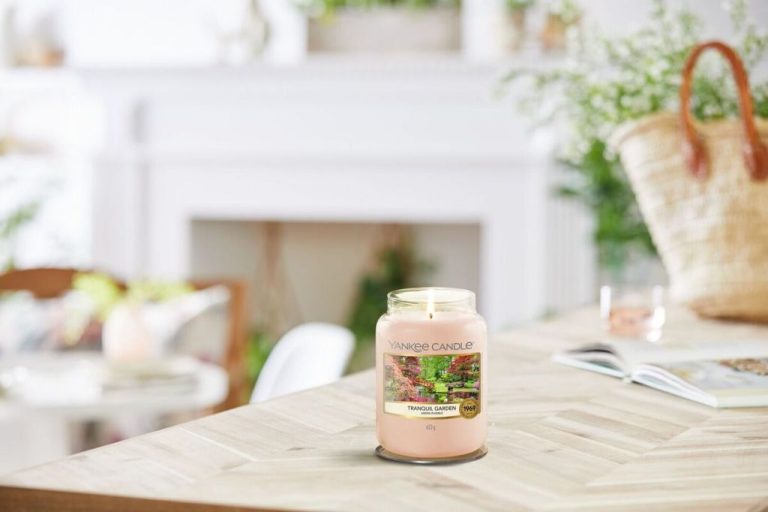
Why Won T Wood Wick Candle Stay Lit?
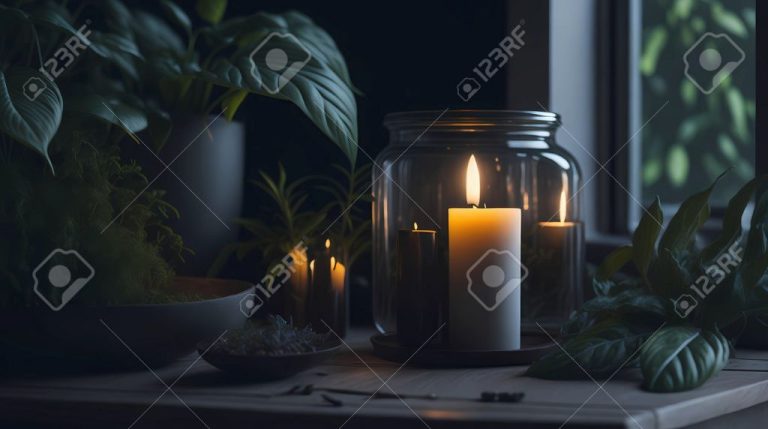
Wood wick candles have become increasingly popular in recent years due to their crackling sound and natural ambiance. Unlike regular cotton wicks, wood wicks are made from wood shavings compressed into a flat wick. When the wick burns, the wood creates a pleasant crackling noise similar to a cozy fireplace.
One common frustration with wood wick candles is that the flame sometimes goes out before the candle has finished burning. This can be annoying if you want to keep the candle burning for light, fragrance, or ambiance. There are several potential reasons a wood wick stops staying lit and troubleshooting steps you can try before giving up on the candle.
What Are Wood Wick Candles?
Wood wick candles are different from regular candles because they use wood, cotton, or wood-cotton blend wicks instead of regular cotton or paper wicks. The wood wick is usually made from natural materials like bamboo, and it has a wooden core wrapped in cotton.
The wood provides stability for a taller wick, while the cotton helps transfer the wax to the wick. Wood wicks tend to be thicker and more rigid compared to regular wicks. They also have a unique crackling sound when lit because the wood core fractures in the flame. This creates more airflow and a brighter flame.
Many people enjoy wood wick candles for their natural materials, unique sound, and brighter light. The wooden core also allows the wick to stand up in container candles with a wide wax pool as it burns down. This helps maintain an even burn and wax pool compared to regular wicks which can fall over into the wax.
Benefits of Wood Wicks
Wood wicks have become popular in recent years due to some unique benefits they offer compared to traditional cotton wicks. The main advantage of wood wicks is that they produce a satisfying crackling sound as the candle burns. The wood wick has a wooden core that is surrounded by a cotton exterior. As the wood burns, it creates little pops and sparks that provide a pleasant crackling fire sound.
Additionally, wood wicks tend to boost fragrance throw from candles. The wood core allows the wick to burn hotter than an all-cotton wick, and this increased heat helps to release more fragrant candle oil into the air. With a wood wick, you are likely to notice more fragrance from your candle compared to the same candle with a regular wick.
The crackling sound and improved scent dispersion are the two major benefits that make wood wicks a popular choice among candle enthusiasts. Wood wicks create a more engaging sensory experience when enjoying a scented candle.
Common Reasons Wood Wicks Go Out
There are a few common reasons why wood wick candles may have issues staying lit:
Wick Too Short
If the wick becomes too short, it can become drowned in melted wax or be unable to reach high enough to stay lit. Wooden wicks tend to burn down faster than regular cotton wicks. Make sure to trim your wick to the proper length before each lighting to prevent this issue.
Wick Drowned in Wax
If too much wax pools around the wick, it can essentially drown the wick and prevent it from lighting properly. Try to keep your candle away from drafts and ensured the melted wax can absorb into the candle as it burns. You can also pour off excess melted wax to expose more of the wick before relighting.
Inadequate Air Flow
Wood wicks require adequate airflow to stay lit. Make sure the candle is out in the open and not crowded by other objects. Don’t put the candle too close to the edges of jars or containers either. Allow at least 1-2 inches of clearance around the top opening of the candle holder so oxygen can feed the flame.
Wick Length
One of the most common reasons a wood wick candle won’t stay lit is that the wick becomes too short. Wooden wicks are different from regular cotton wicks in that they require more exposed wick above the wax pool to stay lit properly. This extra wick length provides more surface area for the flame to catch and stay ignited.
As a general rule, wooden wicks need to protrude at least 1/4 inch above the melted wax pool in order to keep burning. If the wick gets trimmed down too low as the candle burns, there won’t be enough exposed wick to sustain the flame.
Check the height of the wick in your wood wick candle. If the wick is getting close to the wax level, use wick trimmers to trim the blackened end and expose fresh new wick. Leaving 1/4 to 1/2 inch of fresh wick will allow for proper wax pooling and a sustained flame.
Wax Pooling
One of the main reasons a wood wick candle may struggle to stay lit is if the wax pool becomes too deep. As the candle burns, melted wax forms a pool in the container around the wick. This is normal. But if the wax pool gets too deep, it can submerge part of the wick in liquid wax. This makes it difficult for the wick to draw in enough oxygen to sustain the flame. The wick essentially becomes drowned in the excess melted wax.
Wax pooling too deep is often caused by improper burning techniques. It’s important to let the wax pool reach its full melt point on the initial burn to prevent tunneling. But subsequent burns should be limited to avoid overflow. The candle shouldn’t be burned for more than 4 hours at a time. Trim the wick to 1⁄4 inch before lighting to regulate the melt pool. And make sure not to let the candle burn all the way down. Leaving 1⁄2 inch of unmelted wax will prevent the container from overflowing.
If the wax pool does become too deep, allow the candle to cool completely. Then carefully pour out some of the excess wax so the melt pool is at an appropriate level. Make wick and burn time adjustments on future burns to prevent deep pooling wax from drowning the wick again.
Air Flow
Wood wick candles require adequate air circulation to draw oxygen to the flame. Without enough oxygen reaching the wick, the flame will be starved of air and go out. There are a few reasons why a wood wick candle may not be getting proper air flow:
– The candle is placed in a narrow holder or container that restricts air supply. Make sure the holder is wide enough to allow ample oxygen to reach the flame.
– The candle is placed too close to a wall or object. Air flow can become obstructed if the candle is crammed into a tight space. Leave at least 4-6 inches of clearance around the candle.
– Nearby drafts or fans are blowing the flame around. Avoid placing the candle where vents, windows, or fans can disrupt the flame.
– The room itself has poor ventilation. Stuffy rooms with limited fresh airflow make it hard for candles to stay lit. Try opening a window or turning on a fan to improve circulation.
Check that the candle has adequate breathing room all around so oxygen can freely feed into the flame. Proper air flow is key for the wood wick to receive enough air to combust and remain lit.
Proper Burning Techniques
To keep your wood wick candle burning properly, follow these tips:
Trim the wick to 1⁄4 inch before lighting. Use scissors or nail clippers to snip the wick so it’s short but not flush with the wax. This prevents excessively large flames.
Allow the wax to fully liquefy across the top, known as forming a “wax pool.” Wait until the wax pool is even and covers the entire surface before blowing out the flame. This helps the candle burn evenly down.
Move the candle occasionally. Don’t leave it in the same spot constantly. Rotate it to different surface areas to allow the wax pool to harden and avoid tunneling.
Properly prepping and burning wood wick candles helps ensure they stay lit and burn evenly from top to bottom. Avoid drafts, give the wax pool time to form, and trim the wick before lighting.
Troubleshooting
If your wood wick candle is having trouble staying lit, there are a few troubleshooting steps you can try before getting a new candle:
Trim the wick – Use scissors or nail clippers to trim the wick to 1⁄4 inch before lighting. This ensures an optimal flame height.
Check wax pooling – Make sure wax is pooling out evenly from the edges. If not, try moving the candle to promote even burning.
Remove any debris – Carefully remove any debris like dried wax or wick clippings from the candle. This can affect airflow.
Avoid drafts – Make sure the candle is not placed in a drafty area. Move it away from vents, windows and fans.
Cycle the candle – Extinguish the flame and let the wax reset and re-melt. This can help resolve issues.
Consider wick size – If burning issues persist, you may need a thicker wick. Contact the manufacturer about recommendations.
With some troubleshooting, you can often get a wood wick candle burning properly again. But if issues continue, it may be time for a new candle. Follow the best practices above for optimal performance.
When to Get a New Candle
If you’ve tried troubleshooting your wood wick candle and it still won’t stay lit, it may be time to replace it with a new one. Here are some signs that indicate your candle is no longer functional and needs to be replaced:
- The wick is completely blackened from repeated lighting attempts
- The wax has lost its shape around the wick, creating a deep tunnel effect
- The candle makes crackling or hissing sounds when lit
- Smoke or a strange smell emerges when the wick is lit
- The wax pool doesn’t melt properly around the wick anymore
In addition to these signs, there are some safety issues to be aware of. If your candle flame is unusually high, tilting, flickering erratically, or emitting smoke or odors, it could be hazardous. The wick may have become too long, which can create excess soot or make the flame too large. Anytime a candle flame seems unstable or dangerous, it’s best to put it out and replace the candle.
Don’t take risks with a defective candle. If you can’t get your wood wick candle to burn properly, or it seems unsafe in any way, play it safe and get a new one. With a fresh wood wick candle, you can once again enjoy the soothing ambience and natural wood crackling sounds they provide when burning properly.