What Type Of Candle Is Easiest To Make?
Candlemaking is an ancient craft that has provided light and ambiance for centuries. This article will provide an overview of candlemaking and discuss the easiest type of candle for beginners to make. We’ll start with some background on the history of candlemaking and the basic supplies needed. Next, we’ll compare different candle types like container candles, pillars, votives, tealights, rolled beeswax candles, and more. We’ll offer tips on troubleshooting common candlemaking problems. By the end, you’ll know which candle is the easiest to make for those new to the hobby.
Background on Candlemaking
Candles have been used for thousands of years to provide light and warmth. Evidence of candlemaking dates back to ancient Egypt and ancient China where candles were made from beeswax as early as 3000 BC (https://candlewic.com/about-candlewic/history-of-candlemaking/). Candles were also used in ancient Rome and Greece, where candles were made from tallow, or animal fat.
In early Western cultures, candles were primarily made from tallow rendered from beef or mutton fat. A major development came in the Middle Ages when beeswax candles became more widely available in churches and among the wealthy. Beeswax candles burned brighter and cleaner than tallow candles (https://www.cierracandles.com/history-of-candlemaking.html).
Modern candlemaking techniques include using paraffin wax, a petroleum byproduct that became popular in the mid-1800s. Paraffin burns cleanly and is inexpensive to produce. Other common candlemaking techniques include using soy wax or a blend of waxes, as well as adding fragrance and color to candles.
Candlemaking Supplies
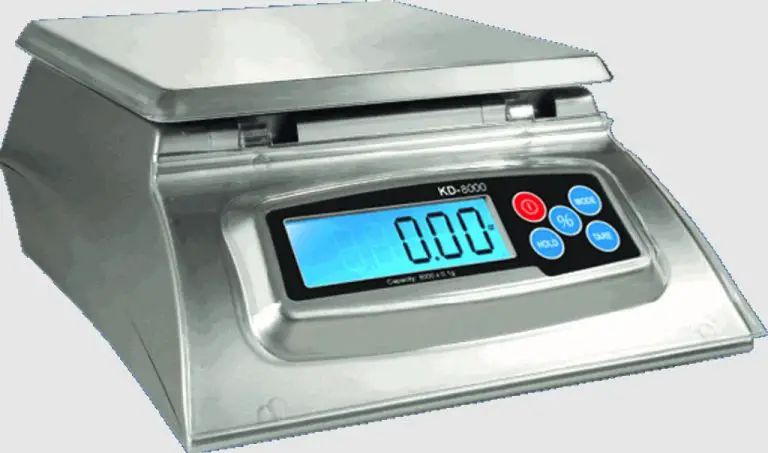
The key supplies needed for candlemaking include wax, wicks, fragrance oils, and molds/containers to hold the candle wax. When choosing candlemaking wax, common options include paraffin, soy, beeswax, and palm wax. Paraffin wax is derived from petroleum and creates candles that burn cleanly with a high melt point. Soy wax comes from soybeans and is marketed as a natural alternative to paraffin. Beeswax is only produced by honey bees and has a pleasant natural honey scent. Palm wax comes from the palm oil plant and is also marketed as natural[1]. The type of wax impacts characteristics like burning time, fragrances, and appearance.
Wicks are another essential supply, as they control the size and shape of the candle flame. Popular wick materials include cotton, paper, and wood. Key factors in wick selection include wick type, braid type, and wick size/diameter. Wicks need to be matched to the particular wax, diameter, and container to ensure proper burning. Using a wick that is too small can drown the wick and prevent burning, while too large of a wick can create excessive drips and soot[2].
Adding fragrance oils or scents is optional but popular for enhancing candle appeal. Important factors when selecting fragrance include scent throw, intensity, and mixability with the wax type. Too much fragrance can negatively impact burn quality. Finding the right balance is key for optimal results.
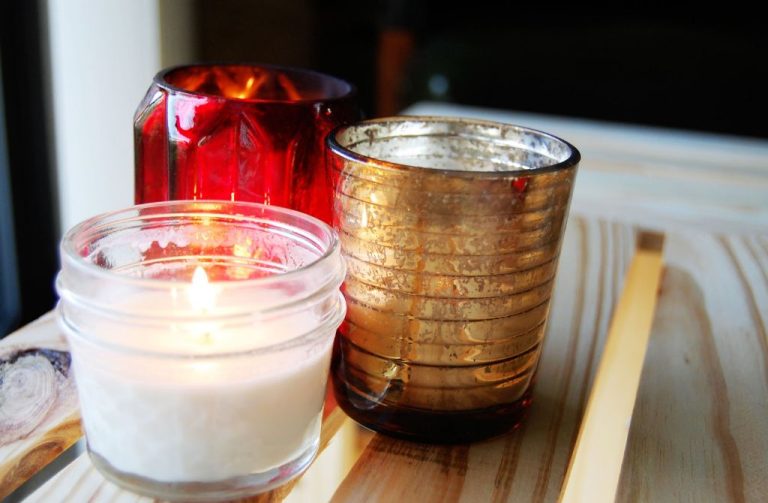
Finally, molds and containers hold the wax while candles cool and solidify. Common containers include glass jars, tins, and aluminum. The material impacts appearance as well as heat transfer. Proper wicking is required to account for differences in containers. The diameter of the container determines the appropriate wick size.
[1] https://www.wicksandwax.com/candle%20kits.htm
[2] https://www.wicksandwax.com/equipment.htm
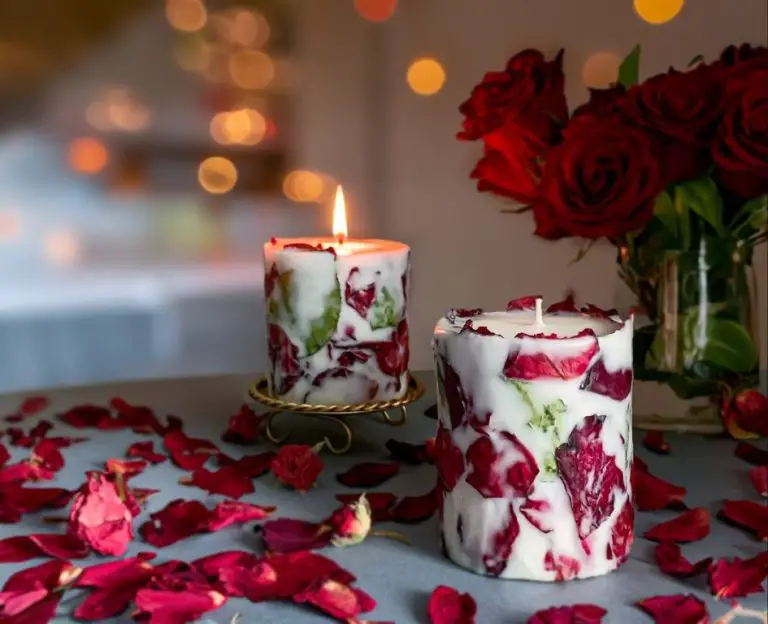
Container Candles
Container candles are one of the easiest types of candles to make at home. They simply involve pouring melted wax into a container like a glass jar, tin can, or other heat-safe vessel (How to Make Container Candles).
To make basic container candles, you will need wax flakes or blocks, candle wicks, fragrance oil (optional), and jars or other containers. Start by melting the wax in a double boiler or slow cooker until it reaches the proper temperature. Add fragrance if desired when the wax is melted. Prepare the wicks by attaching them to the bottom of the containers with hot glue or adhesive tabs. Pour the wax carefully into the containers, leaving room at the top for the melted wax to pool when lit. Let candles fully set for at least a day before burning (How To Make Container Candles).
Container candles allow flexibility with shapes, colors, scents, and designs. They are beginner-friendly and do not require any special molds. However, attention must be paid to proper wick length and wax volume to ensure good burn quality. Overall, container candles are one of the quickest and easiest varieties for DIY candle making.
Pillar Candles
Pillar candles are a classic cylindrical candle shape that burn vertically. They are one of the easier candle shapes to make at home. To make pillar candles, you will need pillar molds, wicking, and wax such as soy wax or paraffin wax.
Start by preparing the mold. Pillar molds come in many sizes, but commonly used sizes are 2″ diameter x 6″ tall or 3″ diameter x 6″ tall. Make sure the mold is clean and dry. Secure the wick to the bottom of the mold using wick stickers or hot glue [1]. The wick should be centered and straight.
Next, melt the wax. Follow the manufacturer’s instructions for melting point. Too high a temperature can scorch the wax. Once melted, add color and fragrance as desired. Carefully pour the wax into the mold, leaving a little headspace at the top. Let candles fully harden in the mold for 6-12 hours.
To remove finished candles from the mold, stand the mold on its end and gently pull downward. Alternatively, place the mold in the freezer for a few hours which will allow the candles to pop out more easily. Trim wicks to 1/4″ before burning.
With the right materials and some practice, it’s easy to make beautiful pillar candles at home. Customize colors, scents, and sizes for personalized candles.
Votive Candles
Votive candles are a popular beginner candle making project as they are small and easy to make. Votive candles use around 1-2 ounces of wax and commonly fit into small glass containers about 1-2 inches wide and 1-3 inches tall 1. The basic steps to make votive candles are:
1. Prepare your workspace by covering your work surface with paper to protect it from spills and have paper towels nearby. Gather your supplies – wax, fragrance oil, dye, wick, and votive containers.
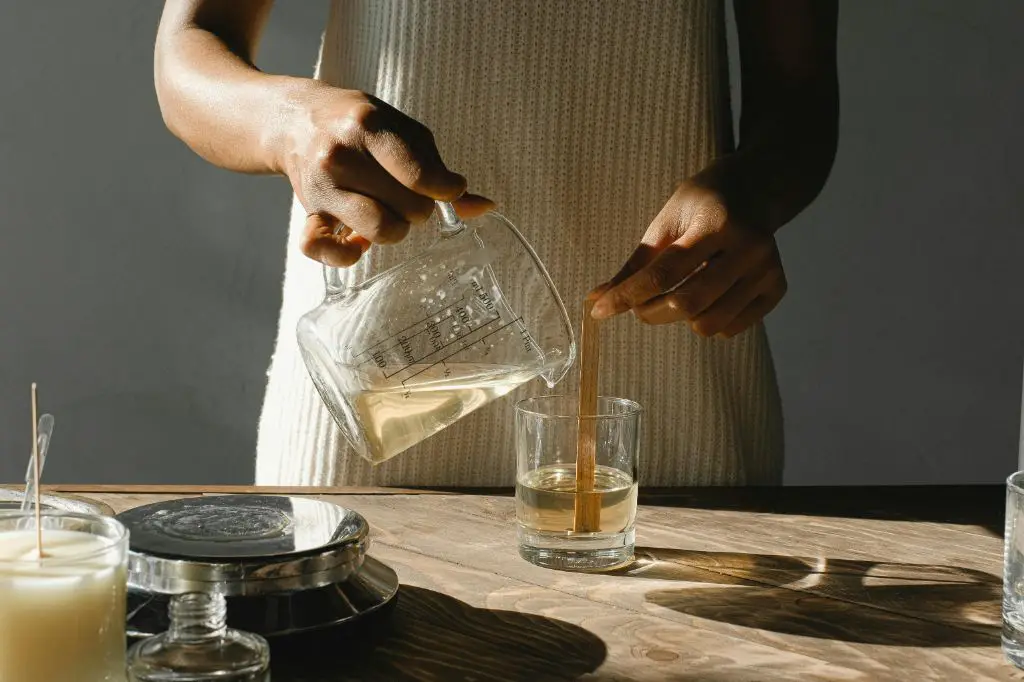
2. Set up a double boiler or use a hot plate to melt your wax. Heat the wax to the proper temperature according to the manufacturer’s instructions, usually between 150-170 degrees Fahrenheit. Use a thermometer to monitor the temperature.
3. Once melted, add the fragrance oil and dye if using and stir to blend thoroughly. The typical usage is 1 ounce of fragrance oil per 1 pound of wax.
4. Prepare the wick by dipping it into the melted wax before placing it centrally into the votive container. Let the wax harden slightly to hold it in place.
5. Carefully pour the melted wax into the container, leaving 1/4″ headspace. Allow candles to cool completely before moving them.
Making votives allows you to experiment with different wax blends, fragrances, and designs on a small scale. With some practice, you can master making these petite candles in no time 2.
Tealight Candles
Tealight candles are a popular and easy candlemaking project for beginners. Tealights feature a small wax cylinder in a metal tin with a centered wick. They are designed to provide ambiance and fragrance rather than strong illumination. According to How to Make Soy Tealight Candles – CandleScience, tealights are one of the simplest candles to make at home.
To make tealight candles, you will need soy wax flakes, fragrance oil, dye blocks, tealight tins, and pre-tabbed wicks. First, weigh out the amount of wax needed and melt it double boiler style to 150-165°F. As the wax melts, prepare the tealight tins by placing a tabbed wick in the center of each tin and securing it with wax or glue.
Once the wax is fully melted, add the dye and fragrance oil, stirring well to incorporate evenly. Carefully pour the wax into the prepared tins, leaving 1⁄4 inch of space at the top for the wax to pool when lit. Allow candles to cool completely before trimming wicks to 1⁄4 inch. Tealight wax cools rapidly since the tins are small. According to How To Make Soy Tealight Candles- 8 hour tea lights, this project can be completed in just 1-2 hours.
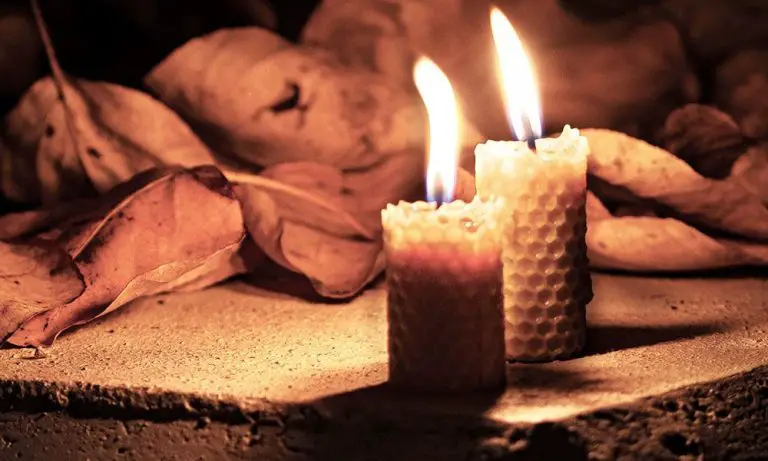
Rolled Beeswax Candles
Rolled beeswax candles are among the easiest candle types to make at home. These candles are created by rolling sheets of beeswax around a wick to form a cylindrical candle.
To make rolled beeswax candles, you’ll need beeswax sheets, candle wicks, and a double boiler. Start by cutting the wick to the desired length, leaving a few extra inches on each end.
Next, warm the beeswax sheets in the double boiler until they are pliable. Lay a warmed sheet on a flat surface and place the wick along one edge. Roll the beeswax tightly around the wick, applying pressure as you roll to adhere the sheet around itself.
Once rolled, gently shape and straighten the cylinder if needed. Trim the wick ends and attach them to the bottom of the candle with a drop of wax. Let the candle fully cool and harden before burning.
Rolled beeswax candles have a wonderful natural honey aroma when burned. Their simple construction makes them one of the quickest and easiest candle varieties to create at home.
Troubleshooting Candlemaking Issues
Candlemaking may seem straightforward, but there are some common issues that can arise, especially for beginners. Here are some of the most frequent candlemaking problems and tips for troubleshooting them:
One issue is sinkholes forming in the top of the candle. This happens when the wax cools and shrinks unevenly. To prevent sinkholes, pour candles at the proper temperature, around 100-125°F, preheat containers, pour in thin layers, and allow each layer to fully cool before adding more wax. If a sinkhole forms, you can fix it by remelting the top layer of wax, or filling the hole while the candle is lit. For more tips, check out this guide on fixing candle sinkholes.
Wet spots are another common problem, where oil seeps through the wax surface. This is caused by too much fragrance oil. Limit oil to 1-2% of wax weight. Or use oils meant for the type of wax. Wicking also impacts wet spots. Choose a wick size suited for the wax and diameter. Trim wicks as needed while burning to prevent smoking and excess melting.
Candles with poor scent throw can be disappointing. Using less fragrance oil reduces throw. For stronger scent, use the recommended amount of oil, and match oil to wax type. Soy wax in particular needs higher concentrations of oil since it holds scent less than paraffin. Properly curing candles for 1-2 weeks also boosts hot and cold scent throw.
These are a few frequent issues in candlemaking. With practice and testing, you’ll learn to adjust things like wax temperature, wick sizing, fragrance percentages, pour methods, and cure times to make perfect candles every time. For more troubleshooting tips, check out this candlemaking troubleshooting guide.
Conclusion
In summary, if you are just starting out making candles, the easiest types to make are container candles, tea lights, and votive candles. Container candles simply require pouring melted wax into a container like a glass jar or tin can. Tea lights and votives use pre-made molds that make it easy to achieve the right shape. For any candle type, soy wax and paraffin wax are the easiest waxes to work with. Avoid more complex candles like pillar candles or rolled beeswax candles until you have some experience under your belt. With the right supplies and some practice, candlemaking can be a fun and rewarding hobby!