What To Do When Candle Wax Melts?
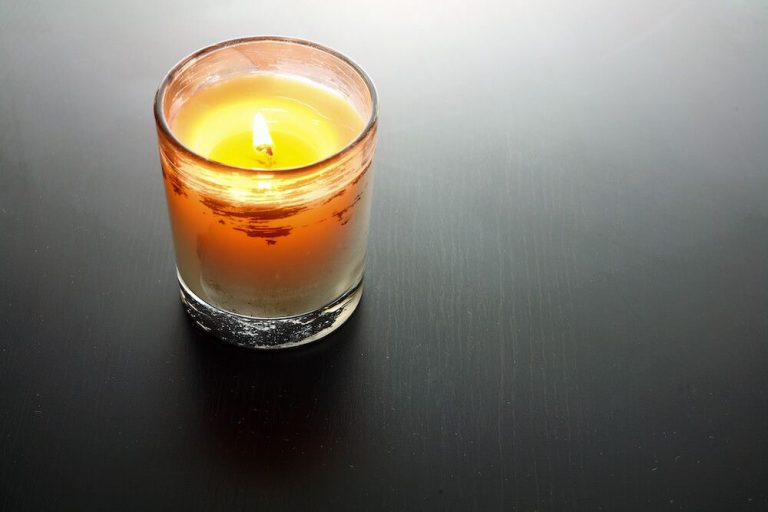
Melted wax is a common issue with candles, especially with certain types like soy or paraffin wax candles. When a candle burns, the wax melts and liquefies to fuel the flame. However, if wax melts outside of the wick, it can drip down the sides of the candle, pool at the bottom, or make a mess on nearby surfaces. This happens due to issues like improper wick sizing, drafts or breezes, placing the candle too close to a heat source, or other factors. While melted wax is not dangerous, it can be inconvenient to clean up and prevent you from enjoying the candle. This guide will provide tips on how to clean up melted wax from candles, as well as steps you can take to prevent excess wax melting.
Remove Excess Wax
If the candle wax is still soft or melted, the first step is to let it completely harden and cool. This prevents the wax from smearing and spreading further when trying to remove it. Allow at least a few hours for the wax to fully harden. The cooling time will depend on the amount of wax spilled and the material it is on.
Once hardened, gently peel or chip off any large chunks or clumps of wax with a plastic scraper or old credit card. Work slowly and carefully to avoid scratching or damaging the underlying surface. Try to remove as much of the hardened wax as possible. According to Merry Maids, this will make the cleaning process easier and more effective.1
Clean With Heat
One of the most effective ways to remove wax is by re-melting it using a hair dryer, heat gun or iron. The heat will turn the hardened wax back into a liquid state so it can be absorbed and wiped away more easily. Start by placing a paper bag or paper towel over the wax stain and then apply heat over top of it. The paper acts as a barrier to absorb the wax as it melts without pushing it further into the material underneath. Slowly move the heat source back and forth until the wax transfers onto the paper. You may need to replace the paper several times as it absorbs more wax. Test on a small hidden area first to ensure the heat doesn’t damage or discolor the material underneath. Refer to fabric care instructions for recommended heat settings. Keep heating to a minimum to avoid scorching delicate fabrics like silk or wool. Avoid using this method on synthetic materials like polyester which could melt from the heat source.
Source: https://www.wikihow.com/Remove-Wax-from-Wool
Use Ice
One easy method to remove candle wax is to freeze it using ice cubes and then pop it off the surface. Simply place an ice cube directly on top of the hardened wax stain and leave it there for several minutes. As the ice cube melts and the wax freezes, the wax will harden and contract, allowing you to easily scrape it off. For example, one source suggests, “Place an ice cube directly on top of your hardened wax. If you are worried about water stains as the ice melts, put your ice cube in a plastic bag first before placing on the wax” (https://lifehacker.com/place-an-ice-cube-on-hardened-wax-for-quick-removal-1545539022).
Once the wax has hardened from the ice cube, you can simply scrape it off the surface using a plastic card or another straight edge. The key is letting the ice cube freeze the wax completely so it detaches from the surface beneath it. This ice cube trick provides a simple, natural way to harden wax for easy removal without damaging the underlying surface.
Clean With Liquids
One effective method for cleaning wax is to use household liquids to help dissolve and flush it out. Oils like baby oil, olive oil, or mineral oil can help soften hardened wax. Put a few drops into the ear, let it sit for 10-15 minutes, then tilt your head and allow the oil and dissolved wax to drain out into a tissue. You can also use a bulb syringe with warm water to gently flush the ear afterward.
Hydrogen peroxide is another common home remedy for excess ear wax. Dilute it with an equal part water, dip a cotton ball into the solution, and wipe just inside the ear opening to clean it. The bubbling action helps break up wax. Be very careful not to push the cotton deep into the ear canal.
Liquid ear wax removal drops are also available over the counter, usually containing ingredients like carbamide peroxide or glycerin to dissolve wax. Use only as directed and don’t use drops if you have an ear infection or perforated eardrum. See a doctor if ear pain persists after using drops.
Mild, unscented soaps can also help wash away ear wax and debris. Work up a lather with warm water on your fingertips and gently clean around the outer ear, without inserting anything into the ear canal. Rinse thoroughly afterward.
While liquids can soften wax, take care not to overuse them or push residues deeper into the ear where they may cause blockages. Be gentle, use only a few drops at a time, and tilt the head to help the liquids and loosened wax drain out.
(Source: https://www.medicalnewstoday.com/articles/322247)
Clean Fabrics
Candle wax can be tricky to remove from fabric surfaces like furniture, clothing, and other textiles. Here are some tips for getting wax out of fabrics:
For clothes or other washable fabrics, try placing the item in a bag and putting it in the freezer overnight. The wax will become brittle and you can break it off the fabric the next day. Then wash the item as usual.
For heavy wax spills on furniture or carpeting, place a paper bag or paper towel over the wax spot and iron on a medium setting. The heat will melt the wax, drawing it into the paper. Replace the paper as needed until the wax is gone.
If the wax stained the fabric, treat it with a small amount of lighter fluid or rubbing alcohol. Test first on an inconspicuous area to make sure it doesn’t discolor the fabric. The solvents help dissolve the wax so you can blot it away.
For delicate fabrics, use an ice cube to harden the wax, then gently scrape it away with a dull knife or spoon. Avoid using excessive force or heat to prevent damaging the material.
With stubborn wax residue, you may need to consult a professional carpet cleaner or fabric restoration specialist. Specialty cleaning solutions are sometimes required for waxy stains on fine fabrics.
Going forward, use candle trays or plates to catch dripping wax and prevent spills. Trim wicks regularly and avoid leaving burning candles unattended to reduce accidental wax messes.
Prevent Future Issues
There are several tips and tricks you can use to prevent melted wax issues in the future:
Use a candle tray or plate under your candle to catch any melted wax drips (Source). The tray should be heat resistant. Place the candleholder directly on the tray.
Trim wicks to 1⁄4 inch before lighting to prevent large flames that can cause more wax to melt (Source). Use wick trimmers specifically designed for candle care.
Avoid drafts from windows, vents, or fans while burning candles. Air currents can cause the flame to flicker and melt more wax.
Use a properly sized candle holder so the flame is contained but not trapped. Too small of a holder will make the candle burn too hot.
Consider using a candle warmer instead of an open flame. Warmers melt the wax using a lightbulb without the risks of an open flame.
Burn candles in intervals of 2-4 hours, letting them cool completely between burns. This will help prevent excess melting.
When to Call a Professional
For large messes that cover expansive surfaces or multiple pieces of furniture or flooring, calling a candle wax cleanup professional may be your best option. Professionals have commercial-grade cleaning solutions, specialized tools, and experience removing wax from a wide variety of surfaces and materials. This can save you a great deal of time and effort.
You may also want to call in a pro for extra valuable or cherished items like antique furniture, oriental rugs, or keepsake textiles. Attempting DIY cleanup methods could potentially damage them further. Let the experts handle your most prized possessions.
Additionally, if wax has seeped deep into porous materials like unfinished wood, grout, concrete, or masonry, a professional’s commercial-grade cleaning solutions and powered tools may be required for thorough removal. Don’t risk permanently staining your flooring or creating a recurring wax problem by trying to remove it yourself.
For large messes or irreplaceable items, calling a professional can give you peace of mind knowing the job will be done quickly, completely, and safely. The cost of professional cleaning may be well worth it to restore your space and valuables.
Disposing of Wax
Once the wax has fully hardened, you can simply throw it away in the regular trash. Make sure the wax is fully hard before discarding it so it does not melt into a messy liquid in the trash can. Allow the wax to completely cool and solidify before attempting to remove it from the candle jar or melting vessel. It’s best to let it sit overnight. This helps ensure none of the wax gets washed down the drain, which can lead to clogged pipes (https://chatelaine.com/howto/how-to-recycle-candle-jars/). You can also check if the wax has fully hardened by touching it – there should be no indent made when pressed. Once hardened, the solid wax can go directly in your garbage bin for normal pickup. Letting it fully harden first prevents messy spills or leaks.
Conclusion
Dealing with spilled wax can be frustrating, but it doesn’t have to be a catastrophe. With the right techniques, you can remove wax from nearly any surface. The key is acting quickly before the wax has a chance to fully set.
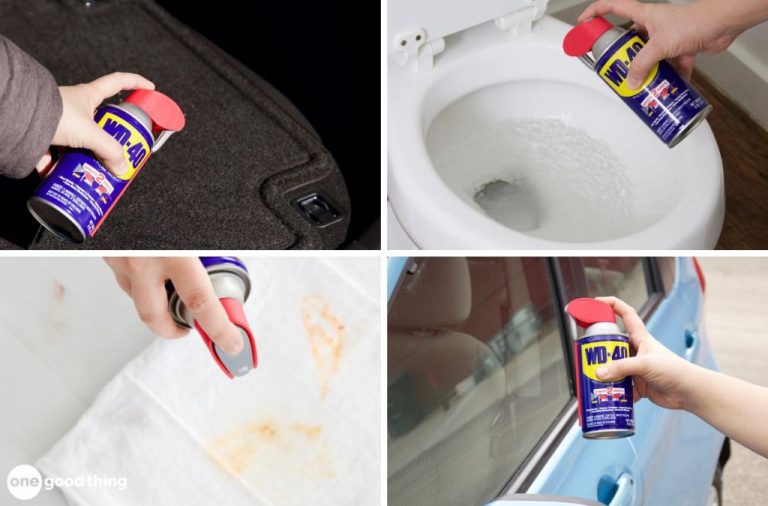
For removing wax from surfaces like countertops, tables, or floors, try letting the wax harden slightly and then gently scraping away excess wax with a plastic scraper or old credit card. Follow up by placing a paper towel over the remaining wax and pressing with a warm iron to absorb the wax. Cleaners like WD-40 or vinegar can help dissolve any leftover residue.
For fabric like upholstery or curtains, first scrape off any hardened wax with a dull knife. Then place an absorbent cloth over the wax stain and press with a warm iron to push the wax into the cloth. Use rubbing alcohol or dry cleaning solvents to dissolve any remaining traces. Be extra patient and gentle when working on delicate fabrics.
Prevent future wax issues by keeping candles away from surfaces that could get damaged. Trim wicks before lighting to prevent large melty pools of wax. And place candles on candle plates or use candle sleeves to catch any dripping wax. With the right precautions, you can enjoy candles without having to stress over wax cleanup.

