What Paper Is Best For Homemade Buttons?
Homemade buttons have become increasingly popular over the years as a fun and creative craft. Their versatility allows them to be used for everything from children’s art projects to unique clothing embellishments. The purpose of this article is to provide an overview of the different types of paper that can be used to make homemade buttons, along with tips for cutting, assembling, and designing paper buttons.
We’ll start with a quick primer on button basics – the parts that make up a button – and then dive into a comparison of different paper types like cardstock and printed paper. Guidance will be provided on getting clean cuts and properly assembling the components. Readers will also gain some inspiration from button design ideas. By the end, you’ll know what paper is best for any homemade button project.
Button Basics
Buttons are made up of three main parts: the face, back, and shank. The face is the top decorative part that you see. The back is the sturdy base that gets attached to the fabric. The shank is the loop that connects the face and back, allowing the button to fit through the buttonhole.
There are some standard button sizes to be aware of. According to the Button Size Chart from Treasurie (https://blog.treasurie.com/button-sizes/), small buttons range from 3/8 inch to 3/4 inch, medium buttons are 7/8 inch to 1 1/4 inches, and large buttons are 1 1/2 inches or larger. The most commonly used button size is 1/2 inch. Understanding standard button sizes will help when shopping for button making supplies and designs.
Paper Button Materials
When choosing paper for homemade buttons, there are two main options – cardstock or printed paper. Each has its own pros and cons to consider.
Cardstock refers to thicker, heavier paper that comes in a variety of colors, textures, and weights. It is very sturdy and can stand up to repeated use. The thickness also means the edges of the buttons won’t curl up after cutting. Cardstock allows you to make solid colored buttons in the size and shape you want. However, the cardstock surface is not ideal for photographic images or complex graphics. Design options are more limited with cardstock.
Printed paper refers to regular copy paper or specialty inkjet paper printed with custom designs from a home printer. Printed paper allows for full custom designs like photographs, artwork, text, and more. You have endless options for customization. The paper is thinner than cardstock though and more prone to curling on the edges after cutting. It may not stand up to heavy use and repeated washing as well as cardstock. According to sources like ButtonMakers.net, a 28-32 lb inkjet paper gives the best balance between print quality and durability for homemade buttons.
Overall, cardstock is best for simple, solid color buttons while printed paper offers full customization. Consider the design, intended use, and longevity when choosing between the two paper button materials.
Cardstock
Cardstock is a popular paper choice for homemade buttons. When selecting cardstock, the weight or thickness is an important factor. Many sources recommend using cardstock between 60-110 lbs for button making (https://www.americanbuttonmachines.com/blogs/american-button-machines/best-paper-for-button-maker). Cardstock that is too thin may warp or bend when going through the button machine. On the other hand, cardstock that is too thick can be difficult to cut smoothly. A good weight range for cardstock buttons is 65-80 lbs.
Cardstock comes in a variety of colors and patterns. Plain white cardstock is a classic choice that suits any design. Colored cardstock allows you to easily coordinate with the design or customize different buttons. Patterned cardstock like polka dots, stripes, or florals can add flair and visual interest to homemade buttons. When working with printed cardstock, make sure to test a sample first and adjust printer settings as needed for best results.
Printed Paper
When making paper buttons, it’s important to choose the right type of printed paper. Some good options include magazine pages, scrapbook paper, cardstock, and photo paper (American Button Machines). The paper needs to be thick enough to withstand the button making process but not so thick that it’s hard to cut and punch holes in. A moderate paper weight of 20-24lb bond is recommended for most paper buttons (American Button Machines). For photo buttons, paper up to 58lb can be used. It’s best to avoid lightweight copy paper as it may rip easily. Test different papers to see which provides the best results.
Tips for Cutting Paper
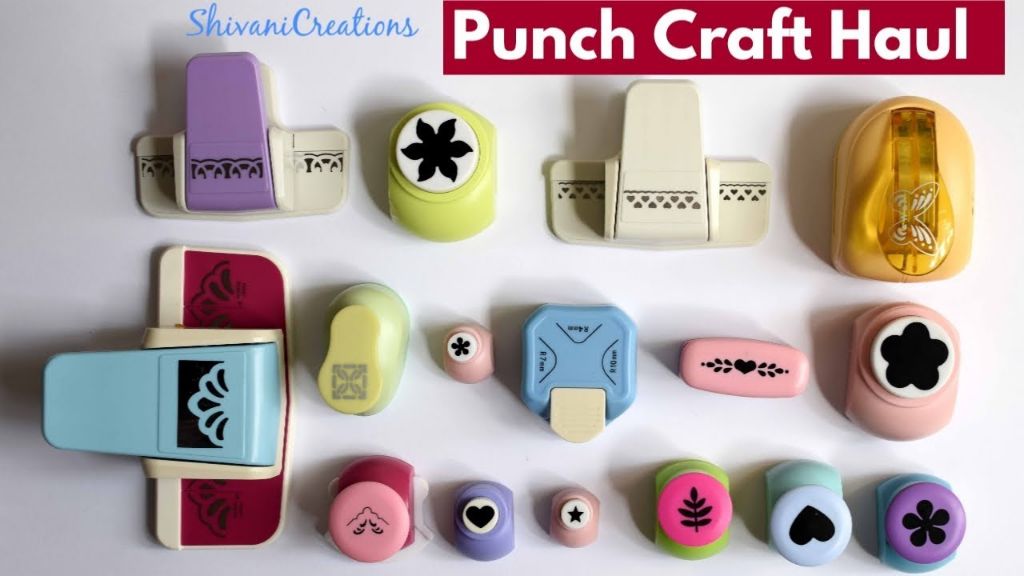
There are two main methods for cutting paper for buttons: using manual punches and cutting out shapes by hand. Both have their pros and cons.
Manual punches, like those made by Fiskars, allow you to quickly and easily punch clean, uniform holes in paper for buttons. This saves time and effort compared to cutting each button individually. However, the downside is that punches limit the size and shape options for your buttons. Generally you can only make round buttons in the sizes of the particular punches you own.
Cutting buttons by hand with scissors gives you more flexibility in terms of size and shape. You can cut squares, rectangles, ovals, stars, flowers, or any shape you desire. The main challenge is getting clean, precise cuts, especially around the edges. Using sharp scissors is a must. Going slow and being careful as you cut can help. Some people find it easier to draw the outline first with a ruler, then cut within the lines. Layering multiple sheets together can also allow cleaner cuts than a single sheet.
Overall, punches are best for easy, uniform round buttons, while cutting by hand provides more creative freedom. Combining the two techniques can maximize options in button shapes and professional-looking edges.
Source: https://www.splitcoaststampers.com/resources/tutorials/paperbuttons/
Assembling Paper Buttons
When assembling paper buttons, the right glue is crucial for getting the layers to adhere properly and last over time. Many crafters recommend using a strong craft glue like Art Glitter Glue that is designed for paper and fabric projects. Avoid using school glues which can wear out fast. Tacky glue is also frequently recommended as it creates fast, super strong bonds between paper and other porous materials (source).
A basic paper button has three components: the top face decoration, the sturdy back layer, and the shank which creates space between the button and the fabric. To assemble:
- Apply a thick layer of craft glue to the back of the button face decoration. Place face down on the button back layer and press firmly.
- Apply glue around the edges of the back layer, and press the circular shank piece in place, which should be slightly smaller than the diameter of the back layer.
- Allow the assembled button to dry completely before attempting to sew it on.
When the glue has fully cured, the paper button should be sturdy and ready for all kinds of creative uses and craft projects.
Design Ideas
When making paper buttons, you have lots of options for creative designs. You can decorate them with various patterns, photos, and embellishments to make them unique. Using patterned scrapbook paper, origami paper, or even wrapping paper allows you to easily add interesting designs.
Photos can also be trimmed down and adhered to paper buttons for a personalized touch. Family portraits, pet photos, or vacation pics all make fun paper button designs. You can also embellish with ribbon, lace, beads, bells, or other crafty items.
Making matching sets of buttons for a clothing project allows you to coordinate colors and patterns. For a baby onesie or kids’ outfit, create a series of themed buttons using the same background paper and decorations. Paper buttons also allow you to match sets of buttons to hair accessories, masks, or other crafts.
When making paper buttons for a clothing project or other use, be creative with the designs. Patterns, photos, embellishments, and coordinating sets give homemade paper buttons lots of customizable flair.
Wear and Care
Paper buttons can be quite durable if made from quality, thick paper or cardstock. According to The Artistry Behind Recyclable Paper Buttons, buttons made from recyclable paper are designed to withstand multiple washes. The thickness and strength of the paper is an important factor. Using cardstock or printed scrapbook paper will be more durable than plain printer paper.
When washing clothing with paper buttons, take care to fasten the buttons to avoid fraying and tearing. Wash in cool or cold water and avoid high heat drying which could damage the buttons. It’s best to air dry shirts and garments with paper buttons when possible. Test a spare button first before washing an entire garment, to ensure the buttons can withstand laundering. Avoid submerging paper buttons in water for extended periods of time.
With proper care, high quality cardstock or printed paper buttons can last through many wears and washes. But take care not to tug or pull too hard on paper buttons, as they may rip or come unfastened more easily than plastic alternatives. Overall, paper buttons lend unique customizable style to clothing and crafts, as long as you keep in mind the delicate nature of paper when laundering and wearing them.
Conclusion
In summary, the best papers for homemade buttons are cardstock and printed scrapbook paper. Cardstock is very durable and comes in a variety of colors and textures. Printed scrapbook paper offers beautiful designs and patterns. When cutting paper for buttons, use a punch or die cutter for consistency and sharp edges. Assemble paper buttons with jewelry findings or brads through precisely punched holes. Get creative with paper buttons by using them in jewelry, on greeting cards, as embellishments for scrapbooks, or in kids’ craft projects. With an endless variety of cardstock, patterned, and scrapbook paper available, you can make unique and personal buttons for any occasion.
Paper buttons open up many possibilities for crafters. They are inexpensive to make at home yet can look professionally made. Beyond clothing buttons, paper buttons work beautifully for embellishing cards, creating jewelry, scrapbooking, making kids’ crafts, and more. With a few simple supplies and your creativity, you can create buttons as unique as you are.