What Does Every Soap Maker Need?
Soap making is a beloved hobby for many people who enjoy creating handmade, high quality soaps. The art of soap making allows hobbyists to express their creativity and make personal, customized soaps from scratch. While the chemistry involved can seem complex, once the basics are learned, soap making can become an accessible and rewarding activity.
Part of the appeal of soap making as a hobby is that the end products are beautiful works of art that also serve a practical function. Soap makers take pride in crafting gorgeous soaps using colors, scents, shapes, and designs. The handmade soaps produced can make wonderful gifts or simply be a treat to enjoy for personal use.
Beyond the artistic elements, soap making offers the satisfaction of producing effective soaps from natural ingredients. Hobbyists can customize soaps to be gentle, moisturizing, exfoliating, or have other skin benefits. There is a sense of accomplishment from rendering soap from oils and lye through a chemical process. The finished soaps are a testament to the soap maker’s abilities.
Overall, soap making combines science and art to form an gratifying and engaging pastime. The hobby provides an outlet for creativity and supplies charming handmade soaps. For many enthusiasts, soap making is an addicting and immensely enjoyable activity.
Basic Equipment
When starting out in soap making, there are some basic pieces of equipment you’ll need to get set up [1]. This includes:
Mixing bowls – You’ll need stainless steel or heat-resistant plastic bowls for mixing your soap batter. Avoid aluminum, copper, or non-stick coated bowls as these can react with the lye. Make sure your bowls are big enough to allow room for the soap to expand as you mix.
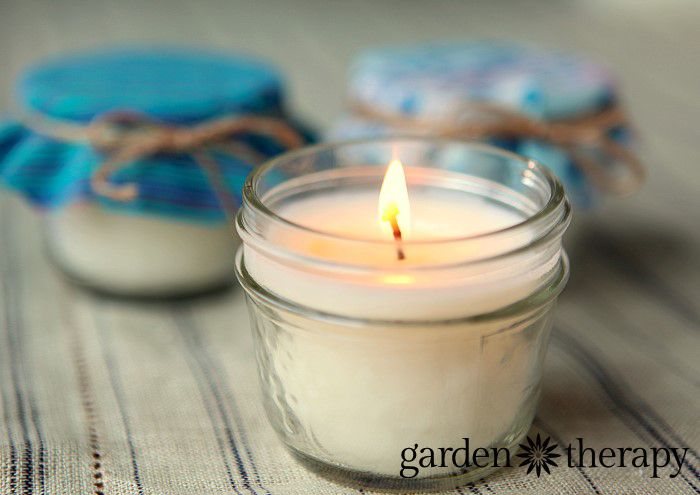
Molds – You can use silicone molds, wood molds, or even repurposed containers like milk cartons as molds. Just make sure they are heat-resistant and non-aluminum. Line your molds with parchment paper or grease them lightly so the soap releases easily.
Digital scale – An accurate digital kitchen scale is essential for weighing out your soap making ingredients. Look for one that measures in grams and has a capacity of at least 5 lbs or 2.5 kgs.[2]
Stick blender – A stick blender makes quick work of blending the soap batter to trace. Get one that is dedicated for soap making use only.
Oils and Fats
When it comes to soap making, oils and fats provide the building blocks for soap. Different oils contribute unique properties that impact the hardness, cleansing ability, and moisturizing qualities of the finished soap bar. It’s important to choose a blend of oils suited to your soap making goals.
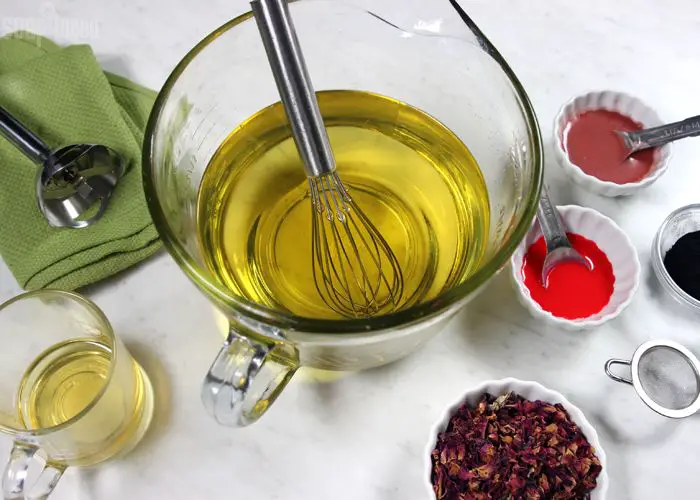
Some of the most common oils used in soap making include:
- Olive oil – A conditioning oil that produces a mild, gentle soap bar. High in oleic acid which provides moisturizing properties. Commonly used at 15-30% of the oils in a recipe (Source 1).
- Coconut oil – Contributes cleansing and bubbly lather. Also produces a hard bar of soap. Typically used at 15-30% of oils (Source 2).
- Palm oil – Creates a hard bar and stable lather. Provides cleansing properties. Used 5-25% in recipes (Source 3).
Other oils like avocado, castor, shea, or sunflower can also be incorporated in smaller amounts depending on the properties you want to achieve. A typical recipe uses 3-6 different oils in varying ratios.
Aim for a well-balanced blend. Using too much of any single oil can lead to issues like a slimy lather or a crumbly bar. Get creative and experiment with different oil combinations to find your ideal soap making recipe!
Lye and Water
When making soap, it’s crucial to use lye (sodium hydroxide) safely. Lye is caustic and can cause severe burns if it comes into contact with skin and eyes. Always wear protective gear like goggles, gloves, long sleeves, pants, and closed-toe shoes when handling lye.
Lye and water have an exothermic reaction when mixed, meaning the solution heats up rapidly. Only mix lye with water, never the other way around, as this can cause a dangerous volcanic-like reaction. Add the lye to the water slowly and stir continuously until fully dissolved. Allow the lye-water solution to cool to room temperature before using in soapmaking.
When mixing lye and water, it’s best to do so in a well-ventilated area without distractions. Work carefully and focus solely on the task at hand. Never leave a lye-water mixture unattended. Store any unused solution in an airtight container out of reach of children and pets. Always label any container with lye solution clearly.
With proper precautions, lye can be used safely in soapmaking. Slowly adding lye to water and wearing protective gear minimizes the risks. Handling lye attentively and methodically helps avoid accidents. Taking the time to mix lye solutions properly makes the process safer and more enjoyable.
Colorants and Fragrances
One of the joys of soapmaking is experimenting with different colors and fragrances. Colorants and fragrances allow you to customize your soap to achieve the exact look, smell, and feel you desire.
For coloring soap, you can use both natural and synthetic options. Popular natural colorants include herbs, spices, clays, activated charcoal, and alkanet root. Each natural colorant will provide a slightly different color hue. Synthetic colorants, such as liquid soap dyes and micas, come in every color imaginable and provide vibrant, consistent hues.
When using colorants, it’s best to start with just a small amount and add more if needed. Most colorants should be used at around 1 teaspoon per pound of soap. Going overboard with colorant can cause issues like accelerating trace time, seizing, ricing, or bleeding.
Fragrances oils are added both for scent and to provide therapeutic aromatherapy benefits. Fragrance oils designed for cold-process soapmaking are best, used at a rate of .5-1 ounce per pound of oils. Essential oils can also be used if mixed with a solubizer like jojoba oil. Too much fragrance can lead to seizing or separation, so start with a small amount and increase sparingly.
Take the time to experiment with different colorant and fragrance combinations until you discover your favorites. This allows you to put your personal signature on handcrafted soap.
Design Ideas
One of the most enjoyable parts of soapmaking is coming up with creative designs. There are many techniques you can use to make your soaps stand out.
Layering involves pouring differently colored soaps on top of each other to create stripes or a marbled look. Start with a lighter color on the bottom then alternate with darker colors. You can do as many layers as you like. Let each layer set up slightly before adding the next. See examples of layered soaps at https://tweakandtinker.net/4-mistakes-that-can-ruin-your-soap-design/.
Embeds allow you to place objects inside the soap for a fun surprise. You can use toys, flowers, coffee beans, oats, or anything else that can withstand the alkalinity of the soap. Prepare embeds ahead of time by pouring and curing small bars or balls of soap. Place them strategically in your mold before pouring the rest of the soap. Get embed ideas from https://www.modernsoapmaking.com/blog/cold-process-soap-design-techniques-and-tutorials.
Swirling produces ribbons of color throughout the soap. There are many swirl techniques like spoon plops, hanger swirls, chopstick swirls, etc. Wait until soap batter reaches a light trace before swirling colors together. The thicker the trace, the more defined the swirls will be. Take inspiration from the swirled soaps pictured at the sources above.
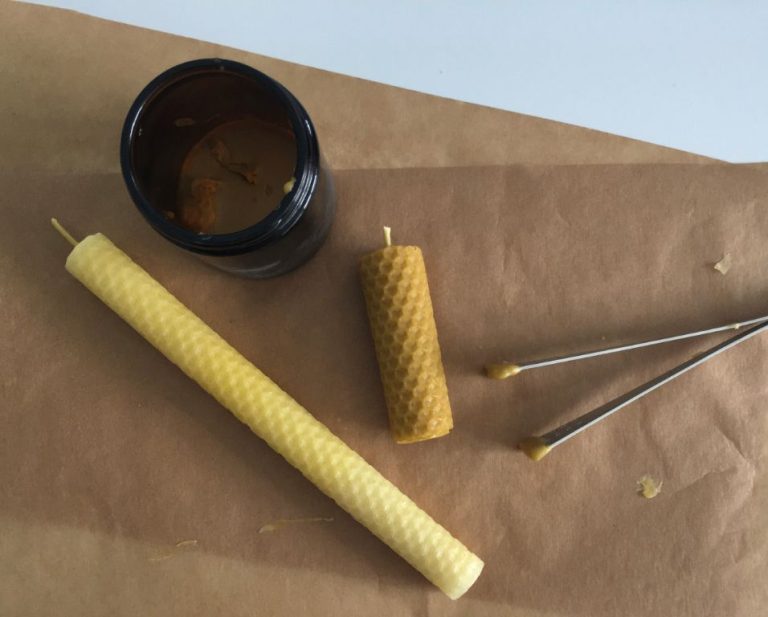
You can also make soaps in creative shapes using rectangle, oval, heart, or custom molds. Or hand-shape soaps into balls, cubes, or logs. The possibilities are endless when it comes to soap designs!
Recipe Calculation
Calculating the right recipe is a crucial step in soap making. Soap makers need to use a lye calculator to determine the exact amount of oils, lye and water to use based on the properties of each oil/fat in the recipe. Lye calculators like SoapMakingFriend and SoapCalc can help create balanced recipes.
When using a lye calculator, it’s important to understand superfat. Superfat is the percentage of oils/fats left unsaponified in order to leave extra moisturizing oils in the final bar of soap. A superfat of 5-8% is commonly used. Too little superfat can lead to a drying bar while too much can leave the soap greasy. The lye calculator will automatically calculate the superfat percentage based on the qualities and amounts of oils inputted.
Following the suggested recipe from a lye calculator takes the guesswork out of soap making and helps create a properly formulated bar of soap. Accurately measuring ingredients and following safety procedures is also critical when making soap with lye.
Mixing and Pouring
Once the lye water and oils are both at the right temperature, it’s time to mix them together in a process called emulsification. This is when saponification begins as the lye reacts with the fats to form soap. Here are the key steps for mixing and pouring:
Slowly pour the lye water into the oils, stirring constantly. Use a stick blender to fully incorporate the lye water and oils together. Continue blending until the mixture reaches “trace,” which is the point when the soap batter leaves a trail on the surface when drizzled. This can take 5-30 minutes depending on factors like recipe, temperatures, and mixing method.
Prepare your molds while waiting for trace. Line them with freezer paper, silicone mold liners, or leave unlined. Once the batter reaches trace, carefully pour it into the molds, tapping the molds on the counter to release air bubbles.
At this point, insulation can help retain heat to encourage saponification. Wrap molds in towels or blankets, or place them in a heated space like an oven (turned off), seedling heat mat, or even a car in the sun. Cold batter may need 12-24 hours of insulation before unmolding.
After 1-2 days, the saponification process will complete and the soap can be unmolded. Cut into bars and allow 4-6 weeks of curing before using the finished soap.
Safety tip: Wear gloves, goggles, and protective clothing when handling lye. Work in a well-ventilated area. If exposed to lye, flush immediately with water. Keep children and pets away during the soapmaking process.
Curing
After pouring and molding soap, it needs 4-6 weeks to fully cure before using it. Curing allows excess water to evaporate so the bars harden and become milder for skin.
Proper curing requires patience – there’s no way to rush the process. It typically takes about a month to complete. During this time, the soap becomes firmer as moisture evaporates.
While curing, soap should be kept in a well-ventilated area out of direct sunlight. Many soap makers use wooden curing racks which allow air circulation all around the bars 1. The soap does not need to be covered during curing.
Resist cutting into bars too early. Cutting before 2-3 weeks can expose more surface area, preventing proper curing. Wait several weeks before cutting if possible.
Troubleshooting
Even experienced soap makers run into issues from time to time. Here are some of the most common soap making problems and their solutions.
Soda ash is a white powdery deposit that can develop on the surface of cold process soap. It’s caused by the lye reacting with carbon dioxide in the air. To prevent soda ash, avoid moving or unmolding soap too soon, and don’t gel your soap. If it develops, you can wash it off after curing. See more tips in this post from The Nerdy Farm Wife: https://thenerdyfarmwife.com/troubleshooting-cold-process-soap-problems/
Cracking or partial gel can create cracks and divots in soap. It happens when parts of the soap batter gel faster than others. To prevent it, maintain an even temperature during saponification. Insulate your mold and avoid temperature fluctuations. See The Nerdy Farm Wife for more details.
Discoloration like brown spots can occur if fragrance oil falls onto the surface. Prevent this by fully incorporating oils. For other discoloration issues, essential oils like vanilla or clove can turn soap brown over time. Use chelators like EDTA to help prevent it. See The Nerdy Farm Wife for chelator tips.
Seizing or false trace happens when soap batter turns solid too quickly, often caused by adding fragrance at the wrong time or wrong temperature. To prevent seizing, add fragrance when the batter is around 85-90F. If your batter does seize, try reheating gently and stick blending to emulsion it again. See SoapMakingEssentials for more seizing tips: http://www.soap-making-essentials.com/soap-troubleshooting-guide.html