What All Do You Need To Make Car Freshies?
A car air freshener is an accessory used inside vehicles to improve the smell of the interior (https://pureflowair.com/blogs/post/the-evolution-of-car-air-fresheners). They work by emitting a fragrance to mask or eliminate unpleasant odors from smoke, food, pets, sweat, and mold. Air fresheners make the driving experience more enjoyable by providing a pleasant scent.
There are different types of car air fresheners, including cardboard hanging air fresheners, vent clips, gels, candles, reed diffusers, and essential oil based sprays. Hanging cardboard air fresheners are very common and clip onto air vents to scent the airflow. Vent clips attach to vents to hold air freshener refills. Gel air fresheners use fragrance oils suspended in a gel that slowly releases scent. Candles and reed diffusers provide ambiance along with fragrance. Sprays allow you to quickly scent the air on demand.
Supplies Needed
To make homemade car air fresheners, you’ll need some basic supplies like cardboard, essential oils, fragrance beads, bamboo skewers, and more. Here are the main items you’ll need:
- Cardboard – This can be cut into fun shapes to make homemade cardboard air fresheners. Look for thicker cardboard like from shipping boxes for durability. 1
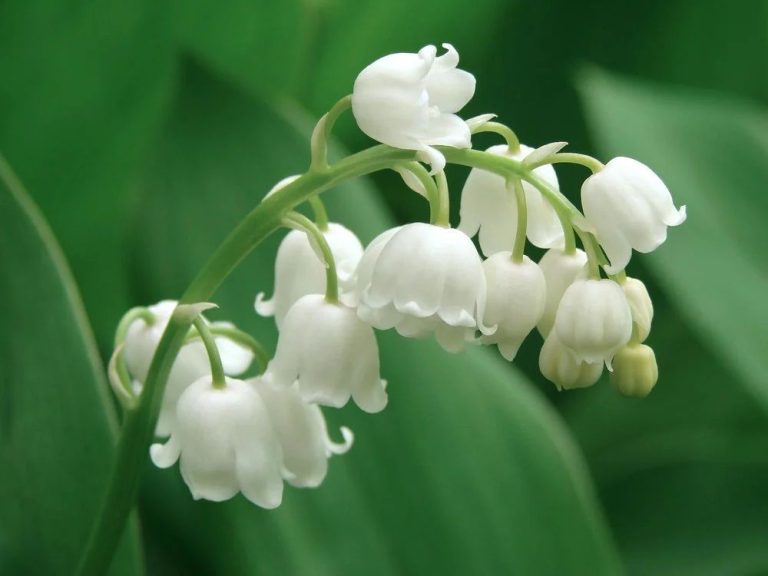
- Essential oils – Choose your favorite scents like lemon, lavender, eucalyptus, etc. Make sure they are 100% pure essential oils. 2
- Fragrance beads/gels – These release scent over time. Opt for odors like new car smell, vanilla, etc.
- Bamboo skewers – These can insert through cardboard to hang air fresheners.
- String/twine – Used to hang air fresheners from rearview mirror.
- Scissors – To cut cardboard into shapes.
- Embellishments – Stickers, glitter, ribbon etc to decorate.
You can find most of these supplies affordably at craft stores, online marketplaces, or even around the house. Make sure any containers used are non-toxic.
Making Cardboard Air Fresheners
Cardboard and paper make great materials for DIY air fresheners. Here are the steps for making simple cardboard air fresheners:
1. Cut cardboard into your desired shape and size. Circles, squares, fun shapes like trees or cars all work well. Aim for around 2-3 inches in size.
2. Use a hole punch or craft knife to cut a hole towards the top where you’ll insert string to hang it. Reinforce the hole with tape so the string doesn’t tear it.
3. Add your scent. You can sprinkle baking soda or other odor absorbing ingredients on the cardboard. Or add a few drops of essential oils like lavender or lemon. Let the oils fully absorb.
4. Hang your air freshener using string, ribbon, or a twist tie. Place it somewhere with good airflow like your car’s rearview mirror or air vents.
Tips: [1]
- Use cardstock, poster board, or scrapbooking paper for sturdier fresheners.
- Laminate your shapes for longevity.
- Cut vents or holes in the cardboard for better airflow.
Making Essential Oil Air Fresheners
Essential oils are a popular method for creating homemade air fresheners. They provide a natural fragrance and many have purifying or cleansing properties. Here are some tips for making your own essential oil car air freshener:
Choose your essential oils. Some popular options include lemon, grapefruit, lavender, eucalyptus, tea tree, peppermint, rosemary, and orange. You can use individual oils or create a custom blend. Start with 3-5 oils in your blend.
Use absorbent materials like felt, cotton balls, bamboo, loofah, or clay beads as a base to soak up the oils. Avoid porous materials like wood or cardboard which could mildew. The base should be contained or wrapped up so the oils don’t leak.[1]
A good ratio is around 15 drops of essential oil per ounce of base material. The more absorbent the base, the more oil it will need. Add oils slowly and allow time for absorption to avoid leakage.
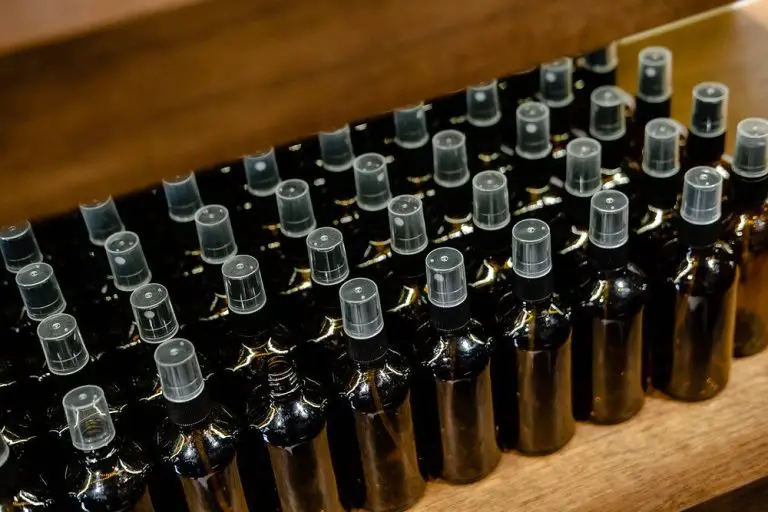
You can combine the oils with purified water in a spritzer bottle. Use 10-15 drops of oil per 1 cup of water. Shake well before each use.[2]
Hang or clip your air freshener near an air vent for circulation. Refresh with new oils every 2-4 weeks as the fragrance fades.
[1] https://thethingswellmake.com/natural-diy-car-air-freshener/
[2] https://www.happyhomehappyheart.com/diy-car-freshener-with-essential-oils/
Making Bead Air Fresheners
One of the most popular homemade car air fresheners uses scent beads or aroma beads. These are beads made from absorbent material that have been infused with fragrance oils or essential oils. The fragrance is released gradually over time as the beads absorb humidity and warmth in the air.
Follow these steps to make your own scented bead car air freshener:
- Purchase unscented aroma beads, either online or from a craft store. Look for large beads around 6mm in size.
- Choose your favorite essential oils or fragrance oils. Calculate about 10-15 drops of oil per 1⁄4 cup of beads.
- Place the beads in a container or plastic bag. Add the drops of essential oils directly onto the beads. Seal and shake or massage the bag to distribute the oils thoroughly into the beads.https://gymcraftlaundry.com/10-homemade-car-air-freshener-ideas/
- Allow the beads to absorb the oils for at least a few hours or overnight.
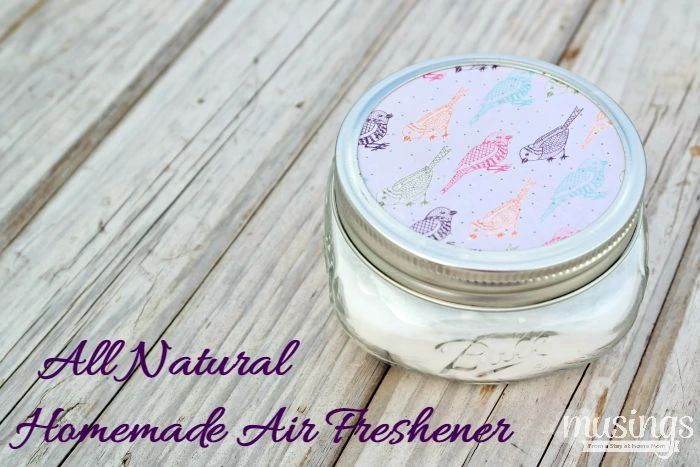
- Transfer the infused beads into your selected air freshener vessel – a sachet, small jar, or hanging car diffuser.
When using aroma beads, it helps to include an extra handful of unscented beads. This extends the life of the fragrance. Refresh with a few more drops of oil every 2-3 weeks.
Try these tips for best results:
- Bamboo makes an attractive renewable material for sachets or hanging diffusers.
- Small jars with holes poked in the lid allow the fragrance to waft through your car.
- Use a ratio of around 20% infused beads to 80% unscented if mixing them.
- Don’t over-scent the beads, as it can be overpowering in a confined space.
Hanging and Placement of Car Fresheners
When it comes to getting the most out of your car freshener, proper placement is key. Here are some best practices for hanging or placing air fresheners in your car:
Vent clips – Clipping your car freshener to the vent allows the AC or heat to distribute the scent throughout the car. Make sure not to block airflow or obstruct vision. Popular vent clip options include Bath & Body Works clips.
Rearview mirror – Hanging an air freshener from your rearview mirror is another excellent way to circulate scent. Just be cautious of blocking vision or distracting drivers. Some fresheners like Little Trees are specifically designed to hang from mirrors.
Cup holders – Placing air fresheners in cup holders can help the scent waft up through the car. This works best with oils, beads, or can styles. Just avoid spilling drinks on the freshener.
Headrest or seatback – Hanging fresheners from headrests or clipping them to seatbacks gets scent right where passengers sit. Opt for clips that won’t damage upholstery.
Dashboard – Sitting a freshener on the dash can work well, as long as it doesn’t slide around or block vision. Dash placement tends to work best with reusable can or jar styles.
Door pockets – Slipping a smaller freshener into door pockets is an option, but the scent may not circulate as widely. Door pockets tend to work better for solid or bead styles.
Under seats – Placing fresheners under seats rather than in the cabin itself can provide more subtle, gradual scent release.
Experiment to find the ideal placement for your chosen freshener, based on scent strength, airflow, visibility, and more. Just avoid hazardous positioning that blocks vision or impairs driving.
Maintenance Tips
To get the most out of your car air freshener and avoid messes, here are some useful maintenance tips:
Most car air fresheners will last 2-4 weeks before losing effectiveness. Gel or cardboard air fresheners may last slightly longer, around 4-6 weeks. Be sure to check the manufacturer’s recommendations. According to uniquedirection.com, you should plan to replace your car air freshener every 2-4 weeks for optimal freshness.
If you notice the scent is fading or your car has odors again, it’s time to replace the air freshener. Depending on use, some may need to be changed every 2 weeks. Frequent replacement prevents buildup of stale smells.
When removing an old air freshener, check for any sticky residue or leaks. Clean the area to prevent dirt buildup. For hanging air fresheners, wipe the hook or clip before attaching a new one.
Store extra air fresheners in a sealed container or bag to preserve the scent. Avoid extreme temperatures that could cause melting or leaks.
Follow all usage and safety instructions provided to avoid spills or messes. Never place air fresheners near vents where heat could cause leaking.
Troubleshooting
Sometimes car air fresheners don’t scent the car as strongly as expected. To troubleshoot, first check that the packaging is opened fully to expose the freshener to air circulation. Bath & Body Works recommends removing the plastic around the air freshener to activate the fragrance (source). Hanging the freshener from the rearview mirror or AC vents increases airflow. Switch to a freshener with a stronger fragrance like vanilla if the scent is too subtle (source).
On the other hand, some users find certain fresheners like cinnamon or floral scents overpowering. Try moving the air freshener farther away from the front seats if it’s too strong. Choosing a milder fragrance like linen or cotton can prevent scents from being overwhelming.
DIY vs Store Bought
Homemade car air fresheners have some advantages over store-bought options:
- You can customize the scent exactly how you want it by choosing your favorite essential oils or fragrance oils. Store-bought fresheners often have overpowering synthetic fragrances.
- DIY air fresheners are much cheaper to make. Essential oils and other homemade supplies cost a fraction compared to branded car air fresheners.
- You have total control over the ingredients. Some mass-produced fresheners contain phthalates, VOCs, and other concerning chemicals. With homemade, you can avoid any ingredients you want to stay away from.
However, store-bought fresheners do have some pros compared to homemade:
- They come in convenient, ready-to-use packages that easily clip onto car vents or hang from rearview mirrors.
- The fragrances are strong and distribute aroma efficiently throughout the car interior.
- Major brands like Little Trees or Febreze are trusted, well-tested products.
Overall, DIY car air fresheners allow for more customization and control over scent and ingredients. But store-bought fresheners provide simplicity and strong, convenient fragrances. Try both options to see which you prefer!
Sources:
https://www.oldcarsweekly.com/review/diy-air-freshener/
Conclusion
Making your own car air fresheners is easy, fun, and cost-effective. This guide covered the key steps and tips for making cardboard, essential oil, and bead air fresheners. The three main benefits of DIY car fresheners are:
1. You can customize scents – Pick your favorite essential oils or fragrance beads to create smells you love. You’re not limited to what’s available in stores.
2. Cost savings – Making your own with household materials costs just pennies compared to buying premade ones.
3. Creative and crafty – DIY air fresheners allow you to showcase your creativity. Design fun shapes or patterns to match your car’s interior.
Following the simple instructions provided, you can quickly make air fresheners tailored to your nose’s delight. Place them around the interior and enjoy the benefits of a customized, fresh-smelling car.