Tips For A Beginner In Candle Making
Candle making is the process of pouring melted wax into a container and allowing it to cool and solidify into a candle. It has become a popular hobby and craft in recent years, as it allows for creativity in making customized, scented candles. An important first step in candle making for beginners is to understand what basic supplies are needed.
The main supplies needed are wax, wicks, candle containers, candle dyes/scents, and metal pour pots or a double boiler to melt the wax. Common beginner waxes are paraffin, soy, or beeswax. Wicks come in different materials and thicknesses for the candle size. Containers can be glass, metal, or plastic. Additional optional supplies are items like candle dyes and essential oils.
Once you have the main supplies, you can begin by melting wax in the pour pot, adding dyes/scents if desired. The wick is threaded through the container, the wax is carefully poured in, and left to fully harden before the finishing touches. With some basic guidance, candle making can be an enjoyable hobby to explore.
Choosing Wax
When making candles, the type of wax you choose is important. Different waxes have different properties that affect the finished candle in terms of appearance, burning, and scent throw. Some common types of candle wax include:
Paraffin Wax – This is a mineral-based wax made from petroleum. It is inexpensive and makes hard, long-lasting candles. However, paraffin releases more soot and tends to hold fragrances less effectively.

Soy Wax – Made from soybeans, this natural wax has a lower melting point so candles require less heat. Soy wax blends well with essential oils and has a smooth finish. The drawback is a shorter burn time.
Beeswax – Beeswax is all-natural, non-toxic, and burns cleanly. It has a lovely honey aroma and polished look. The downside is beeswax is expensive and can be tricky to work with.
Coconut Wax – Coconut wax makes hard, strongly scented candles. It’s becoming more popular for its natural origins and excellent scent throw. Coconut wax can be prone to frosting, though.
Consider the properties of each type of wax and what’s important for your specific candle project when deciding which wax to use.
Wicks
Choosing the right wick is crucial for a good burning candle. The wick size and material determine how the wax pools when the candle burns. For beginners, it’s recommended to start with cotton or wood wicks in sizes like CD 5, CD 7, CD 8, or CD 10 which work for most wax and jar combinations1.
Wood wicks made from wood pulp fibers are a versatile option that perform well with soy, paraffin, palm, coconut, and beeswax candles. They come in sizes 00, 0, 1, 2, 3, and 42. Wood wicks make a pleasant crackling sound when lit.
The wick size should be proportional to the diameter of the container so the wax can pool properly when the candle burns. A wick that’s too small can create issues like tunneling while one that’s too big gives a sooty flame. Testing different wick types and sizes is the best way to find the optimal match.
Candle Containers
The container you choose for your candle is crucial, as it can impact how the candle burns. There are a few main options when it comes to candle containers:
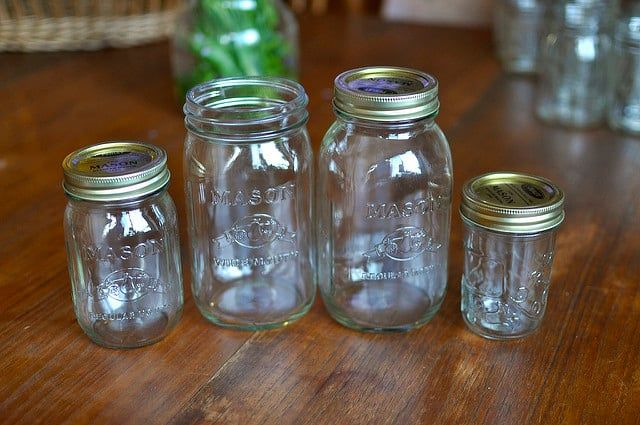
Glass: Glass containers like jars and votives are very popular for candles. Glass conducts heat well and allows the candle wax to pool evenly as it melts. Glass comes in many shapes, sizes, and styles to fit any decorative need. However, glass can break if dropped or exposed to drastic temperature changes. Refer to this guide for an overview of common glass candle jar types.
Metal: Metal tins and containers are another excellent choice, as metal also conducts heat efficiently. Tins are durable and inexpensive. However, some metals can get hot to the touch while the candle is burning. Use caution with metal around flammable materials.
![]()
Plastic: Plastic containers are affordable and come in many decorative styles. However, some plastics don’t conduct heat as well. This can lead to issues with candle tunneling or poor wax pooling. Make sure to use a plastic specifically designed for candle-making.
Silicone: Silicone is a newer material gaining popularity for candle-making. It’s flexible, durable, and handles high heats well. The flexibility allows for easy candle removal. However, silicone is more expensive than other options.
Consider the pros and cons of each material based on your specific needs. Proper wicking and wax selection can help overcome some of the cons of each material. Testing different container types is key to finding your ideal vessel for candle-making success.
Candle Scents and Dyes
One of the best parts of making candles is choosing the scents and colors! Scented candles can transform the ambiance of a room and delight your sense of smell. There are a few options for scenting candles:
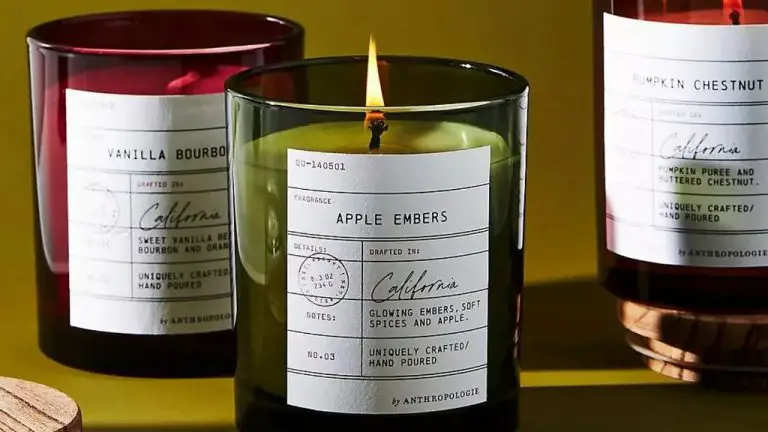
Fragrance oils are artificial scents made for candles and other products. Most candle supply retailers offer a wide selection of fragrance oils to choose from, like fruity, floral, and woodsy options. Popular fragrances include vanilla, lavender, cinnamon, and pine.
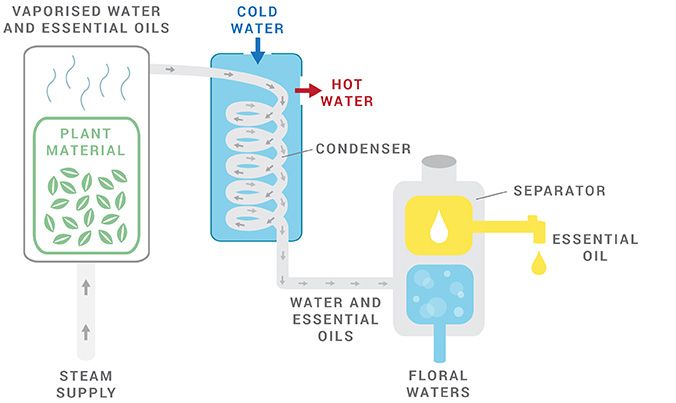
Essential oils are natural aromatic compounds extracted from plants. Common essential oils for candles include lemon, orange, peppermint, eucalyptus, and tea tree. Essential oils often have milder scents than fragrance oils.
When it comes to coloring candles, dye blocks or liquid dyes specifically made for candle wax produce the best results. Wax-safe dyes come in a rainbow of colors. You can mix colors to create custom shades. Just remember to add dye sparingly as a little goes a long way.
Melting Wax
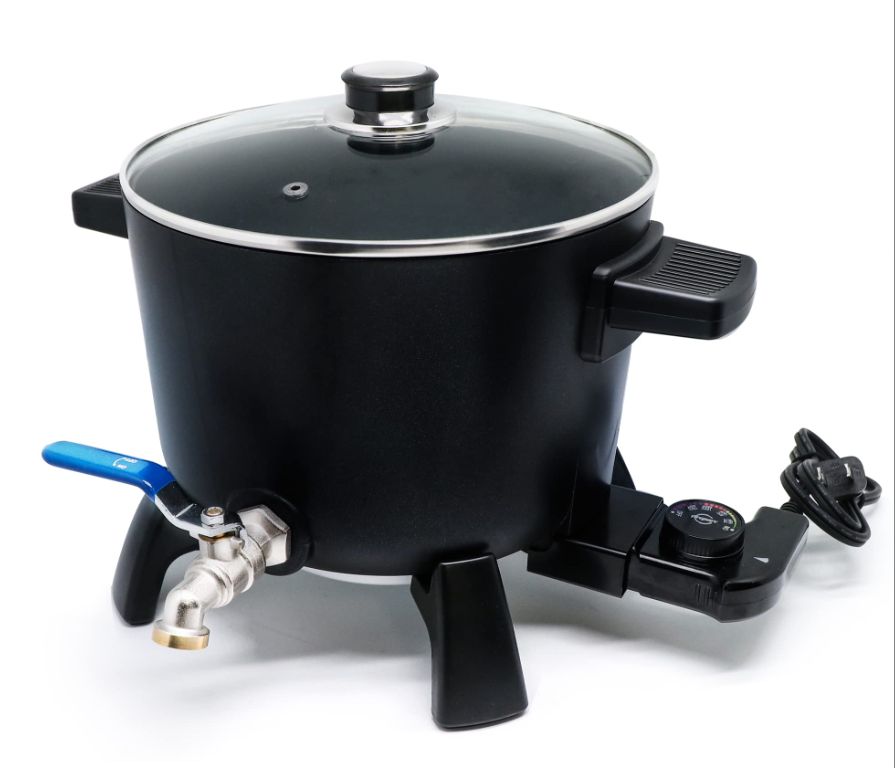
When making candles, one of the first steps is melting the wax. There are several effective and safe methods to melt wax for candle making, depending on the equipment you have available:
On the stovetop: Use a double boiler or improvise one by putting water in the bottom of a pot and resting a smaller pot on top to gently melt wax. Monitor closely and keep the temperature between 170-180°F. According to Supplies for Candles, “Wax can ‘flash’ (ignite) if it gets too hot, so stir continuously and don’t wander off!”[1]
In the microwave: Melt wax in short 30 second bursts, stirring in between. Heat no higher than medium power to avoid dangerous hotspots. Use a microwave safe container like glass or ceramic.
With a heat gun: Slowly sweep a heat gun over the surface of the wax to melt it gradually. Keep the heat gun 6-12 inches away to prevent scorching the wax.
A key tip is to avoid overheating the wax, which can change its properties and chemistry. Melt wax slowly and patiently. Test the temperature periodically with a thermometer, it should not exceed 185°F at any point.
Once the wax is entirely liquid, remove it from the heat source. The wax is now ready for adding fragrance, dye, and pouring into containers.
[1] https://suppliesforcandles.co.uk/candle-college/best-ways-to-melt-candle-wax
Pouring Candles
One of the trickiest parts of candle making is properly pouring the wax. Here are some tips for beginners:
The wax should be poured at the proper temperature, usually between 135-165°F, depending on the type of wax. This ensures the wax has fully melted and has a nice flow, but isn’t so hot that it scorches or sinks down in the container. Check your wax manufacturer’s recommendations.
Pour wax slowly and steadily in a thin stream down the side of the container. This helps prevent bubbles from forming. You can stir the wax gently with a chopstick or knife before pouring to release trapped air bubbles.
Let candles cool completely before moving or handling them, at least 24 hours. Cooling too quickly can cause cracks or sinkholes. Avoid drafts, direct sunlight, or temperature changes while cooling.
If bubbles do appear after pouring, use a skewer or toothpick to gently push them to the side of the container and pop them. This is easiest before the wax fully sets.
Watch the pour temperature and adjust your technique until you get smooth, bubble free candles. Making a few practice pours on scrap wax can help you get the hang of it.
Wick Positioning
Proper wick positioning is crucial for an evenly burning candle. The wick should be centered in the candle container to prevent tunneling. According to Guide to Using Multiple Wicks in a Candle, you’ll typically want 1 wick for every 1 inch diameter, so position wicks evenly spaced apart.
To hold wicks in place while pouring wax, you can use wick stickers, hot glue on the bottom of the wick tab, or secure the wick with a toothpick across the top of the container. According to How to secure a wick in a candle, using high heat silicone around the wick tab creates a good seal. Make sure wicks are fully centered before the wax hardens.
Finishing Touches
Once your candles have fully cooled and hardened, it’s time for some finishing touches to get them looking polished and professional. One of the most important finishing steps is smoothing out any imperfections or rough spots on the top of the candle. There are a few tricks to getting a perfectly smooth surface:
1. Use a heat gun to gently re-melt just the top layer of wax. Apply heat evenly and avoid overheating. Once re-melted, allow the wax to cool and set again. The wax should self-level into a smooth surface. (https://www.candlescience.com/learning/candle-making-101-smooth-tops/)
2. Control the temperature as you pour the wax into the candle vessel. Pouring at higher temperatures around 175-180 F allows more time for the wax to level out before hardening.
3. Label your candles neatly and attractively. Create or purchase custom labels with your branding. Adhere labels straight and centered onto the finished candles.
Take care in wiping away any spills, drips, or smudges on the candles before finalizing them. Your finishing touches can elevate your homemade candles to look like high-quality store-bought ones.
Safety Tips
Candle making involves dealing with hot wax, so it’s important to take some basic safety precautions. Here are some key tips:
Ensure proper ventilation when melting wax and pouring candles. Melting wax produces fumes, so work in a well-ventilated area and avoid breathing in wax vapors. Open windows or use a fan to circulate fresh air.
Be very careful with any open flames. Never leave melting wax or lit candles unattended. Keep candles away from flammable materials like curtains or paper, and have a fire extinguisher on hand. Avoid distractions when lighting wicks.
Wear protective gear like long sleeves, closed toe shoes, oven mitts, and safety goggles. Hot wax can cause serious burns. Be cautious when handling anything hot from melting wax to glass containers.
Keep a first aid kit on hand in case of burns or other minor injuries. Run burns under cool water and seek medical attention for serious burns. Be prepared to treat cuts from broken glass.
Work on a protected surface. Cover counters with foil or butcher paper to prevent wax damage. Ensure good overhead lighting. Clean up spills immediately to avoid slips.
Store finished candles properly by allowing to fully cure and keeping away from heat or flames. Never burn a candle all the way down as the hot glass can shatter or start a fire.
Supervise children closely and keep pets away when making candles. Consider waiting until children are older to allow them to participate. Discuss fire risks.
Take your time and don’t rush the process. Making candles requires working carefully with hot substances.
Following basic safety tips will help ensure candle making is an enjoyable hobby!


