Is There A Proper Way To Light A Candle?
Lighting candles properly is vital for both safely enjoying candles and getting the most out of them. With the right technique, you can light candles safely and effectively, avoiding common issues like tunneling, sooting, and smoky extinguishing. Using proper candle lighting methods helps the wax melt evenly and cleanly down the full diameter of the candle, letting its fragrance fully develop in a controlled manner. It also reduces the risk of blown out candles re-lighting, preventing dangerous, unintended fires. This guide will cover step-by-step advice for lighting candles safely and correctly so you can appreciate their ambiance, scent, and relaxing flicker.
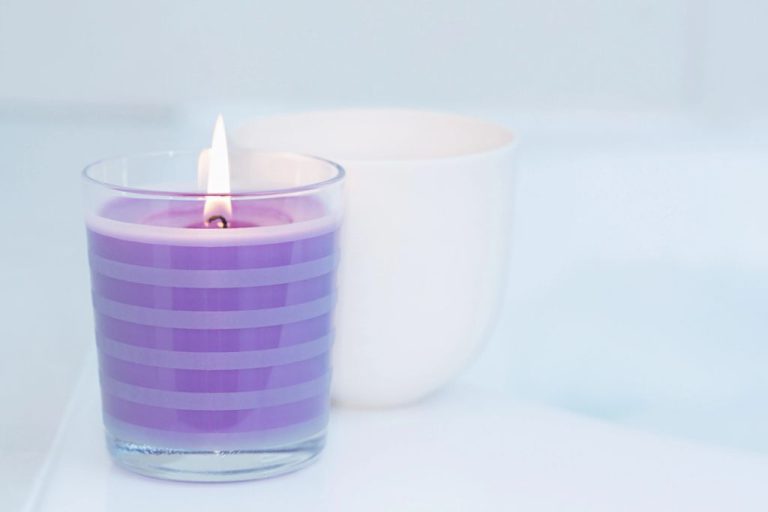
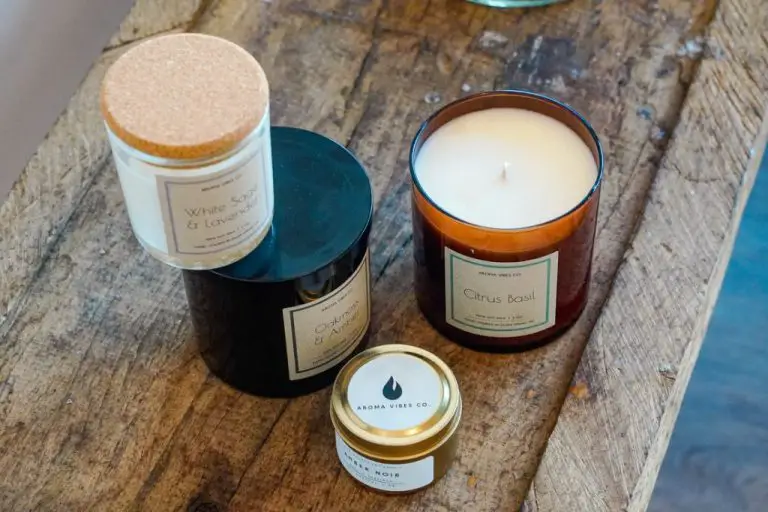
Selecting the Right Candle
When selecting a candle, first consider what the candle is made of. Common candle materials include:
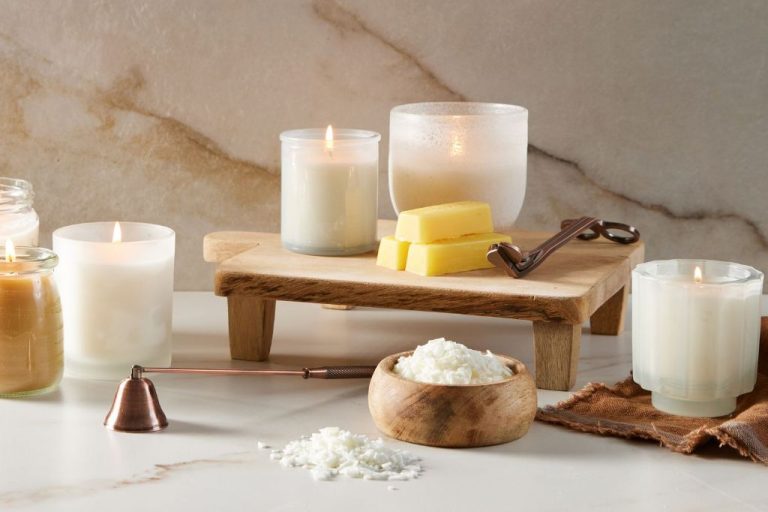
- Paraffin – These candles are made from petroleum waste products and are the most widely available. They burn slowly and release more soot. Choose these if you want classic candle fragrance on a budget. Source
- Soy – Soy candles are made from soybean oil. They burn clean and have a natural, light fragrance. Soy candles are a good eco-friendly option. Source
- Beeswax – Beeswax candles have a light honey aroma and burn brighter than other candles. They are non-toxic but more expensive. Select beeswax for a natural candle. Source
Next, consider the wick type: cotton, wood, or paper. Cotton wicks are common and burn steadily. Wooden wicks make a crackling sound. Paper wicks are thin and curl as they burn. Match the wick to the size of the candle and your personal preference.
Preparing the Candle
Before lighting the candle, it’s important to properly prepare the wick. According to the Candle Science Guide, you should trim the wick to 1⁄4 inch before lighting to prevent issues like tunneling. Using sharp scissors, carefully trim the wick straight across to remove any curled or blackened ends. The trimmed end should be clean and even. You want the wick to be short enough not to produce smoke or an overly large flame, but long enough for the melt pool to reach the base of the wick as the candle burns. A 1⁄4 inch trimmed wick is generally the sweet spot for most standard candles.
Additionally, it’s recommended to let the candle sit for 24 hours before lighting to allow the wax and wick to settle into place after pouring and cooling. This helps ensure an even burn. Gently center the wick if needed so it stands straight up and is not leaning to one side.
Lighting the Candle
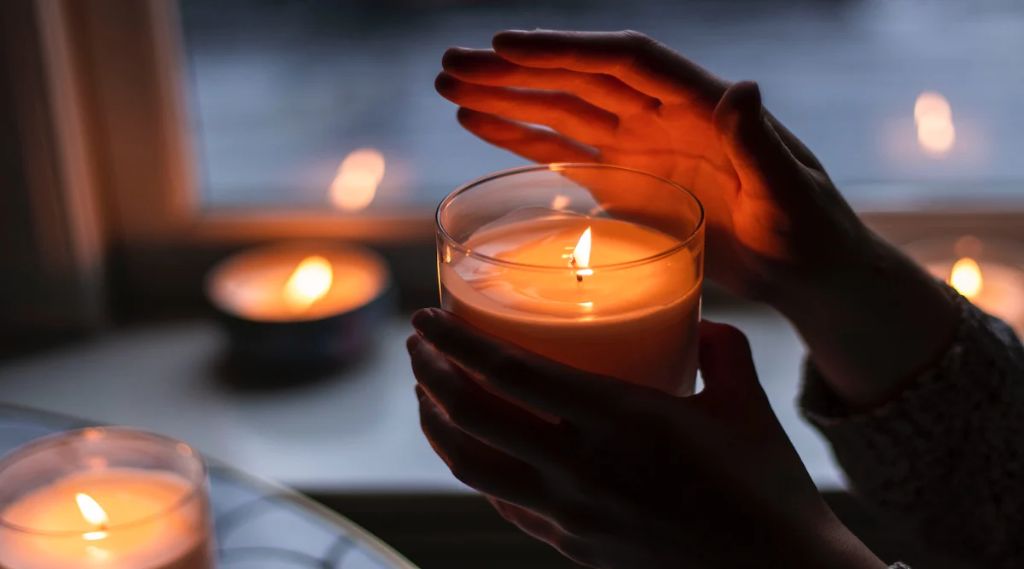
When lighting a candle, it is important to hold the flame to the tip of the wick until it melts and ignites. Avoid holding the flame too close to the wax or letting it linger too long after the wick ignites, as this can cause the wax to scorch or release unpleasant smoke.
Use the following proper technique for lighting a candle:
- Trim the wick to 1⁄4 inch before lighting to avoid uneven burning or smoking.
- Hold the flame from a match or lighter to the very tip of the wick.
- Keep holding the flame in place until the wick begins to melt and catch fire, which usually takes 15-30 seconds.
- Once the wick ignites and begins glowing red, you can safely blow out the match or lighter and set it aside.
- Allow the wick to burn for a few minutes before blowing it out to let the melted wax pool properly.
Maintaining the flame at the tip of the wick as it ignites is key to lighting a candle correctly. This melts the wax immediately surrounding the wick so it can act as fuel for a proper burn. If the wick lights but the wax isn’t melted, it can lead to smoke and blowouts.
For more tips, see “Your Foolproof Guide to Burning a Candle Correctly” (https://candles.org/your-foolproof-guide-to-burning-a-candle-correctly/).
Letting the Candle Pool
One of the most important steps in properly lighting a candle is allowing time for the wax to pool across the entire top surface before extinguishing the flame. As explained by The Candle Review, “A larger (width and height) wax pool means better scent throw. This occurs as the scent molecules (which are trapped in the wax) are released into the air once the wax liquefies.”1 Allowing the wax to pool fully ensures more fragrance is released and evenly distributed into the air.
According to The Melt Co., pooling also helps maximize the lifespan of the candle. They recommend allowing the wax to liquefy all the way to the edges before blowing out the flame. This prevents tunneling, which is when a narrow channel forms down the center of the candle. Tunneling makes the candle burn unevenly, and can prevent full fragrance release if the edges don’t properly melt. Letting the wax pool fully before extinguishing allows for an even burn and extended usage.
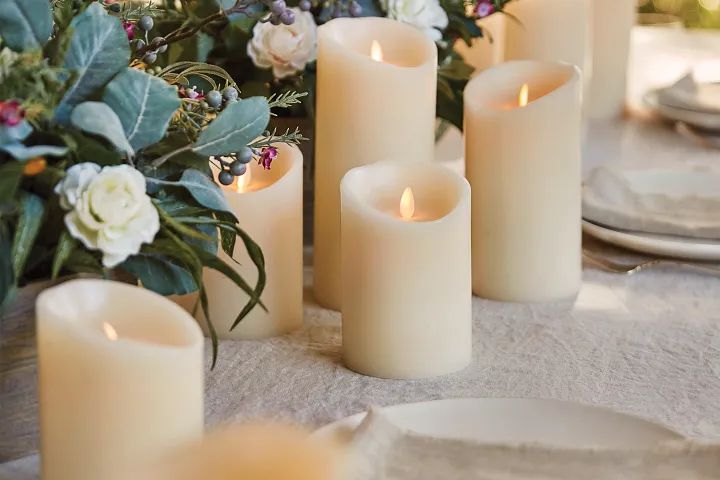
Candle Placement
Proper candle placement is important for safety and maximizing fragrance. Avoid placing candles too close to drafts, vents, or frequently opened doors and windows, as the breeze can blow out the flame or make the candle burn unevenly. According to The Harlem Candle Company, “Candles placed beside vents or near doors that open frequently will not only disturb the candle’s burn, but the scent throw as well.”
For the best results, place candles on stable, level surfaces at least 3 feet from drafts. Elevated placements like shelves, mantels, and tabletops allow fragrance to circulate. Candles can be grouped together for visual impact, but leave several inches between candles for safety.
Popular candle placement spots are coffee tables, nightstands, bathroom counters, and kitchen islands. Just be sure to keep candles away from table linens or other flammable materials.
The Soy Delicious Candle Company recommends keeping candles “away from children’s reach and never leave a burning candle unattended.” With some strategic planning and safety precautions, you can find the perfect spots to place candles in your home.
Sources:
https://soydelicious.com/blogs/news/where-to-place-candles-in-your-home-the-3-top-spots
Supervising the Candle
One of the most important safety tips when burning candles is to never leave them unattended. According to the National Fire Protection Association (NFPA), two of every five home candle fires start because the candle was too close to something that could catch fire Source. It only takes a moment for a curious pet or a draft to cause the flame to catch on nearby curtains, furniture, clothing or other flammable items. The safest practice is to always remain in the same room with an actively burning candle and to keep it in sight.
If you must leave a room briefly while a candle is burning, make sure to extinguish it first. Do not leave burning candles unattended when going to another room or going to sleep. Consider using battery-operated flameless candles if you want to keep candles burning overnight or when no one is home. With vigilance and proper precautions, candle fires can be prevented.
Extinguishing the Candle
When it’s time to put out your candle, the proper technique is important to avoid smoke or releasing excess wax particles into the air. There are two recommended methods:
Blowing Out Completely
Aim your breath directly at the flame to blow it out in one go. Blowing gently or wavering will likely lead to smoke, so blow firmly and steadily right at the flame until it is fully extinguished. Continue blowing for a few seconds after the visible flame is gone to put out any residual embers.
Using a Snuffer
Candle snuffers are small metal devices designed to put out candles without smoke. Lower the bell-shaped end completely over the flame and hold it there for a few seconds to deprived the flame of oxygen and extinguish it (https://hotellobbycandle.com/blogs/candle-tips/how-to-put-out-a-candle). The snuffer contains the smoke and wax particles. Snuffers allow candles to be put out quickly and cleanly.
Storing Candles
Proper storage is crucial for preserving your candles and ensuring they burn evenly and safely next time they are lit. Before storing candles, it’s important to allow them to fully cool and solidify after being extinguished. Moving a candle too soon can cause the wax to become misshapen and prevent the candle from burning correctly in the future. According to this source, you should allow at least 2 hours for a candle to fully harden before attempting to move it to storage.
Once cooled and solidified, candles can be safely stored in a cool, dry place away from direct light and heat. Fluctuations in temperature can cause candles to sweating or lose their shape. Storing candles in an area around 60-68°F is ideal for maintaining the wax structure and preserving fragrance. Candles stored properly can last for many years before needing to be lit again!
Safety Tips
When using candles, it’s important to follow some basic safety precautions to prevent fires and burns. Here are some key tips:
Use sturdy, non-flammable candleholders. Glass, metal or ceramic holders work best. Avoid using makeshift holders like bowls or plates which can tip over easily. The holder should be big enough to collect dripping wax and keep the flame away from surfaces (NFPA).
Keep candles away from flammable materials. Place them at least 12 inches away from anything that can burn, like curtains, furniture or books (Candles.org). Avoid putting candles near drafts which can blow flame onto nearby objects.
Never leave a burning candle unattended. Extinguish candles before leaving a room and make sure they are fully out before going to sleep.