Is Homemade Soap Hard To Make?
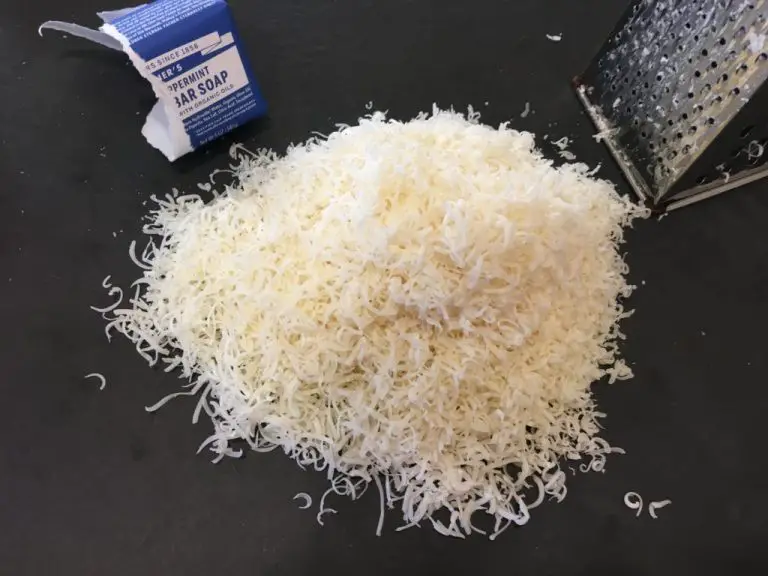
Homemade soap making involves combining oils, lye and water to create a chemical reaction called saponification. This process transforms the oils into soap through mixing and heating. Common oils used include olive oil, coconut oil, palm oil, castor oil and shea butter. Additional ingredients like essential oils, colors, fragrances or exfoliants can also be added for customization. The handcrafted process allows makers to control the ingredients resulting in gentle, nourishing bars of soap.
Homemade soaps have seen a rise in popularity due to increased interest in natural ingredients and handmade products. The process allows the use of high quality oils that benefit the skin. There is also creativity in developing unique soap recipes and designs. However, the chemical reaction involved requires proper handling of lye and achieving the right balance. This overview will look at the basics of soapmaking and discuss the difficulty, time requirements and common mistakes.
Benefits of Homemade Soap
Homemade soap offers many benefits over store-bought soap due to its use of natural ingredients and lack of harsh chemicals. By making soap yourself, you can customize the scents and ingredients to suit your needs. Homemade soap also tends to be more affordable than purchasing bar soap from the store.
The natural ingredients in homemade soap like oils, butters, and botanicals provide more moisturizing and skin-nourishing properties than commercial soap bases. Ingredients like olive oil, coconut oil, shea butter, and aloe vera soothe and hydrate the skin. Commercial soaps often contain detergents and preservatives that can strip moisture from the skin and trigger irritations for those with sensitivities (Source). With homemade soap, you control exactly what goes into the product.
Making homemade soap allows you to create customized scents by using pure essential oils, herbs, spices, and fragrance oils. You can cater each batch to your own scent preferences. In contrast, store-bought soap comes in limited scent varieties. The natural essential oils in homemade soap also provide therapeutic benefits beyond just a pleasant aroma (Source).
Many homemade soap recipes, especially those using basic ingredients like oils, lye, and water, cost a fraction of the price of boutique soap bars. With some time investment, you can make numerous batches of soap for far less than purchasing bar soap from the store.
Difficulty of Basic Cold Process
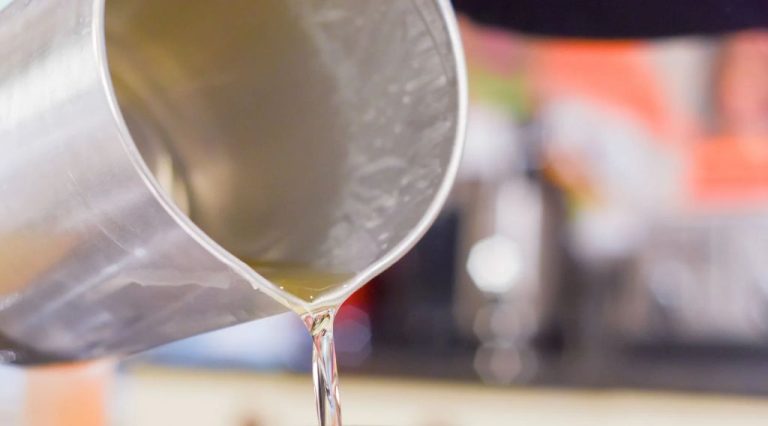
The basic cold process soap making method is relatively simple in concept. It involves mixing oils (such as olive, coconut, or palm oils) with a lye solution and allowing the mixture to saponify (Martha Stewart, 2024). However, careful measurements and safety precautions are needed when working with lye, which can cause burns.
Following precise recipes with weighed ingredients is crucial for cold process soapmaking. The lye and oils must be combined in the right proportions to fully saponify and create a mild, skin-friendly soap. According to Lovely Greens (2023), measuring inaccuracies can lead to unsaponified oils or excess lye in the final soap, making it unsafe to use. Working carefully and triple checking measurements is advised.
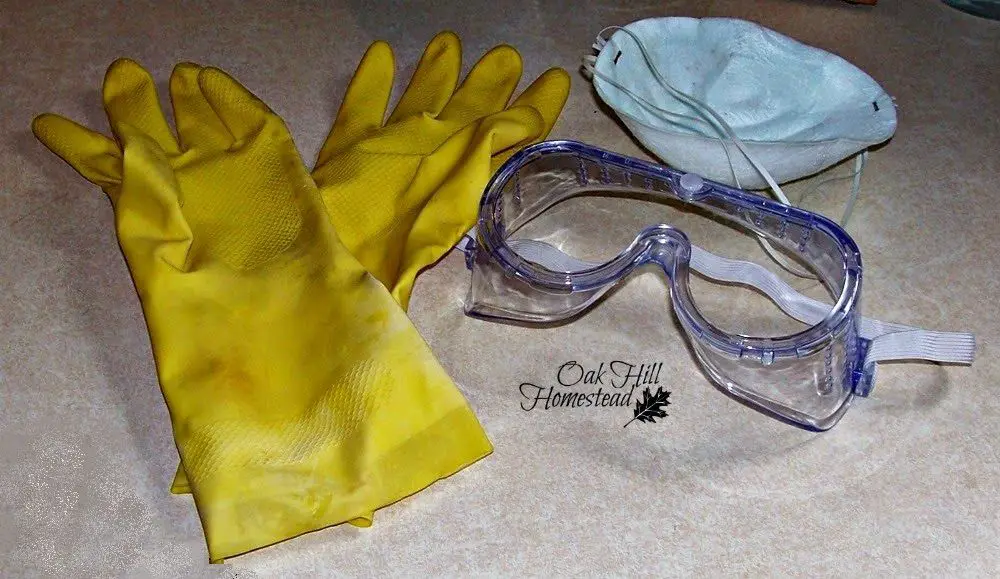
Safety gear like goggles, gloves, and long sleeves are a must when making cold process soap. Lye is caustic and can quickly cause eye and skin burns if splashed or handled improperly. Working in a well-ventilated area is also recommended due to the fumes released when combining lye and water. With the right precautions, the basic cold process method creates a rewarding, homemade soap product.
Advanced Techniques
While basic cold process soap making may seem simple enough, there are many advanced techniques that can take your homemade soap to the next level. Adding ingredients like colorants, fragrances, and natural additives allows for creativity and customization (Advanced Cold Process Soap Making Techniques).
Colorants in the form of oxides, pigments, clays, and herbs allow soap makers to create beautifully colored soaps. Combining colors through techniques like in-the-pot swirls and hanger swirls results in mesmerizing designs (8 Awesome Soap Techniques!). Fragrances, both synthetic and essential oils, make soap smell wonderful. Exfoliating textures can be achieved by adding ingredients like oatmeal, coffee grounds, and loofah.
Natural additives like milk, honey, coconut milk, beer, wine, aloe vera, citrus and herbs not only provide visual and sensory interest, but also benefits for the skin. For example, goat’s milk is a popular additive due to its moisturizing qualities. Clay and activated charcoal add detoxifying and cleansing properties.
With some practice and creativity, homemade cold process soap can transform from simple bars to beautiful works of art using advanced techniques.
Equipment Needed
Some basic supplies are absolutely necessary for cold process soap making at home, including a scale, thermometer, and stick blender. According to The Nerdy Farm Wife, you’ll need a scale to weigh your ingredients precisely, a thermometer to check lye solution temperatures, an immersion or stick blender to fully mix the oils and lye, and containers for measuring and mixing the lye. Most soap makers also use silicone loaf molds or individual molds to give their soaps shape while they cure.
For more advanced designs like fun shapes, swirls, or embeds, some specialty tools can take your soaps to the next level. Soap cutters help slice bars cleanly, while a wire slicer creates decorative rippled patterns. Decorative molds in various shapes give soaps a customized, artistic flair. According to Almost Off The Grid, items like an old Pringles tube or yogurt pot can even be repurposed into unique molds on a budget.
Time Investment
Making homemade soap from scratch requires a significant time investment. First, you’ll need to find or formulate recipes and gather the necessary ingredients, which can take 1-2 hours depending on what you already have on hand (source). Mixing and pouring a single batch of cold process soap takes about 1-2 hours. However, the longest part is the 4-6 week curing time required for cold process soap to fully saponify and become safe to use. During this time, the soap hardens as the chemical reaction completes (source). So from start to finish, you need to allot at least 6-8 weeks for homemade cold process soap. The hands-on time per batch is just a few hours, but the curing time makes the total time investment substantial.
Common Mistakes
When making homemade soap, there are a few common mistakes that beginners often run into. Being aware of these issues can help you avoid frustration and make better soap on your first few tries.
One of the most important things to get right in cold process soapmaking is the lye to oil ratio. If you use too much lye, your soap may be too harsh. If you use too little, your soap won’t harden properly. Always run your recipe through a lye calculator to ensure the right balance. Double check your math as well (source).
Overheating or accelerating trace is another pitfall for new soapmakers. If your soap batter heats up too quickly, it can accelerate trace and become difficult to work with. Avoid using high speeds on a stick blender, insulate your mold, and work in small batches to control the temperature (source).
Finally, remember to allow your soap to cure properly before using it. Cold process soap needs 4-6 weeks to fully harden and become mild. Cutting into soap too early can expose soft spots. Be patient and let your soap cure in a dry, ventilated area.
Tips and Tricks
When making homemade soap, there are several tips and tricks to keep in mind for a smoother process and better results. Proper safety gear like goggles, gloves, and long sleeves are essential when working with lye. You’ll also want to ensure you have good ventilation to avoid breathing in lye fumes.
Making a masterbatch of oils is a handy trick to streamline recipe prep. You can measure out all your oils at once and store them until ready to make soap. When combining the lye and oils, using a stainless steel whisk attachment on a drill helps ensure a smooth emulsion.
Adding a bit of sodium acetate solution at trace can help lead to a cleaner pour with less air bubbles. The sodium acetate causes the soap to set up faster, reducing the time bubbles have to rise to the surface. Refer to The Soap Coach and DIY Natural for more tips and tricks.
Cost Analysis
Making your own soap does require some upfront investment in equipment and ingredients. Basic items like a digital scale, thermometer, safety equipment, molds, oils, and lye may cost $50-150 to get started (Source). However, once you have the supplies, the ingredient cost per bar of homemade soap is very affordable at just $1-2. This compares quite favorably to high-end commercial bar soap which can cost $5-10 per bar (Source).
Making your own soap allows you to control the quality of ingredients, customize scents and properties, and avoid unwanted chemicals found in many mass-produced soaps. While the initial investment may seem high, over the long run homemade soap is very economical and a great way to provide natural, gentle soap for your family.
Conclusion
Making homemade soap from scratch can seem daunting at first, but with some basic equipment, ingredients, and following simple cold process steps, it is an achievable and rewarding craft. The basic cold process takes 1-2 hours from start to finish, but there are more advanced techniques like hot process that are quicker but involve extra steps. The ingredient costs are low, around $5-10 per 1 lb batch, but the equipment like scales, pots, utensils can add up to $50-150 or more.
Overall, with some patience and practice, homemade soap is not as difficult as it may seem initially. The creativity of designing your own bars and scents is exciting. While it takes more effort than just buying soap, the difference in quality and ingredients is worth it for many hobbyists. If you’re crafty and enjoy DIY projects, trying your hand at soapmaking can be a fun and fulfilling endeavor.