How To Make Candles: Our Guide To Diy Candle Making
Introduction to Candle Making
Candles have been used for light and fragrance for thousands of years. The earliest evidence of candle making dates back to around 3000 BC in Ancient Egypt, where candles were made from beeswax [1]. Over time, candle making spread around the world and evolved to include other waxes like animal fat, tallow, and paraffin. Today, candle making is a popular DIY craft that allows for creativity and customization.
The basic supplies needed for modern candle making include wax, wicks, fragrance and dye. Common waxes are paraffin, soy, beeswax and palm. Wicks are typically cotton or paper-cored to help control the burn rate. Fragrance oils and liquid dyes allow for scented, colored candles. Vessels like glass jars, tin containers and silicone molds hold the melted wax until it hardens into a candle.
Choosing Your Wax
The type of wax you choose is one of the most important decisions when making candles. The wax determines burn time, appearance, scent throw, and more. Here’s an overview of the most common candle waxes:
Paraffin Wax
Paraffin wax is derived from petroleum. It’s the most commonly used candle wax due to its low cost and excellent scent throw. Paraffin wax has a high melting point (120-170°F) which allows candles to retain their shape in warm environments. The drawbacks are that paraffin produces more soot than other waxes and is not biodegradable or eco-friendly (Source).
Soy Wax
Soy wax is made from hydrogenated soybean oil. It’s a renewable, natural wax that produces less smoke and soot than paraffin. Soy wax has a lower melting point (115-135°F) making it prone to melting in high temperatures. It also has a weaker scent throw than paraffin. Soy is more expensive than paraffin but is biodegradable and environmentally-friendly (Source).
Beeswax
Beeswax is a natural wax made by honey bees. It has a honey-like scent when burning. Beeswax has a high melting point (140-150°F) and burns brightly with little smoke or dripping. However, beeswax is expensive and has a low scent throw. It can also cause allergic reactions in some (Source).
Gel Wax
Gel wax is a blend of mineral oil and polymer resin. It has an ultra-high melting point (170-180°F) allowing candles to be used in hot environments without melting. Gel wax allows for vivid colors and creative designs. However, it can be prone to frosting and sweating on the surface (Source).
Wick Selection
Choosing the correct wick is crucial for candle making. An improperly sized wick can cause issues like tunneling or smoking. Generally, wider candles need thicker wicks that won’t drown in wax. Taller containers also require sturdier wicks. Consider testing a few wick types and sizes when creating a new candle design.
Wicks come in different materials like cotton, wood, paper, or zinc core:
- Cotton wicks are soft and flexible. They work for most candle waxes.
- Wooden wicks make crackling sounds and can give a woodsy scent. They have a rigid core that maintains an open flame shape.
- Paper and zinc core wicks provide extra stiffness in large candles where regular cotton would bend and drown.
Refer to manufacturer charts to select the proper wick thickness and type for your wax and candle size. Wicks that are too small can create smoke, soot, and poor scent throw. Oversized wicks lead to too large a flame with more rapid wax pooling.
See resources like the NorthWood Candle Supply wick selection guide for recommendations on pairing wicks and wax.
Adding Fragrance
Choosing the right fragrance and amount is key to achieving your desired candle scent. The usage rate, also called the fragrance load, refers to the percentage of fragrance oil added to wax. Most candles use 5-12% fragrance load, though soy wax tends to need 6-12% due to its natural scent.
A good starting point is 1 oz. of fragrance oil per 1 lb. of wax, or 6% load. However, lighter fragrances like florals and herbs may require 8-10% to properly scent the candle. Stronger fragrances like spices and musk need 4-6%. Check manufacturer recommendations, and test different percentages when formulating your candle scents.
You can blend multiple fragrance oils to create unique scents. Limit blends to 2-3 oils, using equal amounts or adjusting ratios to tweak the scent. Example: 2 parts fresh rain + 1 part lavender = a relaxing rainforest aroma.
Always store fragrance oils in a cool, dark place to maintain their integrity. Oils can evaporate or oxidize when exposed to light and heat. Glass containers with tight lids are ideal for storage.
Coloring Candles
One of the most fun parts of making candles is choosing the perfect color for your candle. There are a few main methods for coloring candle wax:
Liquid dyes are a popular option. They allow you to achieve a wide range of vibrant colors by adding drops of dye to melted wax. Start with 1-2 drops per pound of wax. You can always add more but be careful not to add too much as over-dyed wax can lose its transparency and scent throw. Mixing small amounts of different colored dyes allows you to create custom colors.
Color blocks are another choice. You simply melt a block of pre-colored wax along with uncolored wax to tint it. Use around 1 ounce of color block per 1 pound of uncolored wax. Combining multiple color blocks lets you mix custom shades.
No matter which coloring method you choose, experiment with small batches first to get your perfect hue before making larger batches of colored wax. And be sure to stir thoroughly after adding dyes or color blocks to fully incorporate the color.
Preparing Vessels
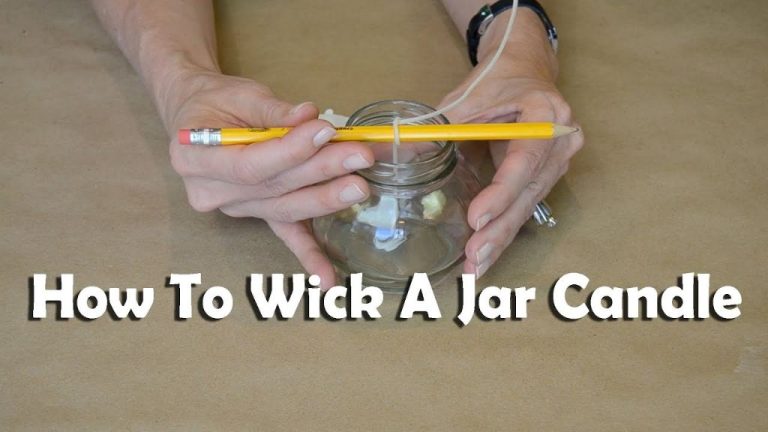
Before pouring melted wax into a container, you’ll need to properly prepare the vessel. Start by thoroughly cleaning the container with soap and water to remove any residue. Allow glass containers to fully dry before proceeding. Next, consider brushing or spraying the inside of the container with a thin coat of wax before securing the wick. This will help the finished candle release more smoothly from the vessel. Be sure to follow the wick manufacturer’s instructions for centering and attaching the wick to the bottom of the container. Most wicks will have an adhesive strip or require a drop of glue. The wick should stand straight up in the middle of the container. Let any glue or adhesive dry completely before adding melted wax.
Proper vessel preparation helps prevent wet spots, sink holes, poor wick adhesion and other candle making problems. Taking the time to carefully clean, coat and secure vessels will lead to beautifully finished candles.
Melting Wax
One of the key steps in candle making is properly melting the wax. There are a few different methods you can use to melt candle wax:
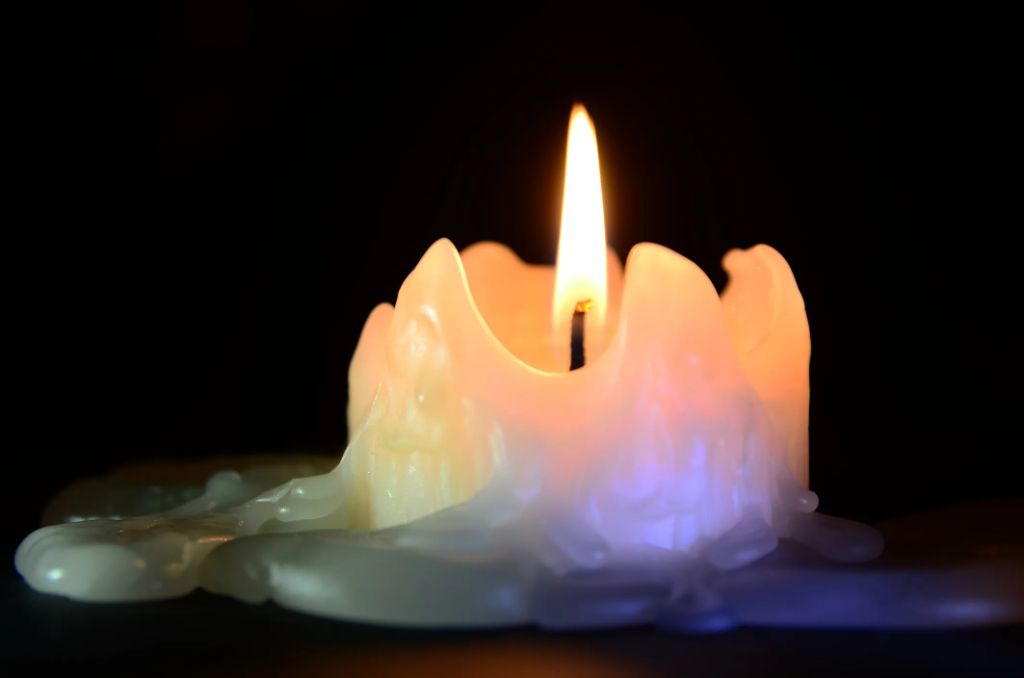
Double Boiler Method
A double boiler setup allows you to gently heat the wax. Fill the bottom pot with a few inches of water and place your wax in the top pot or makeshift double boiler. Heat the water until it simmers, being careful to avoid boiling. The steam from the simmering water will slowly melt the wax in the top pot[1]. This indirect heating prevents the wax from getting too hot.
Direct Heat Method
You can also use direct heat to melt wax. Place the wax in a pot or glass measuring cup and heat it directly on the stove on low heat. Stir it frequently and use a thermometer to monitor the temperature, removing it from heat once the wax hits 180-185°F. Don’t allow the wax to exceed 185°F to avoid discoloration and burning[2].
Temperature Control
Regardless of the melting method, temperature control is vital. Each wax type has an ideal melting point between 180-185°F. Allowing the wax to get too hot can ruin it. Melt the wax slowly and stir frequently. Remove from heat before the target temperature so the residual heat doesn’t take it over the ideal melting point. Allow the wax to cool to the manufacturer’s recommended pouring temperature before pouring candles.
Pouring Candles
One of the most important steps in candle making is properly pouring the wax into containers or molds. There are a few key factors to pay attention to during this process:
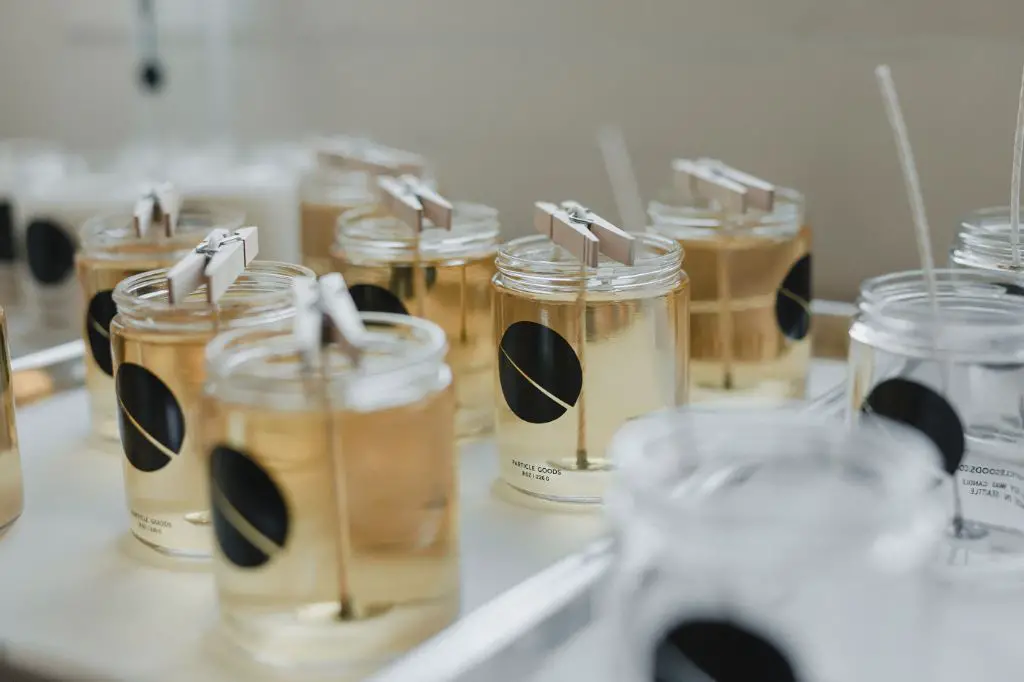
First, make sure your wax is at the right temperature for pouring. Different waxes have different ideal temperatures, but a good rule of thumb is to pour container candles between 135-165°F. According to Scents of Tobago, pouring at the proper temperature will allow the wax to flow smoothly into the container and completely adhere to the sides as it cools Troubleshooting
Sinkholes occur when a hole forms in the center of the candle as it cools. This happens because the wax around the wick cools faster than the rest of the candle. As the outer wax shrinks, it pulls away from the center and leaves a gap. To prevent sinkholes, avoid pouring candles at temperatures above 185°F (85°C). Cooling the candles slowly in a warm room, away from drafts also helps. If a sinkhole forms, you can fill it with a dab of melted wax after the candle has fully set up. (https://www.lifenreflection.com/how-to-fix-candle-problems/)
Cracking and frosting are caused by cooling the candle too quickly. This contracts the outer wax before the interior wax has had time to properly set up. Cracking can also occur if the fragrance oil is added at too high of a temperature. To prevent cracks, cool candles slowly away from drafts. If cracking occurs, gently re-melt the surface with a heat gun to blend together the waxed. Frosting can be minimized by adding fragrance oil at lower temperatures. (https://villagecraftandcandle.com/blogs/news/top-10-candle-making-problems-and-how-to-solve-them)
Poor scent throw happens when the candle does not smell strongly when burned. This can be due to adding too little fragrance, adding it at too low of a temperature, or improper wax mixing. Use the recommended fragrance load for the wax type and ensure it is fully blended. Stirring the wax prior to each pour helps improve scent distribution. Using oils with a lower flashpoint also aids scent throw. Test different fragrance levels to find the ideal balance.
Safety Tips
When making candles at home, it’s important to keep safety in mind. Here are some key tips:
Ensure proper ventilation when melting wax and pouring candles. Wax vapors can be irritating, so work in a well-ventilated area and avoid breathing in fumes. Consider wearing a mask or respirator while making candles.1
Take precautions to avoid burns. Melted wax can cause serious burns if spilled or splashed on skin. Wear long sleeves, gloves, and closed toe shoes when candle making. Only heat wax to the recommended temperature and pour carefully.2
Practice fire safety. Keep flammable materials away from open flames or hot wax. Have a fire extinguisher nearby in case of accident. Never leave melting wax or burning candles unattended.3
Store finished candles safely until fully cured and keep out of reach of children and pets. Follow all recommended usage and burn time guidelines.
Making candles can be immensely satisfying but working carefully will ensure the hobby remains safe and enjoyable.

