How Long Do Beeswax Candles Need To Set?
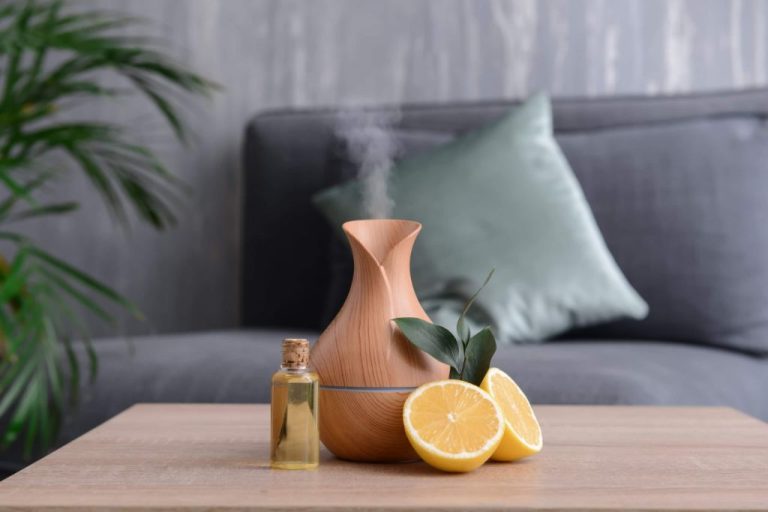
Beeswax candles have been used for thousands of years, dating back to ancient civilizations like Egypt and Rome. Unlike candles made from animal fat or other waxes, beeswax candles burn clean and bright without producing a lot of smoke. This makes them ideal for indoor use.
To make beeswax candles, beekeepers first collect beeswax from honeycombs. The wax is cleaned, filtered and melted down before being poured into molds. Wicks are inserted into the molds before the melted wax is poured in. Once the wax cools and hardens, the finished candles are removed from the molds and trimmed to size. The curing process allows any remaining moisture to evaporate out of the wax. Finally, the candles are ready to be burned and enjoyed.
This overview will explore the beeswax candlemaking process in more detail, including how long the candles need to set and cure before use. Proper setting and curing helps ensure candles burn evenly and prevents issues like tunneling.
What is Beeswax?
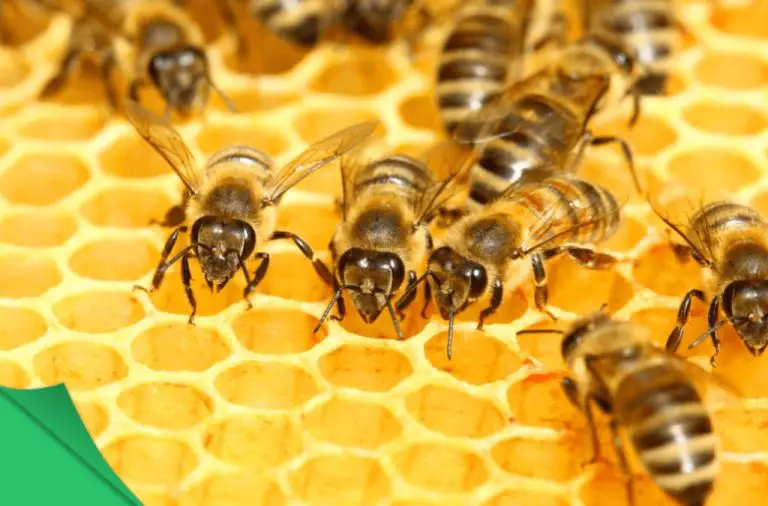
Beeswax is a natural wax produced by honey bees (https://en.wikipedia.org/wiki/Beeswax). Honey bees secrete beeswax from glands on their abdomen and use it to construct the hexagonal cells of the beehive. This wax is collected by beekeepers during the honey harvesting process.
Fresh beeswax is white or light yellow in color. It develops a deeper yellow or brown shade overtime from pollen and propolis. Beeswax has a sweet, honey-like scent when warm.
Beeswax consists of around 300 different compounds. The main components are palmitate, palmitoleate, hydroxypalmitate and oleate esters of long-chain alcohols (https://www.saratogateaandhoney.com/blogs/honey-education/what-is-beeswax-and-how-is-it-made). This unique composition gives beeswax its pliable, waterproof and antimicrobial properties.
Beeswax Candlemaking Process
Making candles out of beeswax involves a few key steps:
First, the raw beeswax needs to be melted down. Beeswax melts at temperatures between 144°F and 147°F, so a double boiler method is typically used. The beeswax is placed in a glass or metal container suspended above gently simmering water in a pot below. Once melted, the wax should be filtered to remove any impurities.
Next, wicks need to be prepared and secured in the mold. Wicks specifically made for beeswax candles are best, as they are designed to burn slowly and withstand the higher burning temperature of beeswax. The wick needs to be centered and straight in the mold.
Once the wax is fully melted and filtered, and the wicks are secured, the wax can be carefully poured into the candle molds. The molds need to be warmed slightly first so the wax doesn’t cool too quickly. The wax is poured to a depth of around 1/2 inch of the top of the mold.
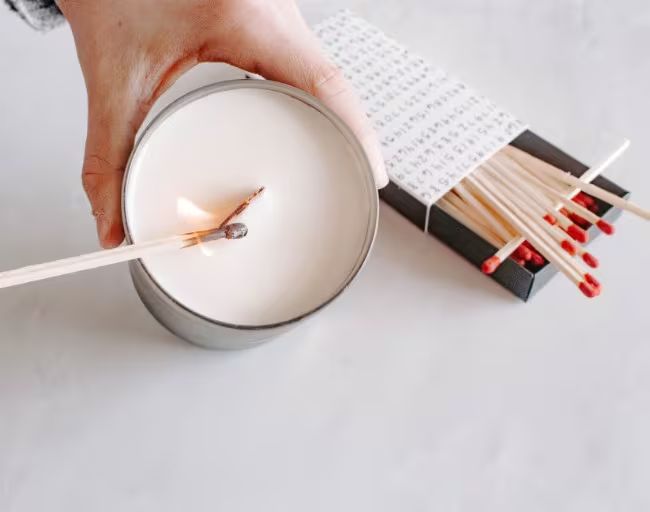
After pouring, the candles are left undisturbed to cool and set up, which takes at least 24 hours. Once cooled and hardened, the candles can be removed from the molds and trimmed at the base if needed.
Proper wicking and pouring are critical to ensure the candles burn evenly all the way through. Taking care through each step of the process is important for making quality beeswax candles.
Cooling and Setting Time
The amount of time it takes for beeswax candles to properly set depends on several factors like the size and shape of the candle, as well as environmental climate.
In general, smaller candles like votives or tea lights will set faster than larger pillar candles. This is because the wax has less volume to cool and harden. Tea lights may only need 12-24 hours to fully set, while pillar candles need 24-48 hours (Brambleberry).
Container candles like jars will also set slower than freestanding pillars. The glass walls retain more ambient heat, slowing down the cooling process. Allow 50% more time for container candles to fully cure.
Climate is another big factor in setting beeswax. In warm environments, candles set slower. In cooler climates, the wax will harden faster. Aim for 65-75°F as the ideal temperature range for beeswax to set (Armatage Candle Co.).
Additionally, beeswax shrinks slightly as it cools. Avoid drafts or rapid temperature drops, as this can cause sinkholes or cracks. Let beeswax candles cool slowly at room temperature for best results.
Tips for Quicker Setting
There are a few tips candlemakers use to help beeswax candles set up faster after pouring them into molds:
Pour beeswax at the proper temperature. The ideal pouring temperature is between 135-145°F according to BeehiveCandles.com. If the wax is too hot, it will take longer to set up. Allowing the wax to cool down closer to 135°F before pouring will reduce setting time.
Use metal, silicone, or stoneware molds. These materials conduct heat away from the candle better than plastic or glass molds. The quicker the heat dissipates, the faster beeswax will start to harden.
Place filled molds in the refrigerator for 30-60 minutes. The cold temperature helps beeswax set up more quickly. Just make sure not to leave candles in too long or condensation may form.
Add a bit of paraffin wax. A 10-15% ratio of paraffin blended with beeswax can accelerate setup time. The paraffin increases the melting point so candles solidify faster.
Avoid drafts or fans pointed directly at the candles as they cool. Letting candles cure undisturbed leads to better adhesion and cohesion.
Making beeswax candles requires patience as they need time to fully set up and cure. But following proper procedures can help reduce total setting time.
Testing Doneness
Once the beeswax candle mixture has cooled slightly, there are a few signs you can look for to test if the candle properly set and is fully done:
- Check the color – Properly cured beeswax candles will be a warm golden yellow color throughout when set.
- Examine the texture – Beeswax should feel relatively hard but still smooth to the touch when completely cool and firm.
- Look for opacity – Set beeswax will be opaque throughout, not cloudy or translucent anywhere.
Tap gently on the sides and bottom of the candle – You should not feel or hear any liquid movement inside, and the candle should not dent when touched.
Test wick stiffness – The wick should be upright and rigid, not floppy. Straighten it with your fingers; it should stand up on its own.
Inspect for cracks or holes – There should be no cracks, holes, gaps, or indentations on the surface or sides.
If the cooled candle passes all these visual and physical tests, it is fully cured and ready for the next steps. Allow extra time if you notice it still looks wet, soft, or sticky anywhere.
Curing Process
After beeswax candles have cooled completely and set, additional aging or “curing” can help improve the quality and burn performance. According to BrambleBerry, “There really is no cure time. The candles just need to fully cool and then they can be burned!” [1] However, allowing beeswax candles to cure for 7-10 days after initial cooling can allow the fragrance to stabilize and synnergize.
During the curing process, some of the fragrances and oils in the candle can evaporate or get absorbed into the wax. This allows the scent to mellow and can reduce instances of the candle tunneling or having an uneven burn. Curing gives the wax structure time to stabilize and solidify fully. Overall, allowing beeswax candles to cure for at least a week after cooling can maximize the quality, fragrance, and burn performance.
Storing Candles
Proper storage is important for preserving your finished beeswax candles. According to Optimize Your Beeswax Candle Burns, it’s best to remove the original wrapping and re-wrap the candles in freezer paper before storing to protect them from dust and light exposure. The freezer paper should then be placed in an airtight container like a plastic bin or glass jar.
Storing candles in a cool, dark place like a basement or closet is ideal. Fluctuations in temperature can cause candles to sweat and lose their shape. Keeping them away from direct light will also help preserve color and fragrance. According to Best Way to Store Beeswax Candles, some people recommend storing beeswax candles in the freezer to extend burn time, but there is no confirmation this works.
With proper storage, beeswax candles can last for many years while maintaining quality and performance. Re-wrap in new freezer paper as needed if the wrapping deteriorates over time.
Troubleshooting
Here are some common issues that can occur when making beeswax candles and how to fix them:
Cracks
Cracks can happen if the candle cools too quickly. To prevent cracks, allow the candle to cool slowly at room temperature for at least 12 hours before moving it. If cracks do occur, you can try to fix them by warming the candle with a heat gun or hair dryer to soften the wax, then smoothing it out with your fingers. Go slowly and avoid overheating the wax.
Frosting
Frosting is when white spots appear on the outside of the candle. It’s caused by crystals forming in the wax when cooled too quickly. To minimize frosting, pour candles in a warm room, insulate the mold while cooling, and allow time to fully set. If frosting does occur, try warming the candle gently with a hair dryer on low or rubbing the spots with a cloth.
Be careful not to overheat the wax when troubleshooting, as this can cause more issues. Slow cooling, proper wick sizing, and testing wax temperatures are key to avoiding common candlemaking problems. With some patience and care, many imperfections can be fixed.
Conclusion
In summary, beeswax candles require adequate time to properly set and cure before use. The setting time can range from a few hours to a couple of days depending on the candle’s size and shape. Patience is key, and allowing the full setting time helps ensure proper candle performance and burn time. Testing doneness by gently squeezing the candle can indicate if it is ready for the next steps. Proper storage conditions like room temperature and low humidity also aid in curing the candles prior to use. With the right pour temperature, set time, and curing conditions, beautiful handmade beeswax candles can be enjoyed for many hours.
A few final tips for beeswax candle making success: Control your pour temperature carefully, around 150-165°F. Allow candles to fully set uncovered for at least 24 hours before handling. Cure candles for 1-2 weeks before burning, and trim wicks to 1⁄4 inch before each use. Store finished candles away from direct light and heat. With care and patience, your homemade beeswax candles will provide a lovely glow, scent, and ambiance to any space.