How Do You Use Votive Molds?
What Are Votive Molds?
Votive molds are used to create votive candles. Votive candles are small candles typically used for religious or ceremonial purposes. The word “votive” comes from the Latin “votum” meaning vow or dedication.
Votive candles became popular in Catholic churches in Europe during the Middle Ages. Worshippers would light candles as an offering or to symbolize prayers. The candles were placed in small glass containers to collect the wax drippings.
To meet the demand, candle makers started producing molded wax candles designed specifically for this purpose. The first candle moulds date back to the 15th century in Paris [1]. Votive molds allowed candle makers to quickly produce many identical candles in one go.
Over time, the use of votive candles spread beyond religious settings. Today, votive candles are used for ambient lighting, home décor, aromatherapy, ceremonies, rituals and more.
Types of Votive Molds
There are several common materials used to make votive candle molds:
Silicone
Silicone is a popular material for votive molds due to its flexibility and ease of unmolding candles. Silicone molds can produce fine details and intricate designs. They withstand high temperatures so you can pour hot wax directly into the mold. Silicone is durable for repeated reuse. Some disadvantages are that silicone can be more expensive and may require releases or coatings for an optimal finish.
Plastic
Plastic votive molds are inexpensive and lightweight. They are a good budget option for beginners and casual candle makers. However, plastic molds may warp or melt if wax is poured at too high of a temperature. They tend to have a shorter lifespan than some other materials. Plastic molds often pop right off candles after cooling for quick and easy unmolding.
Metal
Metal votive molds, such as aluminum or steel, create professional, high-quality candles. They distribute heat well for even setting and cooling. Metal molds are very durable and can be used hundreds of times. The candles unmold cleanly from metal molds. The downside is metal molds are often more expensive than other options.
Plaster
Plaster molds have some advantages like capturing intricate designs and being inexpensive. However, plaster can be fragile and prone to cracking or chipping over time. The material is porous so candles may not release as cleanly. Wax can get into the plaster pores and discolor the mold. Proper mold preparation is important when using plaster.
Wax
Wax molds let you create customized, one-of-a-kind candle designs. Once the wax design is poured, it becomes the mold. Wax molds are very fragile and can usually only be used once before reshaping is required. They often produce candles with a rustic, handmade appearance.[1]
Choosing Your Mold Material
Votive molds can be made from various materials, each with their own pros and cons. Here is an overview of the most common mold materials to consider:
Silicone – Silicone molds are flexible, durable, and easy to use. They allow for easy unmolding of candles and can last through many uses before needing to be replaced. The downside is they tend to be more expensive than other options.
Plastic – Plastic molds are inexpensive and come in many shapes and sizes. However, they are less durable than silicone and may melt or warp when exposed to hot wax. Plastic can also scratch more easily than silicone over time.
Metal – Metal votive molds provide excellent heat resistance and durability. Aluminum and tin are common choices. The smooth surface provides clean candle releases. However, metal can be heavy and is susceptible to denting. The material also conducts heat, so care must be taken when pouring hot wax.
Glass – Glass votive molds create an elegant look but are fragile. They must be handled carefully to avoid breaking. Glass does not flex like silicone, so removing candles can be trickier.
When selecting a votive mold material, consider your budget, the number of candles you plan to make, desired longevity, and how important non-stick release is. Test different materials to determine which works best for your votive making needs.
Designing Your Votive
When designing your votive, you’ll want to consider the shape, texture, and any embellishments you’d like to include. The shape possibilities are endless – you can make round, square, rectangular, hexagonal, or any other geometric or organic shape. For texture, you can press items into the mold before pouring your wax to create patterns. Seashells, leaves, lace, or any found objects can be used. You can also carve patterns into the mold itself. As for embellishments, you have many options. Try adding beads, glitter, or dried flowers to the wax surface after removing from the mold. You can attach charms, enamel pins, or gems with hot glue. Get creative with different textures, colors, and dimension when designing your votive.
According to this article, unique shapes and embellishments like seashells or glitter can enhance your votives. The options are limitless, so don’t be afraid to experiment and find a design that fits your personal style.

Making the Votive Wax
The main ingredient for making votive candles is wax. The most common types of wax used are paraffin, soy, and beeswax. Paraffin wax is derived from petroleum and is the most cost-effective option. Soy wax is made from soybeans and is a renewable and eco-friendly choice. Beeswax is harvested from beehives and has a natural honey aroma and texture. According to Lone Star Candle Supply, a blend of waxes is recommended for optimal burn quality and fragrance throw.
To make the wax, you will need to use a double boiler to melt it down. Fill the bottom pot with a few inches of water and place your wax in the top pot. Heat the water to a simmer, stirring the wax occasionally until fully melted. The melting point varies for different wax types, but paraffin melts between 115-145°F. Be careful not to overheat the wax. Once melted, you can add candle dye and fragrance as desired.
According to CandleScience, the wax should be around 125-165°F when pouring into the votive molds. If too hot, the wax can scorch and discolor. Let the wax rest after heating to allow any air bubbles to surface. Carefully pour the wax into the molds, leaving a small lip of space at the top. Allow the votives to fully cool and harden before removing from the molds.
Source: https://www.candlescience.com/learning/how-to-make-votive-candles/
Using Your Votive Mold
Once you have your votive wax melted and ready, it’s time to use your votive mold. Proper preparation of the mold is important for getting a clean release of the finished candle.
Prepping the Mold
Before pouring the wax, make sure your mold is free of debris, dust or moisture that could affect the finish. Any imperfection in the mold will show up on the finished candle. Give the mold a quick wipe with a dry cloth or paper towel to clean it.
Some candlemakers like to spray the mold with a light coating of mold release spray. This can make removing the finished candle easier, but it is not always necessary with smooth silicone or plastic molds. Avoid using release sprays if your votive will have a full wrap label.
Pouring the Wax
Heat your wax to the temperature recommended by the manufacturer, usually between 150-190°F. Pour carefully and steadily into the mold, leaving about 1⁄4 inch of space at the top. This allows room for the wax to pool as it cools and shrinks slightly. Let the wax sit for a minute or two before moving the mold at all. This helps avoid spillage.
Cooling and Drying
Most votive molds will need 4-6 hours to fully cure and dry before removing the candle. Set molds in a cool, dry place while the wax dries. Avoid drafts or direct sunlight to prevent cracking or warping. Once cooled and set, flex the sides of the mold gently to loosen the candle and tip it upside down to release. Trim any excess wax from the bottom for a clean finish.
Troubleshooting
Making votive candles can sometimes lead to issues like bubbles, cracks, or dents in the finished product. Here are some tips for troubleshooting these common problems:
If you notice air bubbles in your candle wax, it could be due to air getting trapped during the pouring process. Allowing the wax to cool more slowly and pouring at a lower temperature can help minimize bubbles. Gently heating the candle again just until the wax softens and then letting it cool more gradually may also help the bubbles rise to the surface and dissipate. You can try placing the candle mold on a heating pad on low to slow the cooling process. This source provides more tips for dealing with bubbles in soy wax.
Cracks can occur if the votive cools too quickly or unevenly. Avoid drafts while the candle sets. You can also place the mold into a larger container filled with warm water to regulate the temperature as it cools. Cracks can potentially be fixed by gently re-melting the surface of the candle and allowing it to cool slowly.
If the wax shrinks as it cools, it can pull away from the mold and create dents in the votive surface. Try spraying the mold with a mold release spray before pouring the wax. Preheating the mold can also help prevent dents and shrinkage issues. Allowing the candle to cool slowly and evenly will also minimize dents. According to this source, you may be able to fix minor dents by warming the surface of the candle and gently massaging the wax.
Decorating Your Votive
Once your votive candle is made, decorating it can be a fun way to customize the look. Some popular decoration methods include:
Painting – Acrylic paints work well on votive surfaces. You can paint designs, words, or fully color the outside of the candle. Let the paint fully dry before burning. Metallic paints like gold and silver can add some shimmer.https://petrishin.ru/oformlenie-interera-naturalnym-kamnem/
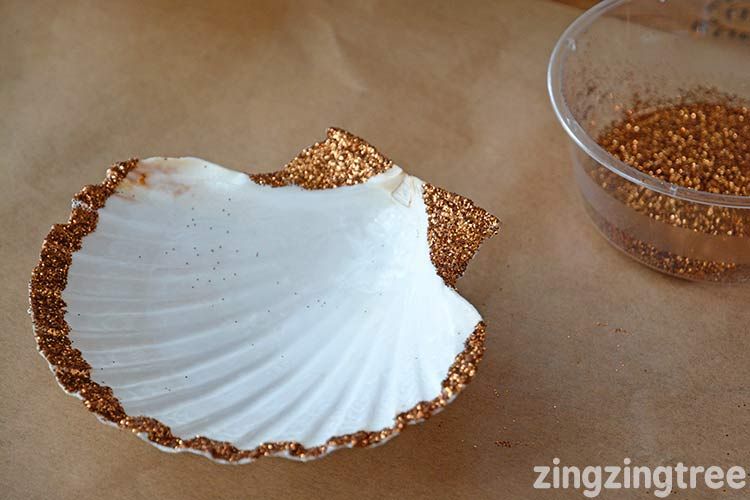
Glitter – For sparkle, consider coating the outside of the candle with glitter glue or mod podge. Let it dry fully before burning. Fine glitters work best to minimize mess. Mix glitter colors for a gradient effect.
Embeds – Small objects can be pressed into the wax to decorate votives. Seashells, beads, sand, leaves, and flowers are popular. Make sure embeds are heat-safe. Space them out so the candle can still burn properly.
Other options are ribbons, lace, raffia for texture. Stamped patterns are also an easy decorative technique. Get creative with colors, textures, and designs to make your votive candle unique.
Scenting Your Votive
Adding a lovely scent to your homemade votives makes for a more enjoyable candle burning experience. There are two main ways to scent your votive wax – with essential oils or fragrance oils:
Essential Oils
Essential oils are derived from plants through steam distillation or cold pressing. Popular essential oils for candles include lavender, lemon, peppermint, eucalyptus, and tea tree. Use pure essential oils and avoid fragrance or perfume oils. Add several drops of essential oil per ounce of wax when melting your wax. Stir thoroughly to incorporate. Essential oils provide a light, natural fragrance.
Fragrance Oils
Fragrance oils are synthetic oil-based scents designed for candle making. They come in a huge variety of scents from fruity to floral. Use candle-safe fragrance oils at around 1% of your wax weight. Stir well when adding to melted wax. Fragrance oils provide a stronger scent throw than essential oils.
Test different scent blend combinations in small batches before making large numbers of votives. Make sure you love the scent at room temperature before committing to a large batch. With trial and error, you’ll find your favorite bespoke candle scents.
Displaying Votive Candles
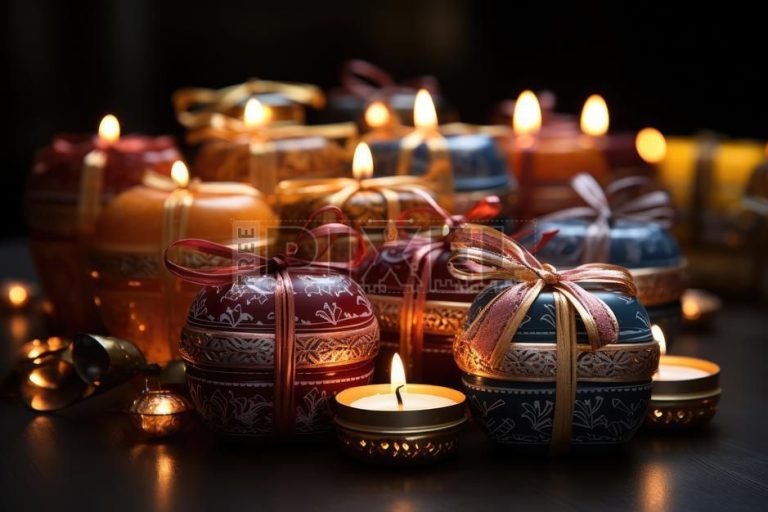
Once your votive candles are made, it’s time to think about how you want to display them. Votives look beautiful grouped together, and there are many options for votive holders to showcase them.
For a simple yet elegant look, place multiple votives in a clear glass holder. This allows the candlelight to shine through. Glass votive holders come in countless shapes and sizes from classic hurricane vases to short stemless holders. For more visual interest, try a faceted or textured glass votive holder.
Votives also look lovely displayed in metal holders. Wrought iron, silver, and gold metal holders make a statement. You can find metal votive holders in geometric shapes, filigree patterns, or feminine floral designs. Metal mesh holders allow the candlelight to peek through for an ambient glow.
Small votives can be nestled into a bowl filled with sand, rocks, seashells, or marbles. The votives add a gentle light while the filler material provides texture and interest. This look works beautifully for beach, nautical, or natural themes.
For special occasions, spell out words or numbers by placing votives in cut-out holders. Position them on a mantle, entry table, or as a table centerpiece to send a message or celebrate a milestone.
You can also cluster votives of varying heights on a tray or platter to create dimension. Multi-level displays let more candlelight shine through. Add vases, flowers, or other accents around the candles for more visual appeal.
Get creative with your votive display. Simple glass hurricanes or metallic holders project elegance. Fillers like pebbles and seashells make relaxed, natural arrangements. Or spell out a special message with cut-out holders. However you choose to present your votives, they are sure to lend a warm, welcoming glow.


