How Do You Take A Picture Of A Burning Candle?
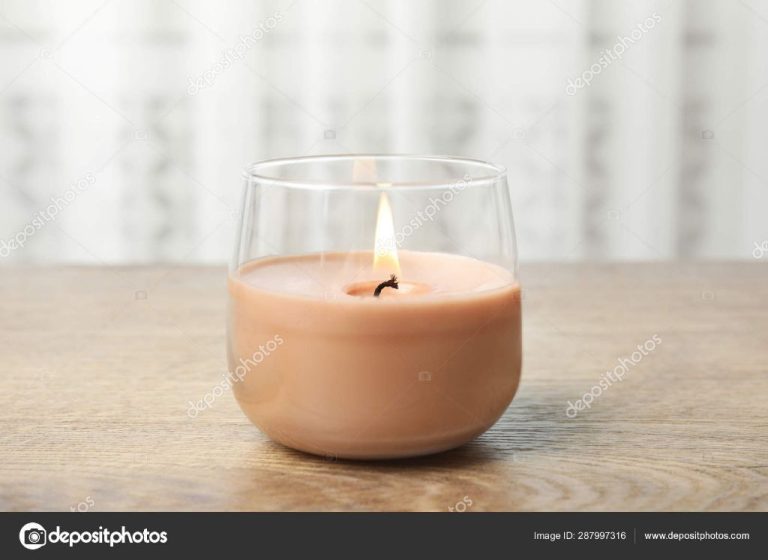
Capturing a quality image of a lit candle can make for a captivating photograph. The interplay between the flame, wax, and surrounding shadows presents unique lighting challenges. In this article, we’ll walk through the equipment, camera settings, composition, and editing techniques for photographing candles.
First, we’ll discuss what camera gear works best, including recommendations for lenses, tripods, and accessories. Next, we’ll explore important camera settings like aperture, shutter speed, and ISO. We’ll also cover tips for composing your shot, lighting the scene, focusing properly, and bringing out the best colors. Finally, we’ll touch on some quick editing steps to polish your image in post-processing.
Follow along as we uncover the secrets of candlelight photography. With the right approach, you can create atmospheric, moody shots even in dim conditions. Let’s get started!
Equipment Needed
When taking photos of burning candles, the right equipment can make a big difference in getting a high quality shot. Here are some key equipment considerations:
DSLR vs Phone Cameras
A DSLR camera will provide more control over settings like aperture, shutter speed, and ISO compared to a phone camera. The larger sensor size in a DSLR can also help capture sharper images with less noise. However, modern phone cameras can take surprisingly good photos too. If using a phone, make sure to use manual camera modes when possible.
Lenses
For close-up shots of a candle, a macro lens is ideal. A 50mm or 85mm prime lens can also work well. Zoom lenses are useful for controlling composition. Make sure the lens is clean to maximize image quality.
Tripod
Using a tripod helps keep the camera steady and allows using slower shutter speeds. Look for tripods that are sturdy but still easy to adjust.
Remote Shutter Release
A remote shutter release or self-timer enables shooting without touching the camera, preventing shake. It also allows maintaining a safe distance from the candle.
Camera Settings
When photographing a burning candle, you’ll want to use manual mode on your camera. This allows you to have full control over the exposure settings and achieve the desired effect.
Set your ISO to 100 or 200 to minimize grain and noise. You want a clean image, and high ISOs will introduce unwanted roughness.
Select a narrow aperture, around f/8 or f/11. This will keep the full candle in focus. Wider apertures like f/2.8 will produce a shallow depth of field, making parts of the candle blurry.
For the shutter speed, start around 1/60th of a second. You may need to increase this to freeze motion completely, or drag the shutter by lowering the speed. Shutter speeds slower than 1/60th will show dynamic flame movement.
Get creative and experiment with different aperture and shutter speed combinations. This will let you achieve varied artistic effects with the look of the flame and melted wax.
Composition
When composing a photograph of a burning candle, careful consideration should be given to the placement of the candle within the frame. One effective technique is to use the rule of thirds – placing the candle either one third of the way from the left or right edge, and one third of the way from the top or bottom. This creates a visually pleasing balance while giving the candle prominence.
It can also be effective to position the candle to follow leading lines within the composition. This could involve aligning the candle with strong diagonal lines created by other objects in the scene. For example, you might place the candle at the end of a diagonal table edge or shelf. The viewer’s eye will naturally follow these lines toward the candle as the main subject.
In general, be sure not to center the candle directly in the middle of the frame, as this can create a static or uninteresting composition. Experiment with different placements using the rule of thirds and leading lines for the most compelling results.
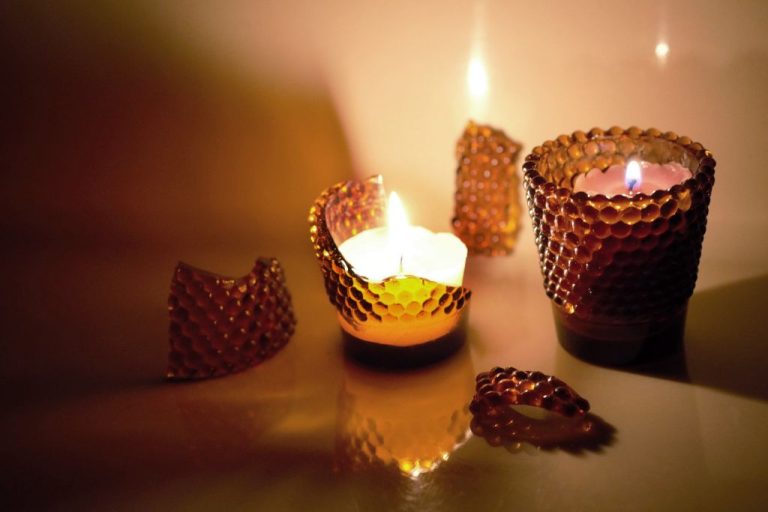
Lighting
Proper lighting is essential for capturing a great photo of a burning candle. You’ll want to consider both ambient and artificial lighting. Ambient lighting refers to the existing light in the scene, like sunlight coming in through a window. While you can certainly rely on ambient light, having full control over the lighting usually leads to better results.
That’s where artificial lighting comes in handy. Using lamps, reflectors, and diffusers allows you to sculpt the light exactly how you want it. Reflectors bounce and redirect ambient light onto the candle. Diffusers soften and spread out harsh light sources. Here are some tips for lighting a candle photo:
- Position a lamp, reflector or window to cast light directly on the candle. Side lighting enhances texture and highlights flames.
- Use a reflector on the opposite side to fill in shadows and create even lighting.
- Diffuse any harsh light with a semi-transparent cloth. This creates a soft glow.
- Add backlights behind the candle to separate it from the background.
- Adjust the brightness and direction of lighting to achieve the desired mood.
Take test shots and observe the highlights and shadows. Refine the lighting until you have sufficient exposure and a pleasing balance of light on your candle subject.
Focus
When photographing candle flames, it’s important to focus directly on the flame itself. The constantly moving and changing shape of the flame can make it tricky for auto-focus to lock on. For this reason, it’s best to switch to manual focus when photographing candles.
Turn the camera to manual focus mode and use the focus ring to achieve sharp focus right on the brightest part of the flame. You may need to regularly refocus as the flame moves. Because the flame is typically small in the frame, it’s important to nail the focus for maximum sharpness and detail.
Also consider closing down the aperture a bit to give yourself more depth of field leeway. This increases the range of distances that will be in focus, making it easier to keep the moving flame sharp.
Patience and persistence with focusing is key. While it can take some time to get the flame in perfect focus, the results of a razor-sharp flame surrounded by soft bokeh are worth the effort.
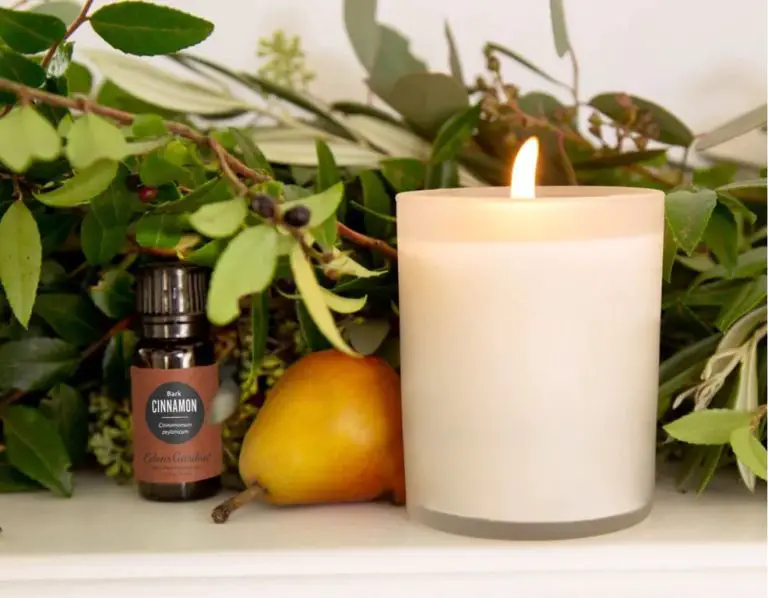
Color
Color is an important consideration when photographing candle flames. You’ll want to pay close attention to your camera’s white balance setting to achieve the desired color tones.
The white balance controls the temperature of the colors in your photo. Setting your white balance to the ‘tungsten’ preset will give you a warm, orange and yellow color cast which enhances the cozy ambience of candlelight.
Alternatively, you can set a custom white balance by photographing a white card under the same lighting conditions as your scene. This will produce more neutral and ‘correct’ colors. Keep in mind that the orange/yellow colors of a flame may end up looking dull and unsaturated if you correct the white balance too much.
In post-processing, you can also warm up or cool down the white balance to experiment with different color tones. Just don’t overdo it. The goal is to get colors that look natural yet capture the warm glow of candlelight.
Editing
After capturing the photo of the candle flame, you’ll want to import the images to your editing software and make some enhancements to really make the flame pop. Some key editing techniques for candle flame photos include:
Enhancing Light and Color: The color and brightness of the flame are what make candle photos so striking. Use adjustments like Levels or Curves to darken the background and make the flame stand out more. Increase the Vibrance to boost intensity of the colors in the flame as well. You can also try applying the Orton Effect in Photoshop to give a dreamy glow.
Cropping and Sharpening: Crop tightly around the flame itself to fill the frame with the light. You can also crop horizontally or vertically to achieve different compositions. Finish off by using Sharpening tools to make the details in the flame more defined. But don’t over-sharpen, as too much can make the image noisy.
With some thoughtful editing, you can really make the candle flame the star of the image. The editing process lets you enhance the parts that attracted you to the scene in the first place.
Safety
When photographing candles, it’s important to take safety precautions to prevent fire hazards. Here are some tips:
- Make sure no flammable materials like curtains or paper are near the candle. Keep a 3 foot radius clear around the candle.
- Never leave a burning candle unattended. Always stay in the room and keep an eye on the flame.
- Keep a fire extinguisher or large bowl of water nearby in case the flame gets out of control.
- Avoid long exposures when photographing candles. The prolonged heat exposure can ignite objects.
- Make sure the room is well-ventilated to prevent build up of smoke and carbon monoxide.
- Consider using an electric candle instead of a real flame.
- Keep candles away from children and pets who could accidentally knock them over.
With some simple safety steps, you can photograph candles while preventing fires. Always prioritize safety over getting the perfect shot.
Conclusion
Capturing a great photo of a burning candle requires some planning and experimentation. Here are the key points to keep in mind:
- Use a DSLR camera in manual mode for full control over exposure.
- Choose lower ISO settings like 100-400 to minimize noise.
- Use fast shutter speeds like 1/80th to freeze the flame and eliminate blur.
- Shoot at mid-range apertures like f/5.6 or f/8 for sharp focus.
- Compose carefully and fill the frame with the candle.
- Pay attention to lighting and create dramatic shadows and highlights.
- Focus precisely on the wick or flame area.
- Edit to enhance mood and visual interest.
- Take safety precautions and have water on hand.
With practice and by following these guidelines, you can capture amazing photos of candles. Check out photography blogs or YouTube tutorials for more tips. And continue experimenting with angles, color, and composition until you achieve the perfect candlelight shot.