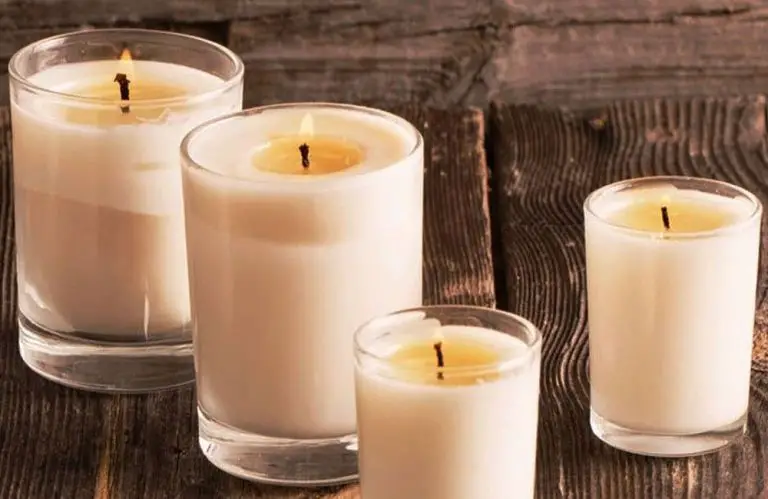
How Do You Put A Candle Wick In A Mold?
There are a few key steps involved in the candle making process:
- Selecting the appropriate wick
- Preparing the wick by priming and centering it
- Securing the wick in place
- Melting and pouring wax into the mold
- Allowing candles to cool and cure
- Removing finished candles from the molds
- Adding any finishing touches
Properly following each step allows candle makers to end up with high quality, long burning candles. It’s important to take care at each stage.
Selecting the Wick
The most important thing when selecting a wick is choosing the proper wick size for your candle. Wick sizing is based on the diameter of your candle. You want to select a wick that is wide enough to allow for a full melt pool, but not too wide that it creates excess sooting (Source: How to Pick the Right Candle Wick).
As a general guideline, it’s recommended to use a wick size where the wick diameter is 10-15% of the candle diameter. So for a 2″ diameter candle, you would want a wick between 1/5″ and 3/10″ diameter. There are wick sizing charts available online that provide specific size recommendations based on candle diameter (Source: Rosemary Mint Soy Candle).
It’s best to test different wick sizes with your wax type to determine the optimal wick for the candle you are making. Factors like wax type, fragrance load, and other additives can impact how a wick performs.
Preparing the Wick
The wick needs some preparation before it’s placed in the candle mold. First, you’ll want to trim the wick to be a little longer than the height of the mold so it sticks out of the top of the finished candle (according to https://lonestarcandlesupply.com/prepare-mold-with-wickpin/). Use scissors to carefully trim the wick.
Next, prime the wick by soaking it in wax. This helps stiffen and strengthen the wick so it stands upright when the wax is poured (per https://www.savvyhomemade.com/how-to-use-silicon-candle-molds/). Melt a small amount of the wax you’ll use for making the candle and dip the trimmed wick into the melted wax. Let any excess wax drip off before the wax fully hardens. This wax coating helps the wick maintain its shape.
The primed wick should be straight and stiff enough to stand upright when placed in the mold. If needed, repeat the wax dipping process until the wick has the desired stiffness. The wick is now ready to be secured in the mold.
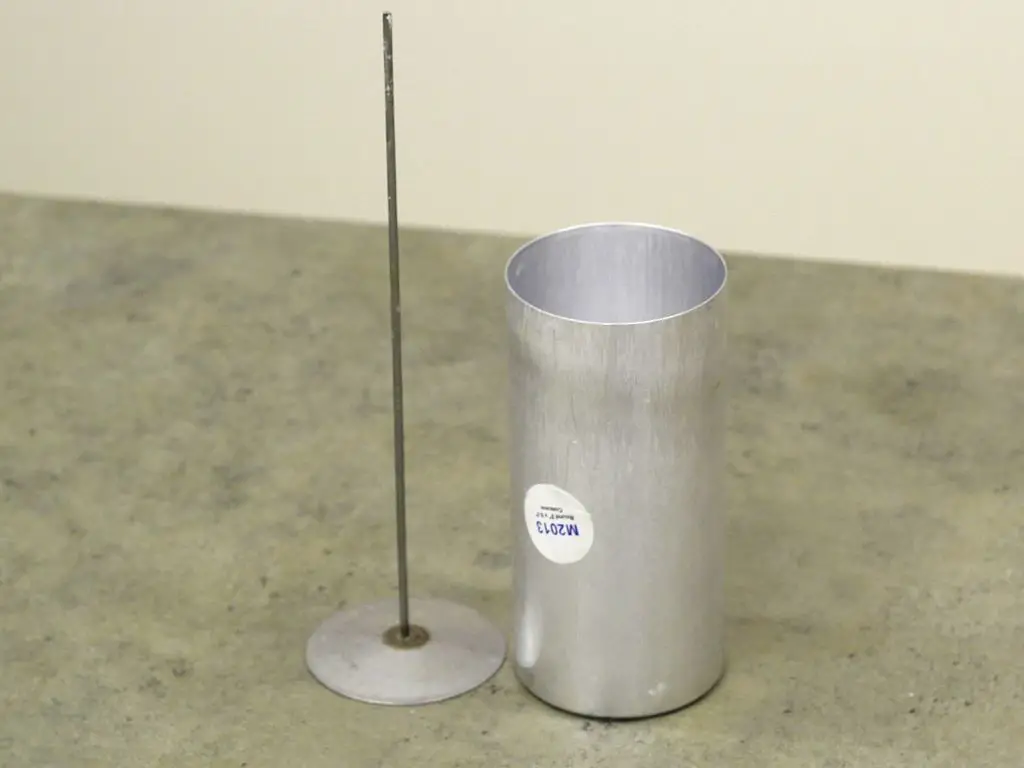
Securing the Wick
There are a few methods for securing the wick to the bottom of your candle mold before pouring:
- Wick tabs – These are small adhesive squares or circles that you stick to the end of the wick to adhere it to the bottom of the mold. They provide a secure hold. Some popular brands are CandleScience Wick Tabs and Aubeco Wick Stickers.
- Hot glue – You can secure the wick by putting it through a straw, adding a dab of hot glue to the bottom of the straw, and quickly adhering it to the mold bottom before the glue cools and hardens. This provides a tight bond.
- Silicone sealant – High heat silicone gasket sealants can be used to glue the wick to the mold bottom. Let it fully cure before pouring wax. Suffolk Candles recommends this method.
- Wick stickers – Long sticker rolls with perforations allow you to peel off small stickers to adhere wicks in jars. CandleScience sells wick sticker rolls.
The key is ensuring the wick stays centered and upright when pouring wax into the mold. Wick tabs, hot glue, and silicone give the most secure hold. Avoid methods like taping wicks that could come loose.
Pouring the Wax
Proper wax pouring temperature is crucial for achieving a smooth finish and full fragrance in your candle. Most soy wax blends perform best when poured between 125-145°F according to Lone Star Candle Supply. Paraffin wax is often poured between 150-165°F. It’s important not to pour wax that is too hot, as this can cause sinkholes, poor scent throw, and discoloration in the finished candle.
Use a double boiler or makeshift water bath setup to gently melt wax to the target temperature. Avoid overheating. Once melted, remove from heat, add fragrance if desired, and stir. Let the wax cool slightly before pouring into the prepared candle mold. The wax should be warm and fluid but not so hot that it causes the wick to go off-center.
Pour wax slowly and steadily in a circular pattern around the wick to help keep it centered. Top off the mold to just below the rim. Alternately, you can pour a small initial layer, let it set up slightly, then top off the mold. This helps anchor the wick. Allow the wax to cool undisturbed until completely hardened.
Cooling and Curing
After pouring the wax into the mold, it’s important to let the candle cool and cure properly before removing it from the mold. This process allows the candle to harden completely and the fragrance to fully blend with the wax.
Let the candle sit undisturbed as it cools. This typically takes 24-48 hours. Don’t move the mold or expose the cooling candle to drafts or temperature changes. Once the wax has fully cooled and contracted from the sides of the mold, the candle is ready to be cured.
Curing allows excess fragrance oil and air bubbles to escape and helps enhance the candles burn quality. The ideal curing conditions are around 65-75°F with low humidity. Cure the candle for 4-7 days if using paraffin wax or 1-2 weeks if using soy, coconut, or beeswax.1 Curing time can be sped up by using a heating source like a candle warmer, but never exceed 120°F as higher temperatures may cause the candle to sweat or lose its shape.
Leaving the candle uncovered during the curing process allows for optimal air circulation. Avoid drafts or direct sunlight which could create an uneven cure. Once curing is complete, the candle is ready to be removed from the mold and finished.
Removing from Mold
After the wax has fully cooled and hardened, it’s time to remove the candle from the mold. Here are some tips for easily unmolding your candles:
Wait until the candle has completely cooled and solidified before attempting to remove it. This may take a few hours. Trying to unmold too soon can cause the candle to crack or break. Patience is key.
To help release the candle, place the mold in the refrigerator or freezer for 15-30 minutes before unmolding. The cold temperature will help shrink the candle just slightly from the sides of the mold. Be careful not to leave in too long or the candle could crack.
Some candle makers recommend spraying a light mist of cooking oil on the inside of the mold before pouring wax. The oil will act as a release agent. Be sure to only use a small amount of oil.
Gently flex the sides of the mold to loosen the candle, then turn the mold upside down and tap lightly. The candle should release and slide out. Take care not to bend the mold too aggressively or knock too hard.
If the candle does not release with gentle tapping, place it back in the freezer for 10-15 more minutes. The contraction from the cold usually does the trick.
Do not try to dig, pry or forcefully tug the candle from the mold, as this can distort the shape or cause cracking. Patience and the right technique will allow for easy release.Source
Finishing Touches
Once you have removed your candle from the mold, there are a few finishing touches to perfect the look of your homemade candle:
Smoothing
Examine the surface of the candle for any imperfections, cracks, holes, or bubbles. Use a knife heated in hot water to smooth over any uneven areas. Let the knife cool between applications so you don’t melt too much wax. Work slowly and carefully to achieve the perfect finish.
Trimming
Use scissors or a sharp knife to trim the wick to 1⁄4 inch above the candle. Make sure wick is straight and centered. You can also use scissors to trim the bottom of the candle to even it out.
Labeling
Add a personal touch by labeling your candle. You can put the label on the glass container or adhere it directly to the wax. Include fragrance, size, burn time or any other details. You can be creative and tie raffia or add decorative embellishments around the candle.
Troubleshooting
Making candles is an art that takes practice. Don’t get discouraged if your first few attempts don’t turn out perfectly. Here are some common issues and how to fix them:
Bubbles
Bubbles on the surface or inside your candle are generally caused by pouring the wax too hot or too fast. Let the wax cool down more before pouring next time. Pour slowly and evenly into the mold. Tap the mold lightly to release air bubbles. Inserting the wick slower can also help reduce bubbles.
Sinkholes
Sinkholes and cracks happen when the outer wax cools too quickly while the interior wax is still liquid. This contracts the surface wax before the inner wax fully hardens. Pour wax at lower temperatures or try a wax blend formulated for better adhesion. Insulate the mold so it cools evenly. Adding vybar or cornstarch to the wax can also prevent sinkholes.
If you do get sinkholes, you can try remelting the top layer of wax and repouring just on the problem spots to fill them in. Be careful not to overheat the candle or you may end up with more issues.
Safety Tips
When working with hot wax, it’s crucial to take proper safety precautions. Wax heated on the stove or in a double boiler can reach temperatures over 185°F, which can cause severe burns if spilled on skin (Northwood Candle Supply, 2022). Here are some key tips for staying safe:
Protect your skin – Wear long sleeves, closed toe shoes, oven mitts, and safety glasses when pouring hot wax. Avoid loose clothing that could catch spills.
Mind the melted wax – Pour carefully, don’t overfill containers, and avoid moving hot wax around more than necessary. Let it cool in a safe area out of reach.
Have a safety kit on hand – Keep a first aid kit, cold packs, baking soda, and a fire extinguisher in your workspace in case of burns or spills (Lonestar Candle Supply, 2022).
Ventilate the area – Work in a well-ventilated room, or use fans to prevent inhaling wax vapors. Open windows and doors.
Keep children and pets away – Make sure kids and animals are kept out of the workspace when handling hot wax.
Stay focused – Avoid distractions and never leave melting wax or hot equipment unattended.
Let it fully cool before handling – Molded candles need 24-48 hours to fully set. Wait until completely hardened before removing from molds.
Following basic safety measures will help prevent injuries and make the process more enjoyable. When working with wax, it’s better to be safe than sorry.