How Do You Make Your Own Oil Fragrance?
Making your own custom fragrance at home can be an enjoyable hobby and creative outlet. With some basic materials and a bit of experimentation, you can blend scents tailored to your personal tastes at a fraction of the cost of commercial perfumes. From creating signature scents as gifts for loved ones to crafting conceptual fragrances inspired by memories or fantasies, the possibilities are endless when you make your own fragrances.
Home fragrance-making allows you to control every aspect of the composition – from the intensity and balance of scents to the story behind the blend. Commercial perfumes are mass-produced to appeal to a wide audience, while handcrafted fragrances let your imagination run wild. The process of mixing and modifying formulas to achieve your ideal scent can be meditative and satisfying. And you can avoid synthetic chemicals found in many store-bought fragrances by using pure essential oils and other natural ingredients.
Crafting bespoke scents at home is an affordable alternative to high-end perfumes. With some basic supplies, you can create a litre of fragrance for just a fraction of what a standard 50ml designer bottle costs. The versatility to make multiple fragrances in small batches prevents waste and saves you money in the long run.
So if you want to unlock your inner perfumer or make exquisite fragrances on a budget, the world of home fragrance-making awaits. With a dash of creativity and a few simple guidelines, you’ll be custom-blending signature scents in no time.
Choose Your Scents
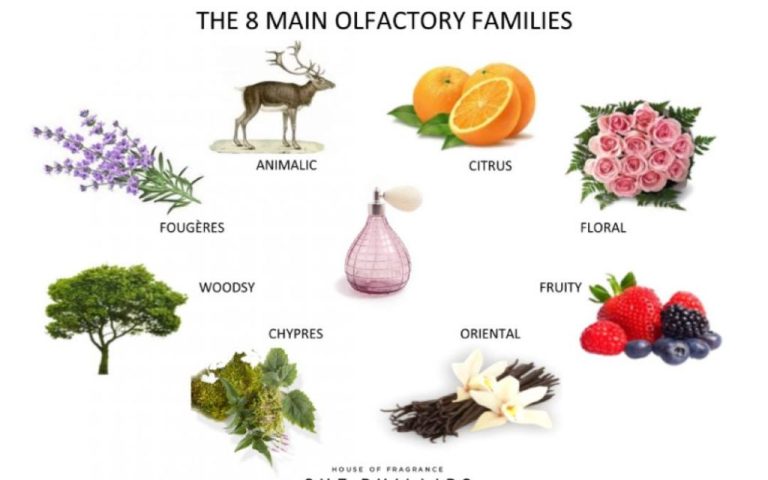
When making your own custom fragrance oil, you have the option of using individual essential oils, fragrance oils, or a combination of both. Some popular essential oils used in perfume include lavender, vanilla, sandalwood, jasmine, rose, and citrus oils like lemon, orange, and bergamot. Fragrance oils allow you to replicate almost any scent imaginable from fruits like apple and coconut to aromas like cake and leather.
Look for fragrance oils labeled for use in perfumes, as they are designed to be mixed with a carrier oil and applied to skin. Some of the most popular fragrances for oil-based perfumes include vanilla, amber, jasmine, rose, sandalwood, citrus blends, and light floral or fruit scents. Check reviews to find high quality fragrance oils that are not diluted or weak. Refer to sources like The Candle Maker’s Store for their top selling fragrances.
When combining scents, opt for 2-4 complementary fragrances blended together. For example, mix bright citrus with vanilla for a creamsicle scent. Or try sandalwood, rose and jasmine for a rich floral perfume. Take your own preferences into account, and feel free to experiment until you find a personalized fragrance you love to wear.
Gather Your Materials
To make your own custom perfume oil, you’ll need a few key supplies:
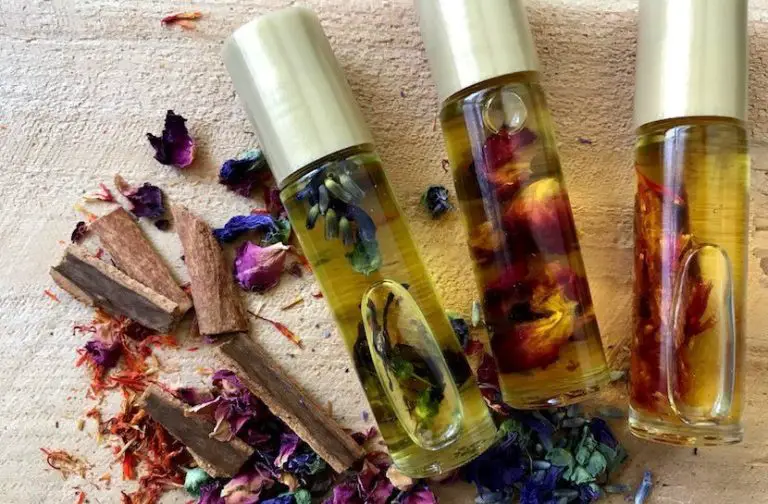
Essential Oils – These concentrated oils provide the fragrance for perfume. Popular options include lavender, rose, jasmine, citrus oils, vanilla, sandalwood, and more. You’ll need 2-3 essential oils for your blend. (Source)
Carrier Oils – These oils, like fractionated coconut oil or jojoba oil, help diffuse and dilute the essential oils on your skin. They make up the base of the perfume. (Source)
Bottles – Small glass bottles, preferably dark colored, are perfect for storing perfume oil. You can reuse old perfume bottles or buy new. Funnels help transfer the oil into the bottle. (Source)
You can find all the perfume making supplies you need either online or at craft stores. Look for high quality, pure essential oils. Make sure any bottles and funnels are clean before use. In general, you’ll need:
- 2-4 essential oils
- Carrier oil like fractionated coconut oil
- Glass bottles and funnels
- Small measuring spoons
- Mixing containers like beakers or jars
With these basic supplies, you’ll have everything you need to create custom perfume oils right at home.
Create Your Blend
When creating your custom blended fragrance, it’s important to combine different essential oils in the right proportions. A good starting ratio is to use 20% top notes like citrus or floral oils, 50% middle or heart notes like lavender or pine oils, and 30% base notes like sandalwood or vanilla oils. This creates a perfume with notes that unfold over time for a more complex scent.
Choosing 3-5 complimentary essential oils from those categories will allow the scents to meld together nicely. Reduce the total oils to about 20 drops per ounce of carrier oil. Allow your blend to rest for 1-2 days so the scent fully develops before adding to the carrier oil. Test on a smell strip over time to ensure you have the right scent balance and make adjustments as needed.
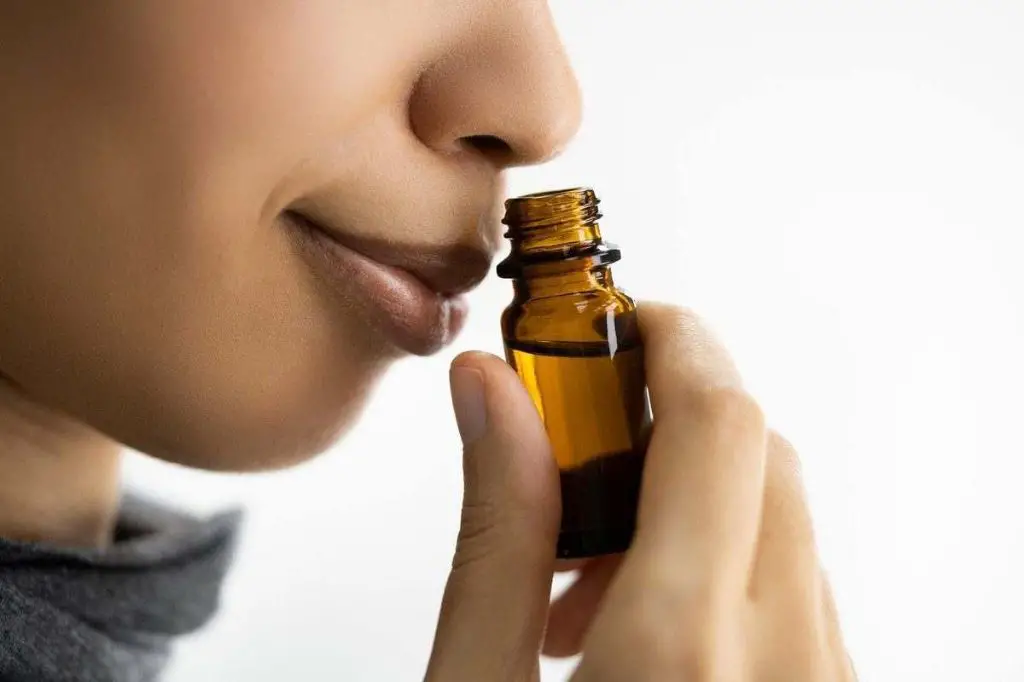
According to this source, letting the oils rest allows the top, middle, and base notes to settle into a harmonious blend. Pay attention to how the scent changes and evolves when combining multiple oils.
Add a Carrier Oil
A carrier oil is an essential component for making homemade perfume oil. The purpose of the carrier oil is to dilute and extend the scent of the essential oils or fragrance oils in your blend. Using a carrier oil allows you to create a perfume that is safe to apply directly to skin and gives the fragrance staying power.
Some of the most popular carrier oils for perfume making include:
- Jojoba oil – shelf stable and mimics skin’s natural oils
- Fractionated coconut oil – lightweight and absorbs quickly
- Sweet almond oil – hydrating with little scent
- Grapeseed oil – very lightweight and odorless
The carrier oil should make up 80-90% of your final perfume oil blend. A good rule of thumb is to use about 10-20 drops of fragrance oils or essential oils per 1 ounce (30 mL) of carrier oil. Start on the lower end around 10 drops per ounce and adjust to reach your desired strength.
Some tips when adding your carrier oil:
- Mix well to fully incorporate the scents
- Allow to rest overnight before smelling again and adjusting
- Store in dark bottles away from light to help preserve the scent
Transfer to a Bottle
Once your fragrance oil blend is complete, the next step is to transfer it carefully into the bottle you’ll be using. When choosing a bottle, glass is best for holding essential oil blends. Look for dark colored glass bottles that block UV light, which can degrade oils over time. Popular options are amber, cobalt, and violet. You want a tight-fitting lid, and the size depends on how much oil you made. Specialty suppliers like Infinity Jars and Best Bottles offer a wide selection of glass perfume bottles wholesale.
Make sure your bottles are completely clean and dry before filling. Wash with hot soapy water, rinse thoroughly, and let air dry upside down. You may also choose to sterilize bottles before use by boiling, steaming, or wiping with rubbing alcohol. Work over a tray or paper towels in case of spills.
Using a funnel makes transferring the oil easier and minimizes mess. Glass or stainless steel funnels designed for essential oils work best. Carefully pour your blended oil through the funnel into the prepared bottle. Leave a little room at the top for the oil to move when dabbed onto skin. Cap the bottle securely when done.
Label Your Creation
After you’ve perfected your personal blend, it’s time to package it up with a label. Getting creative with naming and branding your homemade perfume can be really fun. Here are some tips for creating label artwork that reflects your unique fragrance:
Start by brainstorming a memorable name for your scent creation. You’ll want something descriptive yet imaginative. List out the fragrance notes like you would see on a perfume bottle in stores. This helps communicate the essence of your perfume blend.
When designing your perfume label, make it colorful, playful, elegant – whatever vibe suits your fragrance. You can keep the artwork simple with some beautiful typography, or get more intricate with detailed illustrations. Refer to examples of handmade perfume labels for inspiration (https://www.pinterest.com/lilfroggiechi/perfume-label-design/).
Print your artwork on sticker paper, or adhere it to your bottle with glue. You may also want to laminate your label so it holds up to any fragrance spills. Now your homemade perfume is ready to gift or enjoy yourself!
Test and Tweak
Testing your homemade perfume blend over time on your skin is important to see how the scent develops and settles. When first applied, a perfume may have bright top notes that can fade after 10-30 minutes. The heart notes and base notes then come through over the next few hours. It’s best to try out your blend on your wrist or hand, allow it to settle for at least 30 minutes, then take a sniff to see how the scent has changed.
You may need to adjust the ratios of your essential oils and fragrance oils to get the right scent profile you want. Keep detailed notes on the ratios you try so you can recreate what works. Record the number of drops of each oil you use in your blend. Test out different versions by making small sample sizes first before scaling up. Allow each version to settle on your skin over time to determine if you need more or less of certain notes.
Once you perfect a recipe you love, record it exactly so you can duplicate it again. Notes should include the essential/fragrance oils used, number of drops of each one, carrier oils and amounts, and any other ingredients. Keeping detailed recipes will allow you to tweak and improve your homemade perfume over time.
Usage and Storage
When using your homemade perfume oil, follow these tips to get the most enjoyment from your creation:
Apply sparingly – a little goes a long way with concentrated perfume oils. Use just a drop or two on pulse points like the wrists, behind the ears, and décolletage. Be careful not to overdo it.
Allow the perfume to interact with your body chemistry and note how the scent evolves over time. Each person’s skin chemistry is unique so the way a fragrance smells can vary.
Store your perfume oil properly to maintain the integrity of the aroma for as long as possible. Keep it in a cool, dark place away from heat and light which can cause the scent to deteriorate faster. A bedroom drawer or closet is ideal.
Make sure the bottle is tightly sealed and avoid extremes of temperature. Storing in the refrigerator can help prolong the life of homemade perfume oils.
Over time, the scent may change as the oils break down. Expect homemade perfume oils to last around 6 months to 1 year before losing vibrancy.
If the scent fades or goes off, it’s time to make a fresh batch! Remake your favorite oil blends from scratch for the best results.
Inspiration and Tips
Making your own custom fragrance can be a fun and creative hobby. Here are some tips to help inspire your homemade perfume journey:
Get creative with packaging and presentation. Make perfumes part of a spa gift set including candles or bath products. Use vintage bottles or mini mason jars for individual portions. Tie fabric around the lids or add ribbon. The packaging can make it extra special.
Homemade fragrances make wonderful gifts. Make a custom perfume for a loved one based on their favorite scents. Or give small batches of perfumes in different scents. Include care instructions on gift tags or cards.
Take proper safety precautions. Essential oils can irritate skin so do a patch test before widespread use. Keep away from children and pets as oils can be toxic if ingested. Always mix and store perfumes in glass, not plastic bottles.

