How Do You Make A Wick Centering Tool?
A wick centering tool is an essential device for candle making. It helps hold the wick in place and keep it centered while the candle wax cools and hardens. Properly centering the wick is critical for the performance and safety of candles. An off-center wick can create an uneven burn, tunneling, or a dangerous flame that is too close to the side of the container.
Wick centering tools are generally made of metal or silicone and have a center rod to thread the wick through. They attach to the bottom of the candle container before pouring the wax. Once the wax has been poured in, the tool holds the wick taut in the precise center as the wax cools. This results in a candle with an even burn and maximum fragrance throw. Using a wick centering tool helps ensure successful, high-quality candles.
Materials Needed
To make a wick centering tool, you will need the following materials:
-
Wax – Choose a wax with a low melting point like soy, paraffin, or beeswax. You will need enough wax to fill your mold.
-
Wick – Use braided or twisted cotton or paper wicks. Choose a wick width that matches the candle diameter.
-
Mold – Select a mold a little wider than your finished candle diameter. You can use silicone molds or improvise with cans, jars, or tubes.
-
Double-sided tape – A small piece is needed to secure the wick.
-
Dowel – A round wooden dowel roughly matches the wick diameter. It should be longer than the candle height.
-
Washers – Get 2-3 washers that fit snugly on the dowel to hold it centered.
Making the Base
The base of the wick centering tool is made using a wooden dowel, washers, and tape. First, cut the dowel to the desired length using a hand saw or miter saw. The dowel should be around 4-6 inches long depending on the height of the candles you’ll be making. According to https://lonestarcandlesupply.com/ez-wick-setter-tutorial/, the dowel should be cut so that it’s 1-2 inches taller than your candle height.
After cutting the dowel, attach 2-4 metal washers spaced evenly along the length of the dowel using masking tape or another strong tape. The washers will help add weight to the base so it stays upright when placing it in the candle jar. Wrap the tape tightly around the dowel and over the holes of the washers to hold them securely in place, as recommended by https://www.candletech.com/candle-making/tips-and-tricks/wick-centering-tools/. Make sure no adhesive is exposed.
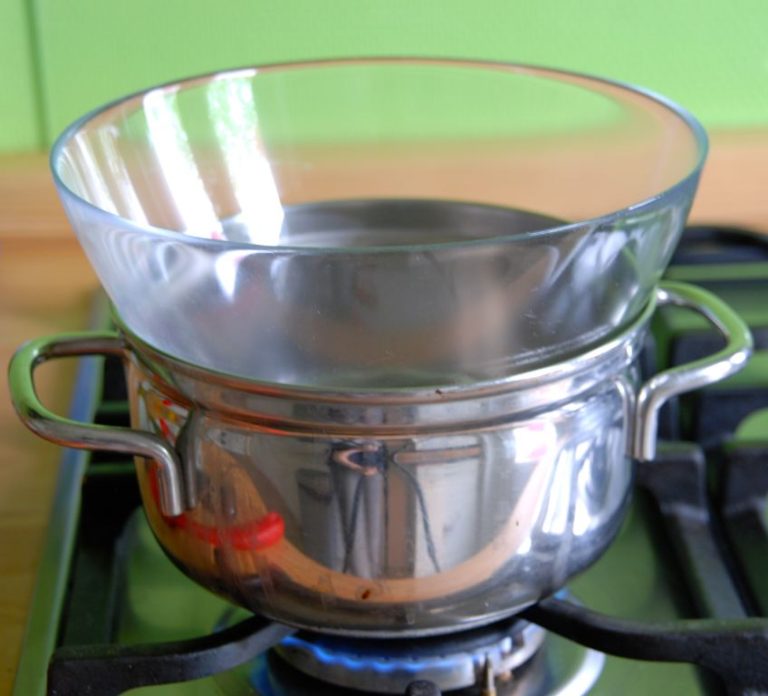
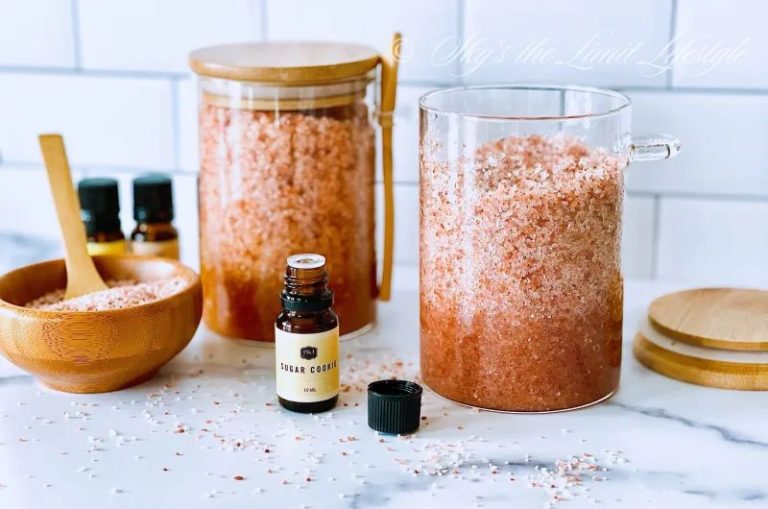
Preparing the Wax
The next step is preparing the wax for the candle. Start by gathering the wax you plan to use. Paraffin wax is commonly used for candle making. Break the wax into smaller chunks to make it easier to melt. Place the wax pieces in a melting pot or double boiler on the stove over low heat. Heat the wax slowly until it fully melts. Avoid overheating the wax, which can cause it to discolor or lose its scent. As the wax melts, stir it frequently to help it melt evenly. The ideal temperature for wax is between 180 to 185 degrees Fahrenheit (82 to 85 degrees Celsius). To check the temperature, use a thermometer designed for wax. Once the wax has fully melted, remove the pot from the heat. Next, carefully pour the wax into the mold, leaving about 1⁄4 inch (0.5 cm) of space at the top. Make sure to work carefully to avoid spills or burns when handling hot wax. Allow the wax to cool slightly before the next steps. Refer to this video for a helpful visual guide on preparing wax for candle making.
Inserting the Wick
Once the base is prepared, it’s time to insert the wick. Start by taking your wick and threading it through the hole in the base. Make sure to leave enough wick above the base so that it can be tied off later. You’ll want about 1-2 inches of wick sticking out above the base. Carefully thread the wick all the way through the hole so that it comes out the other side and is centered. Sometimes using a needle or pin can help guide the wick through the hole smoothly.
When threading the wick, be careful not to fray or unravel the end. Keep the wick tight and straight as you insert it, without any twisting or bending. Don’t pull too tightly either, as you don’t want the wick to snap. Gently work the wick through the hole in a smooth motion. Once it’s come out the other side, you can give it a gentle tug to ensure it is centered and secure inside the base.
Centering the Wick
Once the wax has been poured into the container and has begun to cool and harden, it’s time to center the wick. This crucial step ensures proper burn and minimizes issues like tunneling.
Take the wick centering tool and gently press it down into the wax in the center of the container. The tool should slide easily into the cooling wax. Slowly pull the tool straight up and out. This will leave a perfectly centered wick hole in the wax.
Next, take the wick and thread it through the hole, leaving roughly 1/2 inch sticking out of the top of the wax. Trim any excess wick at the base with scissors. The wick should now be perfectly centered in the wax.
According to this source, centering the wick ensures an even burn and minimizes issues like tunneling.
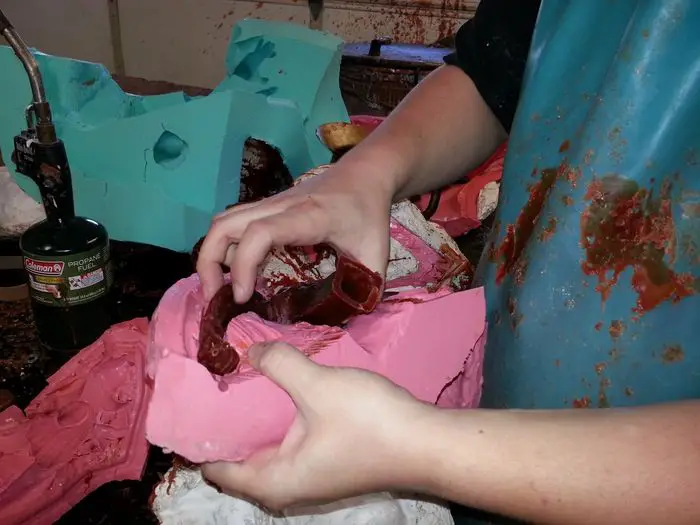
Cooling and Unmolding
After the wax has been poured into the mold, it’s important to let it cool and harden completely before attempting to unmold the candle. This typically takes a minimum of 4-6 hours. Rushing the cooling process can lead to distortion or cracks in the candle’s shape [1].
Silicone molds can simply be bent and flexed to release the hardened candle. For rigid molds, gently tip the candle upside down and tap lightly until the candle slides out. If needed, run a knife carefully along the edges to loosen the candle from the sides of the mold [2].
Placing molds in the refrigerator or freezer for 1-2 hours before unmolding can help speed up the cooling process. Just make sure the wax is fully hardened so it doesn’t get distorted. Releasing agents like silicone spray can also help candles slide out of molds more smoothly [3].
Finishing Touches
After the wick centering tool has cooled and been unmolded, there are a few finishing touches to complete the process. First, use scissors or nail clippers to trim the wick to your desired height. Most candle wicks are trimmed to around 1⁄4-1⁄2 inch before lighting to prevent excess sooting (https://thecandlebar.co/blogs/champagne-candle-flames/pro-tips-all-the-candle-fix-it-tips-you-need).
Next, inspect the bottom of the candle. Use a knife or peeler to carefully scrape and smooth any seam lines, ragged edges, or other imperfections on the base so it sits evenly. This helps prevent tunneling and uneven burning when the candle is lit (https://www.howtomakecandles.info/techniques/2105/3_easy_surface_techniques_for_your_candles). You can also use a heat gun on low setting to gently warm and smooth any problem areas on the bottom.
With the wick trimmed and base smoothed evenly, the wick centering tool is complete and ready for use in candle making!
Usage Tips
Properly storing your wick centering tool is important for getting the most use out of it. When not in use, be sure to keep it in a dry place out of direct sunlight. Exposure to light and moisture over time can cause the tool to warp or degrade.
With proper care, a wick centering tool can be reused many times. Before each use, inspect for any damage like cracks or warping. A damaged tool may not hold the wick straight. Replace the tool if it becomes bent or broken.
If you have trouble getting the wick to stay centered while pouring wax, here are some tips:
- Make sure the wick is tightly secured in the base tab before inserting in the tool
- Hold the tool steady and upright while pouring to prevent shifting
- Work over a flat surface and pour wax slowly to minimize disturbances
- Let the wax cool partially before removing the tool to set the wick in place
With practice and patience, a wick centering tool makes perfectly centered wicks easy to achieve.
Conclusion
In summary, making a wick centering tool is a straightforward process that involves making a base out of wood, creating a mold cavity with modeling clay, inserting pins in the clay for the wicks, pouring melted wax into the mold and allowing it to set, then unmolding the finished wick centering tool once cooled. The main benefits of using a homemade wick centering tool are ensuring your candle wicks are perfectly centered as the candle burns, allowing for an even melt pool and proper candle performance. This prevents issues like tunneling, where the edges of the candle melt faster than the center. Centering the wicks also promotes an even, consistent burn and reduces excessive dripping or guttering from off-center wicks. The finished wick centering tool can be reused over and over to center wicks in multiple candle making sessions. With some simple materials and basic steps, you can create a handy tool to help make perfect candles every time.