How Do You Make A Candle With A Picture On It?
Picture candles have become increasingly popular over the last few years. According to research from the candle industry, the market for customized and personalized candles, including picture candles, grew substantially from 2017 to 2020. Factors driving this trend include the rise of Etsy and other marketplaces where crafters can sell homemade goods, as well as the power of social media for sharing customized products.
Making a candle with a picture embedded inside allows you to create a unique, personalized gift. The most common types of candles that can have pictures are container candles, where the picture sits at the bottom of the jar or tin, and pillar candles, where the picture is encased within the wax. Votive, taper, and tealight candles generally are not large enough to incorporate a picture.
This guide will walk through the process of designing and assembling a picture candle using a laser printed image and soy wax. With some creativity and attention to detail, you can make a customized candle that will delight the recipient.
Gather Materials
Making a candle with a picture design requires gathering some key materials before you start:
- Wax – The most common types used are paraffin, soy, or beeswax. Paraffin burns well but is not from renewable sources. Soy and beeswax are more eco-friendly options (source).
- Wicks – Make sure to get wicks designed specifically for candle making, that are the proper width to match your candle diameter (source).
- Fragrance oils or essential oils – These will provide the scent for your candle. Use pure essential oils or high-quality fragrance oils designed for candles.
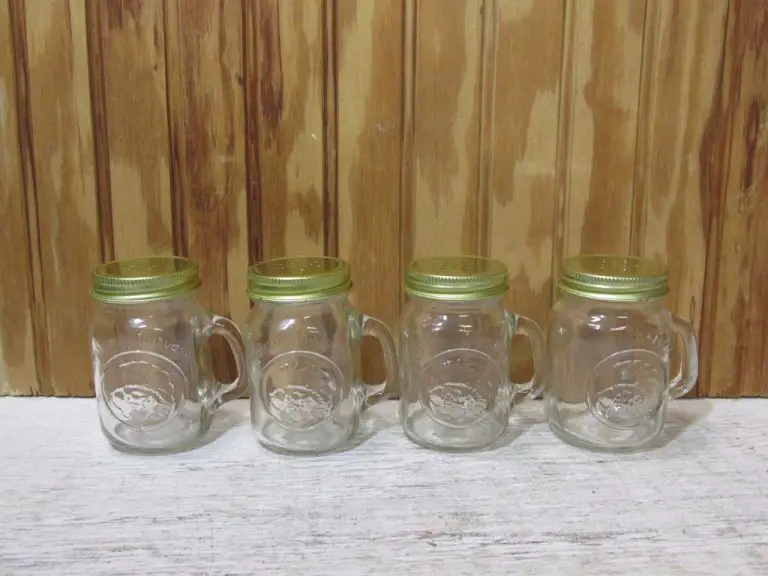
- Containers – Glass or metal containers work best for picture candles so the image shows through clearly.
- Decorative items – Consider things like glitter, flowers, seashells, etc. to decorate the outside of the container.
- Picture – This can be printed on special paper or be a physical photo. Make sure any ink is heat-safe.
- Tools – You’ll need thermometers, pouring pots, stirring spoons, and other candlemaking equipment.
Gather all these materials before starting your candle to have everything on hand. Store wax in a cool place until you are ready to melt it.
Prepare the Picture
The first step in making a candle with a picture is preparing the photo or image you want to transfer onto the candle. There are a few things to consider when getting your picture ready:
– Choose a high quality image and print it out on regular printer paper. Make sure the image isn’t blurry or pixelated, as this will transfer onto the candle. Print in color for best results.
– Consider laminating the printed picture or using special heat-resistant transfer paper. This will help protect the image during the transfer process when heat is applied (1). Regular paper may singe or burn when exposed directly to the hot wax.
– Make sure the printed size of the photo will fit onto the candle you are using. Scale or crop the image as needed before printing.
– For best results, use a laser printer rather than an inkjet printer. Laser printers don’t run the risk of ink smearing or bleeding when exposed to wax or heat.
The right preparation of the picture will ensure it transfers cleanly and clearly onto the finished candle. Take care in choosing, printing, and protecting the image before starting the candle making process.
Prepare the Container
Before pouring the wax, you’ll need to prepare the container that will hold the candle. Choose a container made of glass, metal, or heat-safe ceramic. Carefully clean the container with soap and water and allow to fully dry. Make sure there is no moisture left, as this can prevent the wax from properly adhering to the sides.
Next, insert the wick into the container. Center the wick and use wick stickers or a few drops of melted wax to adhere the base of the wick to the bottom of the container. The wick should stand straight up in the center. Cut the wick so it is about 1/4 inch shorter than the height of the container, to prevent burning the edges. Make any centering adjustments to ensure it remains straight.
Now the container is ready for the melted wax to be poured.
Melt the Wax
To melt the wax, it’s best to use the double boiler method. This involves placing the wax in a heat safe bowl or container, then putting that container over a pot of simmering water. The steam from the simmering pot will melt the wax gently and evenly. Make sure the water doesn’t boil or touch the bottom of the wax container, as this could scorch the wax. Melt the wax completely, stirring occasionally, until there are no lumps left. Once the wax is entirely liquid, remove it from the heat so it doesn’t get too hot. Be very careful handling the hot wax. Refer to this guide for more details on the best way to melt wax: https://suffolkcandles.co.uk/blogs/candles/how-to-melt-wax-for-candles
Add Fragrance
Once the wax is completely melted, it’s time to add the fragrance. When making candles, essential oils or candle fragrance oils are used to scent the wax. It’s important not to use more than the recommended amount of fragrance oil. According to candle making experts, adding more than the recommended percentage of fragrance oil can actually make the scent weaker. The recommended usage is usually around 5-10% of the wax weight.
For example, if you are melting 1 pound of wax, you would add 1-2 ounces of fragrance oil. Adding too much fragrance can also cause issues like unwanted residue on the glass, sweating, and poor smoke performance. Follow the usage recommendations from the fragrance oil manufacturer. After adding the oil, stir slowly for 2-3 minutes to fully incorporate the scent into the wax before pouring the candles. Properly adding the right amount of fragrance is key for strong, long-lasting candle scents.
Source: https://wigglywisdom.com/how-to-make-homemade-candles-smell-stronger/
Pour the Wax
Before pouring the wax, it’s important to let it cool slightly so it does not melt the picture or container (https://handmadephilly.wordpress.com/2010/04/26/candlemaking-101-its-easier-than-you-might-think/). The wax should be warm and liquid, but not extremely hot. Test the temperature by carefully pouring a small amount into a container. If it melts or damages the container, let it cool further.
Once the wax has cooled slightly, carefully pour it into the prepared containers (https://handmadephilly.wordpress.com/2010/04/26/candlemaking-101-its-easier-than-you-might-think/). Pour slowly and steadily in a thin stream to prevent bubbles. Fill each container about 1/2 inch from the top to leave room for the wick and melting wax. Allow the candles to cool completely before proceeding.
Place the Picture
Once the wax has cooled and begun to set, you can place the picture into the candle. Be very gentle when doing this, as the wax will still be soft and fragile. Slowly lower the picture face down into the center of the cooled wax. Try to avoid creating air bubbles by pressing down slowly and steadily. Allow the picture to sit for a minute so it adheres to the wax.
Next, gently press down on the edges of the picture, smoothing the wax up and around it. Work your way around the entire edge, sealing the picture into the candle wax. Take care not to tear the picture or distort the image. You may need to let the candle sit for 5-10 more minutes as you work to allow the wax to firm up a bit more. The goal is to have the picture fully embedded into the smooth wax, with no wrinkles or air pockets.
Once finished, set the candle aside to fully harden and cure overnight before decorating or lighting. This helps ensure the picture stays firmly in place. With some care and patience, you can create a candle with a beautiful picture to enjoy.[1]
[1]“How To Put Pictures On Candles.” Storables, https://storables.com/articles/how-to-put-pictures-on-candles/. Accessed 15 Feb 2023.
Finish Candle
Once you have poured the wax into the container and placed the picture, it’s important to let the candle fully harden before moving it. This ensures the wax sets properly and the picture stays in place. Be patient and allow at least 24 hours for the candle to cure.
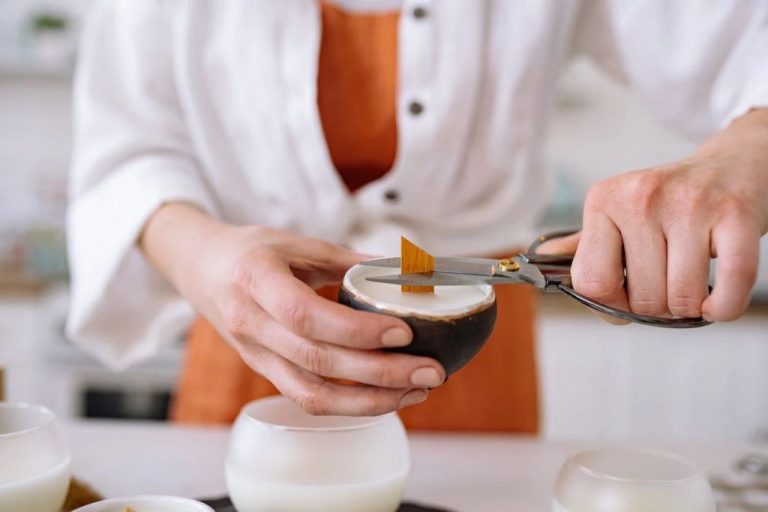
Before lighting the candle, carefully trim the wick to 1⁄4 inch length using scissors or nail clippers. This helps control the flame size and prevents excess smoking when burning the candle. Trim the wick each time before lighting, as wicks tend to get longer with each burn. Proper wick length is key for performance and safety.
Decorate and Use
Once the candle has cured completely, you can add any additional decorative elements as desired. Try using ribbons, lace, dried flowers, pine cones, seashells, or other embellishments to personalize your candle. Affix decorations with a hot glue gun or craft glue. Allow the glue to dry fully before lighting the candle. Refer to craft sites like Craftionary for inspiration on decorating candles.
Before lighting your homemade candle, always trim the wick to 1⁄4 inch length using scissors or nail clippers. This helps control the flame size and prevent excess smoking. Trim the wick before each use to maintain proper burning. Allow the wax pool to harden completely before relighting the candle. Follow basic candle safety tips like keeping away from drafts and always using a candleholder. Enjoy your homemade picture candle and take pride in your crafty creation!

