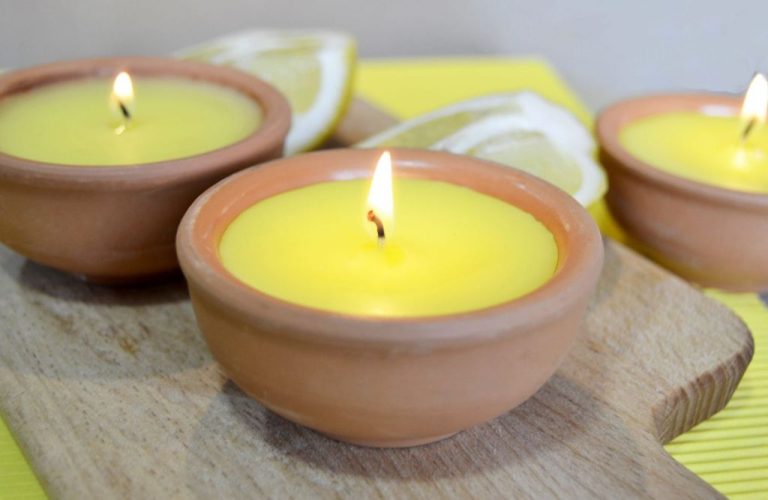
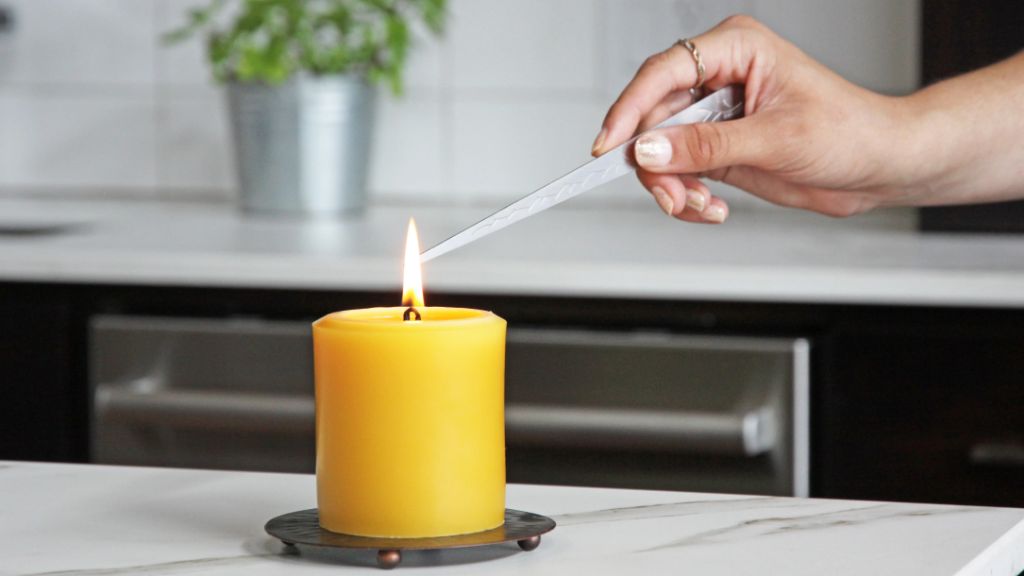
How Do You Keep A Candle Wick From Popping?
What Causes Candle Wicks to Pop?
Candle wicks pop and crackle for a few key reasons related to the way the wick burns. As the candle burns down, the wick becomes longer and longer. This elongated wick has a hard time staying upright and centered in the wax pool. The wick leans to one side, causing uneven burning on that side. This can create a mushroom-shaped tip at the end of the wick as more wax accumulates on one side than the other.
This uneven mushroom shape leads to the wick popping in a couple ways. First, the mushroom top often has little pockets of air trapped underneath it. As the flame reaches these air pockets, they burst and make cracking or popping sounds. Additionally, the excess unburned wax on one side of the wick catches fire rapidly, creating small explosions that also cause pops and cracks.
Essentially, the root cause is the wick burning unevenly instead of remaining centered in the wax pool. This happens more as the candle burns lower and the wick gets longer. Properly trimming the wick prevents the mushroom shape from forming and minimizes pops. According to Brooklyn Candle Studio, centering the wick as the candle burns also reduces the likelihood of pops and cracks (source).
Trimming the Wick
Trimming the candle wick regularly is one of the most effective ways to prevent popping. As the candle burns, carbon builds up on the wick. This carbonized part of the wick does not burn cleanly and efficiently. When carbon builds up on the wick, it causes the flame to become uneven and flicker. This uneven flame will start to char and burn the wick unevenly, which can cause the wick to bend over into the melted wax pool and make popping or crackling noises.
Trimming off the carbonized blackened part of the wick allows for an even, upright flame. Most experts recommend trimming the wick to 1⁄4 inch before each lighting to prevent carbon buildup. It’s also a good practice to use a wick dipper tool to straighten wicks before burning. Keeping wicks trimmed and straight prevents them from bending into the wax pool where the popping occurs. Additionally, straight trimmed wicks burn more slowly and evenly, which reduces popping sounds [1]. Trimming is simple, fast, and goes a long way towards eliminating pops.
[1] https://www.twistavants.com/blogs/candle-care/how-to-stop-candles-from-popping
Priming the Wick
Priming a wick is an important step that helps prepare it for burning and prevent issues like popping or mushrooming of the wick. Priming essentially “primes” or preps the wick by allowing the wax to be absorbed up into the wick before lighting.
According to this source, wicks absorb wax via capillary action, similar to how a paper towel absorbs liquid. When you initially light an unprimed wick, the heat melts the wax around the wick and allows it to rapidly absorb up into the wick. This rapid absorption combined with the flame can cause the wick to pop or mushroom outwards.
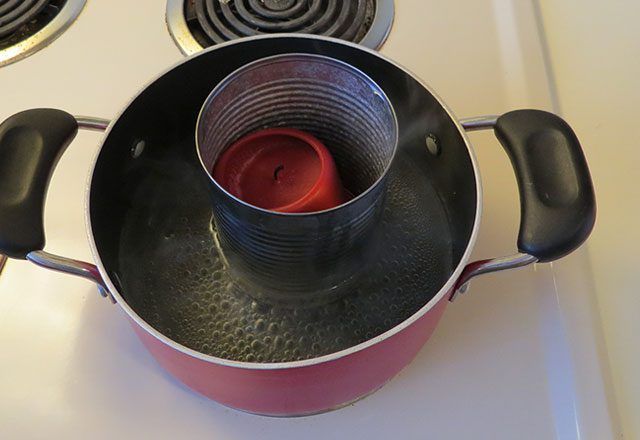
Priming the wick beforehand by allowing it to absorb the wax slowly prevents this issue. To prime a wick, simply place the unlit wick into melted wax for a period of time before lighting it for the first time. This lets the wax fully saturate into the wick at a controlled pace, allowing for an even burn once lit.
A primed wick helps regulate the capillary action during burning, preventing the wick from getting too hot and popping. Properly priming candles leads to an evenly burning wick without issues.
Choosing the Right Wick
The size and material of the wick is crucial for preventing the wick from popping and mushrooming. Thicker wicks allow for a larger flame and melt pool, while thinner wicks create a smaller flame. If the wick is too small for the candle, it struggles to melt the wax and stay lit, causing the wick to pop as it rapidly reignites. Conversely, an oversized wick will create more soot and mushrooming at the tip.
Cotton wicks are common and work for most candles, while paper and wooden wicks are better for beeswax or soy candles. Zinc and tin core wicks help sustain a flame but may pop more. It’s recommended to use cotton-cored wicks sized appropriately for the candle diameter – thinner candles need thinner wicks. Refer to a wick sizing chart to select the right width and material.
Testing different wicks to find the best fit for your wax and jar/vessel size is key to preventing a mushrooming wick. The flame should be a steady glow, not sharply flickering or smoking. A good rule of thumb is the wick should be wide enough for the wax to liquify and pool out 1-2 inches before extinguishing the flame.
Using a Candle Additive
One way to help prevent candle wicks from popping is by using a candle additive. Additives like Vybar work by coating the wick, allowing it to burn cooler and reducing the buildup of carbon on the wick.
Vybar is made from stearic acid, which comes from vegetable oils or animal fats. It is an additive that candle makers can add to their wax. When the treated wax is wicked and burned, the Vybar coating vaporizes at the top of the wick.
This vapor surrounds the wick, regulating the temperature and slowing down the melting of the wax. By controlling the burn rate and temperature, Vybar helps prevent excess carbon buildup on the wick which leads to mushrooming and popping.
The Vybar coating also allows for complete combustion of the wax at lower temperatures. This helps reduce soot production and promotes an even, consistent flame.
Using around 1% Vybar by weight added to the candle wax before wicking is generally recommended to see these benefits. The treated wick burns cooler and cleaner, resulting in less popping and more enjoyable candle burning.
Proper Candle Care
Following proper candle care guidelines is key to preventing issues like wick popping. First, pay attention to proper burn times. In general, candles should be burned for 1-2 hours at a time. Burning a candle for longer periods can cause issues like tunneling and an uneven melt pool. The candle container size also matters – make sure the candle fills the container but doesn’t touch the sides, leaving 1/2″ – 1″ of clearance.
Second, keep the wick trimmed to 1/4″ before lighting to prevent mushrooming. Use wick dippers or trimmers to trim the wick and remove any excess ash. Always blow out candles if left unattended and keep them away from drafts. Trim the wick as needed during burning to maintain a steady flame, about every 2-3 hours. Allow the wax pool to solidify completely before relighting, which takes around 24 hours.
Lastly, avoid moving candles when lit. Carefully extinguish and cool a candle completely before moving it. This will help prevent hot wax from spilling and the wick from bending and popping. With proper care, you can avoid common issues like wick popping and enjoy your candle safely.
Make Your Own Candles
Making your own candles at home can be a fun hobby and a great way to customize candles to your exact preferences. Here are some tips for beginners looking to make homemade candles:
Choose the right wax. There are many types of candle wax available, but soy and paraffin wax are common beginner choices. Soy wax is natural while paraffin is cheaper. Be sure to get wax with the proper melting point for your climate.
Use candle dye to color the wax. Liquid candle dye allows you to create candles in any color imaginable. Start with just a drop or two to achieve a light tint.
Consider adding fragrance oil for a scented candle. Fragrance oils designed for candle making allow you to create candles that smell like anything from pumpkin spice to clean linen.
Make sure your wick is the right size. The wick must match the diameter of your candle container. Too small and the flame will be weak, too large and the candle may tunnel or smoke. Test different wick sizes to find the best fit.
Anchor the wick before pouring wax into the container. This prevents the wick from moving around while the wax sets. Use wick stickers, hot glue, or weighted wick bars.
Allow candles to cure for 1-2 weeks before burning. This gives the wax time to fully harden and the scent to fully develop.
Consider adding items like dried flowers or coffee beans for visual interest. Just make sure to follow fire safety guidelines.
Making candles is an enjoyable DIY craft. With the right supplies and safety precautions, you can create homemade candles in any shape, color and scent.
When to Trim During Burning
Properly trimming the candle wick during burning is crucial to prevent issues like tunneling, excess soot, and a wick that is too large. As a general rule, you should trim the wick to 1⁄4 inch every 2-3 hours of burn time. This helps control the flame size and prevent curls, bends, and mushrooms from forming on the wick tip.
The optimal time to trim is just after blowing out the candle, when the wax has re-hardened. Use a wick trimmer or small scissors to snip off the carbonized tip and any curls or bends. Try to keep the wick perpendicular, with a flat top profile. You may need to trim a few times per use to maintain 1⁄4 inch height.
According to candle experts, wicks need more frequent trimming in the first few burns as the wax pool is establishing. Longer wicks are more prone to smoking, sooting, and bending. Keeping freshly trimmed wicks will lead to cleaner burning and help prevent tunneling (Citation: https://spokenflames.com/blogs/candle-care-101/3-reasons-why-you-should-trim-candle-wicks). With a properly trimmed wick, you’ll get the cleanest burn and maximum scent throw.
Troubleshooting Wick Popping Issues
If your candle wick is popping, crackling, or making loud noises, there are a few strategies you can try to troubleshoot the issue:
Trim the wick to 1⁄4 inch before lighting. A long wick with a big flame can create more soot and cause popping sounds. Regular trimming helps maintain a smaller flame (source).
Make sure the wax is fully melted and liquefied before lighting. Cold spots in partly melted wax can create popping and spitting (source).
Avoid drafts or blowing at the flame, which can make it unstable. Popping happens when the flame flickers due to air currents.
Change wick types if needed – a larger wick may help melt wax faster and reduce popping.
Additives like vybar or stearin can help bind wax molecules, resulting in a harder setup and less popping.
Frequent popping may indicate impurities in the wax. Try a higher grade wax for cleaner burning.
If cracking and popping persists, the wick may be too large for the width of the candle. Switch to a smaller wick to stabilize the flame.
Preventing Soot Buildup
Soot is the black residue that can accumulate on candles and surrounding surfaces as they burn. Soot is caused by incomplete combustion of the wax and wick. When the wick gets too long, it produces a larger flame that can generate more soot. Trimming your wick regularly is essential to reducing soot (Alumina).
As soot builds up on the wick, it can clog the wick and prevent it from drawing up wax properly. This can lead to an uneven burn, tunneling, and a higher likelihood of the wick popping or flaring up (US Candle Company). Keeping the wick trimmed to 1/4″ before lighting will help it burn slower and more controlled, producing less soot in the process. Allowing the melted wax pool to reach the full diameter before relighting will also improve combustion and reduce soot.
Soot prevention is key because soot is not just unsightly but can also pose health risks if inhaled. Following proper wick trimming and wax pool techniques will minimize soot, leading to cleaner, safer candle burning.