How Do You Get Candles Out Of Pillar Molds?
Pillar molds are a popular choice for candlemaking. Unlike votive and container molds, pillar molds create candles with straight sides and a cylindrical shape. Pillar candles burned vertically to showcase scents and decorations (https://letsmakecandles.com/info/mold-techniques/). However, removing the finished candle from a rigid pillar mold can be challenging.
Unlike flexible silicone molds that can bend to release the candle, rigid plastic and metal pillar molds require some tricks to get the candle out cleanly. If done improperly, the candle’s sides and details may become damaged or distorted. This guide will cover proper techniques to cleanly and easily release pillar candles from their molds.
Prepare the Mold
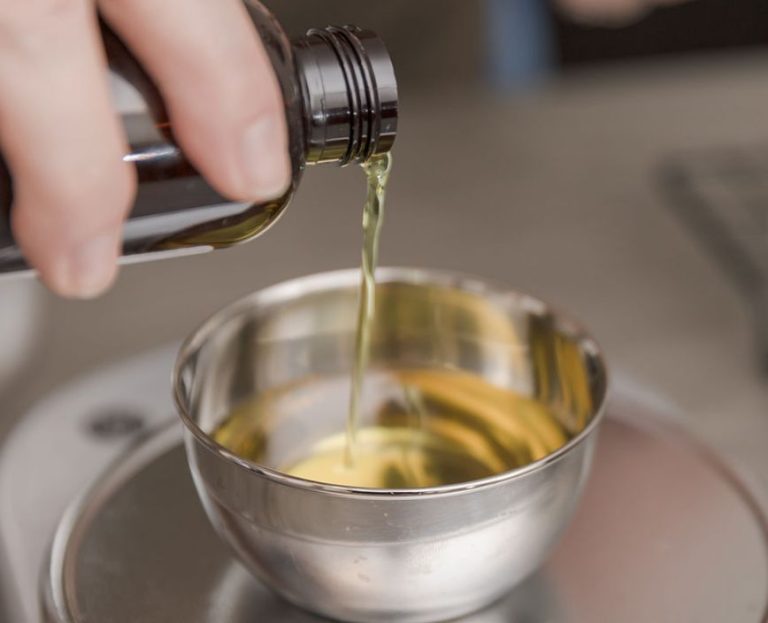
When making pillar candles, selecting the right material for your candle mold is crucial. The best molds are made from strong materials like aluminum, tin, or steel that can withstand repeated heating and cooling without warping. Avoid molds made from plastic or silicone, which may bend or melt when filled with hot wax.
Before pouring any wax, you’ll need to prep the inside of the mold. This helps the candle release more easily after cooling. Start by cleaning the mold thoroughly with a degreaser or rubbing alcohol to remove any residue. Once dry, apply a mold release spray or wipe a thin layer of petroleum jelly over the entire inner surface. The release agent prevents the wax from sticking too much. Reapply the release each time you make a new candle in that mold.
Source: https://www.candlescience.com/learning/how-to-wick-a-pillar-mold/
Pouring the Wax
Proper wax temperature is crucial for successfully pouring pillar candles. The wax should be heated to 160-165°F to ensure proper pouring viscosity. If the wax is too cool, it will set up too quickly and make removing the candle difficult. If the wax is too hot, the candle will end up with sinkholes and an uneven finish.
Pour the wax slowly and steadily down the side of the mold in a thin stream. This helps prevent air bubbles from getting trapped in the wax. Do not pour the wax directly into the center, as this can cause wax buildup in one spot. Fill the mold about 1/3 full to start.
To prevent frosting, pause pouring periodically to allow the wax to set up. Then top off the mold to ensure a smooth candle surface. For best results, pour in several small intervals rather than all at once. Be patient and take your time when filling the pillar mold.
Make sure the wax fully covers the wick before stopping. Leave a little bit of room at the top for the final wax pour. Let the wax completely cool in between pours. For more details on perfect temperature and pouring techniques, see The Ultimate Guide To Making Pillar Candles (https://makesy.com/blogs/news/the-ultimate-guide-to-making-pillar-candles).
Letting the Candle Set
After pouring your wax into the pillar mold, it’s important to let the candle set completely before attempting to remove it. This ensures the wax has fully hardened and cooled. Most experts recommend letting a candle set in its mold for at least 6-12 hours before removing.
There are a few signs that indicate your candle wax is ready to be removed from the mold:
- The top of the candle has a matte finish and is not glossy.
- When gently touched, the wax does not dent or bend.
- The candle feels cool and solid all over when touched.
- The candle easily releases from the mold walls after loosening.
Rushing the cooling and setting process can lead to candles that are misshapen, cracked, or damaged when removed. Be patient and allow the full 6-12 hours for best results. Checking for the signs above will confirm your candle is ready for the next step.
Source: https://www.savvyhomemade.com/how-to-use-silicon-candle-molds/
Loosening the Candle
Once the candle has completely cooled and hardened, it’s time to loosen it from the mold. This is an important step to avoid cracking or breaking your candle when removing it.
Start by gently pushing the candle from the bottom to see if it releases. If it doesn’t budge, don’t force it! Instead, try the following techniques:
- Run a knife carefully along the edges to separate the wax from the mold.
- Place the mold in the refrigerator for 15-30 minutes. The cold temperature will help shrink the candle away from the sides.
- Dip the base of the mold in hot water for 10-30 seconds to warm and expand the wax. Be very careful not to warp the mold.
- Gently twist the candle back and forth while pulling up on the wick to loosen it.
Take your time and be patient during this step. Rushing can cause the candle to get stuck even more or crack under pressure. The goal is to gently weaken the wax’s grip on the mold walls before attempting to pull the candle out.
Removing the Candle
Once the candle has fully set and hardened, it’s time to remove it from the mold. This part requires patience and care. Handle the mold gently to avoid breaking the candle inside.
Start by turning the mold upside down and resting it on a flat surface. If using a metal or glass mold, run the mold under hot water for 30-60 seconds before turning over. This helps loosen the wax from the sides. Plastic molds can be turned over immediately.
Gently slide the candle downward to remove it from the mold. Don’t force or twist the candle, as this can cause it to break or crack. Work slowly and carefully. If you encounter resistance, place the mold in the freezer for 15-30 minutes to re-harden the outer wax layer. Then try again.
For glass molds, many candle makers recommend tapping the rim sharply on a hard surface to loosen the candle initially. Then slide it out slowly. Take care not to hit too hard or crack the glass.
Once released, inspect the candle for any defects and trim the wick to your desired height. Your homemade candle is now ready to be decorated and enjoyed!
Source: https://www.wikihow.com/Remove-a-Candle-from-a-Mold
Troubleshooting
If you encounter issues removing the candle from the mold or find imperfections, there are some techniques you can try to troubleshoot:
If the candle is stuck in the mold, you can try running hot water over the outside of the mold to gently warm and expand it, allowing the candle to release more easily (https://www.craftserver.com/topic/37825-help-mold-stuck/). Take care when handling hot water and molds.
For cracks or imperfections in the candle surface, you can use a small paintbrush to paint melted wax into the damaged areas, working quickly before it cools and hardens. This can fill in cracks and gaps (https://www.ehow.com/how_5825208_repair-broken-tapered-candle.html).
If the candle breaks and has a clean break, you may be able to fit the pieces back together like a puzzle. Use hot wax as an adhesive to bond the pieces back together (https://www.ehow.com/how_5724713_fix-decorative-candle.html).
Preventing Future Problems
Proper care and storage of your candle molds is crucial for avoiding sticking and sinkholes in future candle pours. Make sure to clean molds thoroughly after each use with hot soapy water to remove all wax residue. Allow molds to fully dry before storing to prevent moisture from corroding the metal. Store molds in a cool, dry place and avoid exposing them to extreme temperature fluctuations that could warp the molds. Consider applying a thin coat of mold release spray before each pour for easier candle removal.
Using wax additives is another way to help prevent sticking and sinkholes. Adding 3-5% vybar or stearic acid to your candle wax will increase the rigidity and strength of the cooled candle, making it easier to remove from the mold. Vybar and stearic acid reduce frosting and improve the smoothness of the wax for a glossier candle surface that won’t adhere as much to the mold. Too much additive though can make the wax brittle and prone to cracking. Start with small amounts and increase gradually until you achieve your desired effect. Proper mold care and strategic use of vybar or stearic acid will lead to cleanly releasing candles every time. Source
Decorating
One of the best parts of making pillar candles is getting to customize them by decorating and adding your own creative touches. Here are some ideas for finishing off your homemade pillar candles:
For adding color, you can add liquid or powder candle dyes while pouring the wax into the mold. Just add a small amount and stir to get the desired color. Popular options are Simply Soson dyes which come in a wide range of colors.
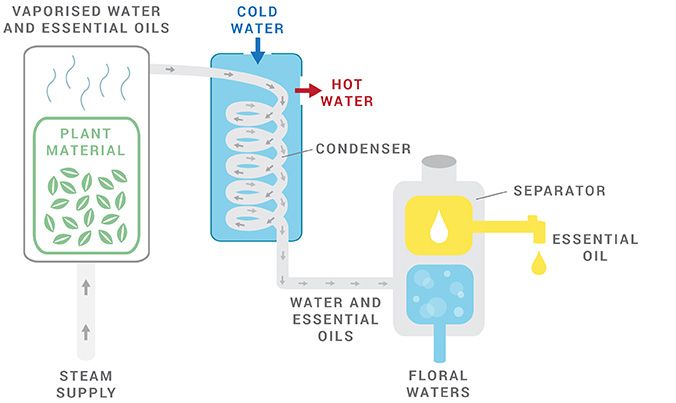
To add fragrance, you can stir in a few drops of essential oils before pouring the wax. Some good scent options are lavender, vanilla, pine, or citrus oils. Just a small amount will nicely scent the candle. Alternatively, you can place a few drops of scent on the top of the cooled candle. The heat from burning will help diffuse the scent.
For embellishments, pressing items like dried flowers, seashells, beads, or glitter into the top before the wax fully sets will adhere them to the candle. You can also wrap ribbon or raffia around the base for decoration. Get creative with materials like pinecones, twine, lace, or pressed leaves.
Etching designs, words, or textures into the sides of the candle with a tool is also an option. Work carefully to not cut through too deeply. Test on a scrap candle first before decorating a finished one.
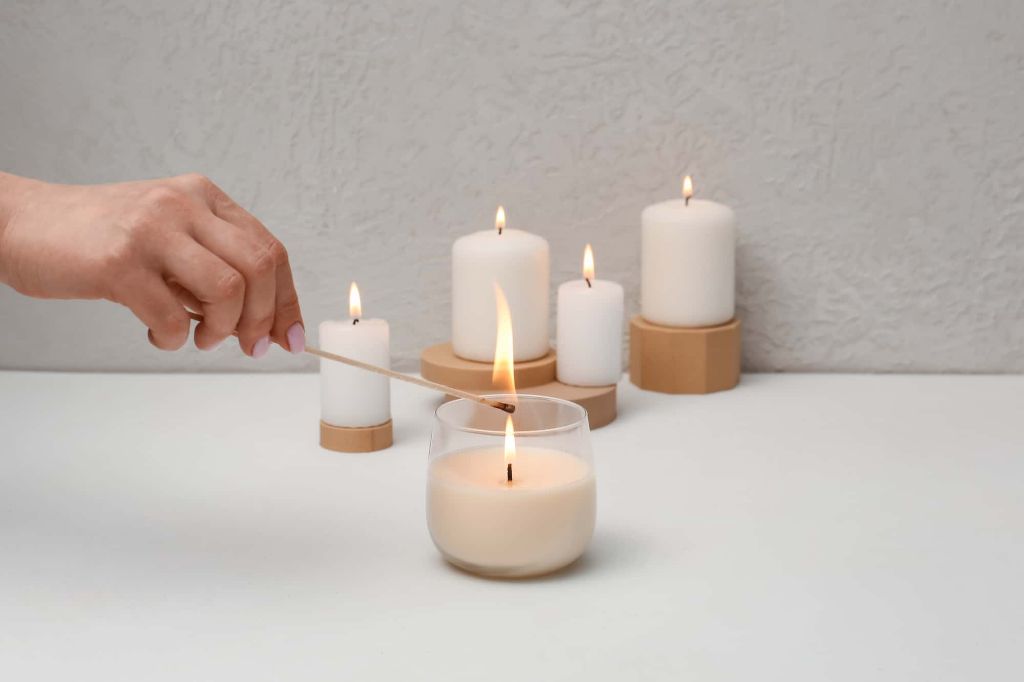
With some preparation and creativity, you can make homemade pillar candles into beautiful, decorative pieces!
Conclusion
Removing candles from pillar molds requires patience and care to get a good result. The key steps are preparing the mold properly, pouring the wax at the right temperature, letting the candle set completely before attempting removal, loosening the candle from the sides of the mold gently, and turning the mold upside down to let gravity help release the candle.
Rushing any part of the process can lead to candles breaking or getting stuck in the mold, so it’s important to work slowly and avoid force. Properly preparing the molds and allowing time for candles to cure makes removal much easier. With the right techniques, you can remove intact, beautifully shaped pillars from silicone, plastic, or metal molds.
Candlemaking is a relaxing, rewarding hobby when you adopt a careful approach. Avoid frustration by following the steps outlined here – ready your materials, pour carefully, and release gently. With practice and patience, you’ll be making glossy candles with perfect customized shapes.