How Do You Get A Candle Wick To Stick?
Candle making is a fun hobby and craft that has been around for centuries. A key part of candle making is securing the wick so that it stays in place while the candle burns. However, getting the wick to properly adhere to the wax can be tricky. The main issue is that wax is slippery and smooth, making it difficult for the wick to get a good grip. If the wick is not anchored firmly, it can slip up or float to the top as the wax melts. This results in poor candle performance with uneven burning, tunneling, and the wick getting lost in the melted wax. Properly securing the wick is crucial for candle quality and safety. This article will cover tips and techniques for getting any type of wick to stick in candles so you can make perfect candles every time.
Prepping the Wick
The first step to getting a candle wick to stick is selecting the right type and size of wick. The wick acts as the fuel delivery system in a candle, so choosing one that pairs well with the wax and container is critical for proper candle burning. Most candle wicks are made from braided cotton, but there are different braid patterns that impact stiffness and burning characteristics. The most common types are square braids and cored wicks, which have a cotton core wrapped in paper or cotton. Square braids tend to be stiffer and are good for container candles, while cored wicks are more flexible and better for pillars or tapers.
Wick sizing is also important. If the wick is too small for the candle, it won’t burn hot enough and will drown in wax. A too-large wick will create excessive soot and smoke. Generally, larger candle diameters need thicker wicks to burn properly. There are sizing guides available to match wick size with container diameter, like this comprehensive one from Premium Craft: Wick Selection Guide.
Once you’ve identified the right wick, trim it to about 1/4″ longer than the depth of the container so it fully submerges in wax. Singe the ends lightly to remove stray fibers and create an even tip.
Prepping the Wax
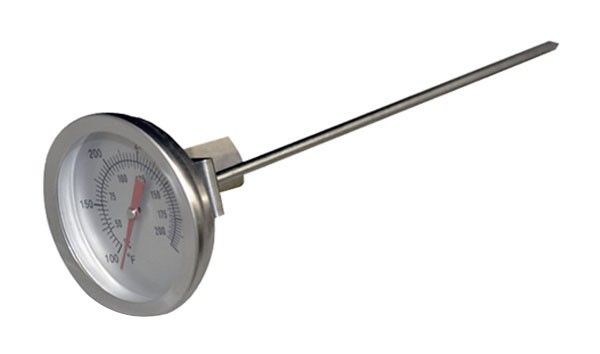
Proper wax temperature and consistency are crucial for getting candle wicks to adhere. The wax needs to be hot enough to be liquid and fully coat the wick, but not so hot that it seeps through the wick before cooling and hardening. According to Reddit users on r/candlemaking, a good temperature range for most wax types is 130-150°F to ensure proper wick adhesion.
For waxes like paraffin and palm that have higher melting points, temperatures of 150-170°F may work better. The key is to heat the wax about 20-30°F above its melting point. This allows the wax to fully liquefy and flow freely. At the same time, too high of heat can make wax too thin, causing dripping through the wick before it sets.
Testing wax consistency is also important. The wax should coat a spoon thickly without being watery thin. Thinner wax won’t adhere as well. Stirring occasionally can also help maintain an even consistency and temperature for good wick sticking.
Properly prepping wax is essential for getting wicks to anchor firmly in place. Following temperature guidelines based on wax type will ensure the right viscosity for maximum adherence.
Securing the Wick
Properly securing the wick is crucial for candle making. An unsecured wick may move around when the wax is poured, resulting in an off-center wick. There are a few techniques used to keep the wick in place:
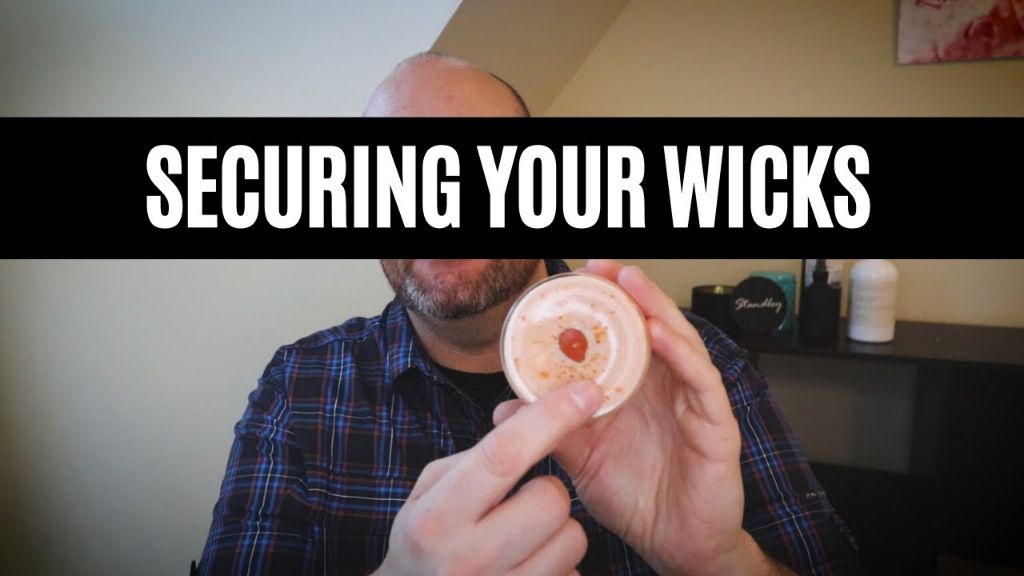
Glue dots are a popular option for securing wicks. Simply place a small glue dot on the bottom of the candle vessel and stick the wick to the dot. The glue provides a temporary adhesive to hold the wick in position (Source).

Wick stickers, also called wick cents, keep wicks centered and stationary. These small adhesive stickers wrap around the base of the wick and adhere to the vessel bottom (Source).
Clipping the wick to a v-shaped wick bottom or wick sustainer tab is another technique. The clips add weight to keep the wick down during pouring and cooling (Source).
Securing the wick properly before pouring wax is an important step for straight, centered wicks.
Setting Up
Centering the wick properly in the candle vessel is crucial for even burning. There are a few techniques to keep the wick straight and centered:
Wrap the top of the wick around a pencil, chopstick, or specialized wick bar tool and lay it across the top of the container to hold it in place (source). The excess wick at the top can be wrapped around the centering device to secure it.
Use a free paper wick centering template downloaded online and cut out the shape to fit your container. Poke the wick through the hole and let it sit on top of the vessel to keep the wick centered as you pour wax (source).
Allow the centered wick and empty vessel to sit undisturbed for 1-2 hours before pouring wax. This lets the wick adhere better to the bottom of the container.
Pouring
When pouring the wax, it’s important to go slowly and carefully to prevent dislodging the wick from the bottom of the container. As the wax first hits the container, gently pour it right on top of the wick to help weigh it down. According to the Harlem Candle Company, pouring the wax when it’s slightly cooler (around 120-135°F) can also help prevent the wick from becoming unstuck as the wax won’t splash as much on impact [1]. Pour the wax down the sides of the container in a circular motion while simultaneously pouring a thin stream directly on the wick. This helps anchor the wick in place throughout the pour. Avoid pouring the wax from high above the container as the impact can potentially dislodge the wick. Take care to pour slowly and steadily to keep the wick secured.
Cooling
Proper cooling is essential for getting the wick to adhere to the wax. The wax needs to fully cool and harden before the candle is moved at all. Cooling the candle too quickly can cause issues like sinkholes or cracks. According to Soy Wax Troubleshooting Guide, moving the candle before it has completely cooled can disrupt the adhesion and cause the wick to become off-center.
After pouring the wax into the container, it’s important not to disturb or move the candle at all while it cools. Let the candle sit undisturbed as it hardens fully. This can take 6-12 hours depending on the wax, vessel, and environment. Resist any urge to move, handle, or test the candle before it has completely hardened. Patience during the cooling process allows the wax to properly set up around the wick for maximum adhesion.
Testing Adhesion
After the candle has completely cooled and hardened, it’s important to test the wick adhesion before burning the candle. To check that the wick is properly secured, gently tug on the wick near the base. You want there to be resistance, indicating the wick is firmly embedded in the wax. If the wick pulls out easily, it was not properly adhered.
The wick adhesion can be tested with fingers, but tools like tweezers or pliers may allow you to get a better grip on the wick without damaging the candle. Grip the exposed wick and gently pull straight up, being careful not to bend or twist the wick. Applying force parallel to the candle surface risks pulling out wax and damaging the candle. The goal is to test the wick sticking without compromising the candle body.
If the wick does detach with gentle pulling, heat may be applied to re-melt the base of the candle and re-insert the wick. Proper wick adhesion is crucial for safe candle burning and preventing issues like tunneling. Take care when testing to ensure the wick will withstand normal burning conditions. With a properly prepared and secured wick, the flame will burn down the wick instead of dislodging.
Troubleshooting
Candle wicks that won’t stay adhered to the bottom of the container are a common frustration for candle makers. Luckily, there are some tips and tricks to troubleshoot this issue:
First, make sure you are heating the wax sufficiently before adding the wick. The wax should be completely liquified when the wick is added so it can properly embed into the wax. Heating to 185°F-190°F generally works well for soy wax (source: https://www.reddit.com/r/candlemaking/comments/b6f5p5/how_do_you_get_your_wicks_to_stick/).
Next, hold the wick in place firmly for at least 60 seconds once placed to allow the wax to cool and adhere around it. Some makers recommend placing a heavy object on top as well while it sets (source: https://www.craftserver.com/topic/89419-wicks-wont-stay-stuck-down-help-please/).
Using glue or adhesive is another option to reinforce the wick bond. Make sure any glue is fully cured before pouring additional wax. Hot glue works well since it sets quickly.
Finally, if wicks still won’t adhere, try roughing or scuffing the bottom of the metal wick tab with sandpaper so the wax can grip it better.
Summary
Securing the wick to the wax is a crucial step in candle making. Here are some key tips to ensure proper adhesion:
Prep the wick by trimming to size and using rubbing alcohol to remove dust and oils. Allow to fully dry before adding to wax.
Melt wax completely and allow to cool slightly before pouring. Temperatures between 185-200F provide ideal viscosity.
Secure wick to bottom of container so it stands upright before pouring wax. Allow a small pool of wax to form at bottom and gently press wick tab into pool while still liquid.
Let candle cure 24-48 hours before burning to allow wax to fully adhere. Test wick adhesion by gently tugging before lighting.
If wick becomes detached, reheat candle to melt wax and press wick back into place at bottom. Make sure not to overheat wax.
Following proper wick preparation and setting techniques will help ensure your homemade candles burn cleanly and safely.


