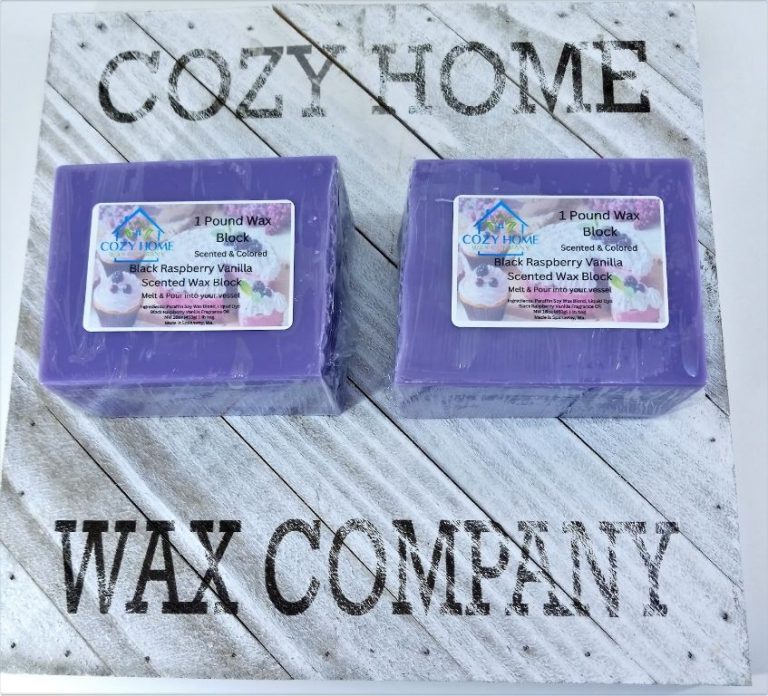
How Do You Fragrance Candle Wax?
Fragrance candles have become increasingly popular over the past decade. According to Credence Research, the global candles market size was valued at USD 13.63 billion in 2022 and is expected to expand at a CAGR of 5.6% from 2023 to 2030. The growth in demand for scented candles has contributed to this market expansion.
The goal of this article is to teach how to add fragrance to candle wax to create delicious smelling candles. We’ll cover the important steps like choosing wax and fragrance oils, wick selection, pouring, curing, testing, and more. With the helpful information provided, you’ll be equipped to make your own fantastic fragranced candles.
Choose Your Wax
When choosing wax for fragrance candles, the most popular options are paraffin, soy, and beeswax. Each has its own pros and cons.
Paraffin wax is derived from petroleum. It is inexpensive and makes candles that burn cleanly with little soot or smoke (Archipelago). However, some find the petroleum origin to be undesirable. Paraffin does not hold fragrance oils as well over time compared to natural waxes.
Soy wax is made from soybeans. It is a renewable and natural resource. Soy candles hold fragrance very well and burn cleanly (Martha Stewart). However, soy wax is softer than paraffin and can be more difficult to work with. It also tends to burn faster than paraffin.
Beeswax is completely natural, coming from honeycomb. It has a lovely natural honey aroma that pairs well with some fragrances (Archipelago). However, beeswax is expensive and burns faster than paraffin or soy. It may also inhibit fragrance throw in candles.
When choosing wax, crafters should consider the fragrance they want to pair with the wax along with the pros and cons of each type. Testing waxes with fragrance oils will help determine the right wax for each purpose.
Select Your Fragrance Oil
There are a few main types of fragrance oils to choose from when making candles:
- Natural fragrance oils use essential oils, absolutes, CO2 extracts, tinctures, and other natural ingredients. They provide a pure, authentic scent. According to Lone Star Candle Supply [1], popular natural fragrances include lavender, eucalyptus, jasmine, and citrus oils.
- Fragrance blends combine natural and synthetic fragrance ingredients to create complex scents like fruits, baked goods, and flowers. The Flaming Candle has blends like strawberry, pumpkin bread, and lilac [2].
- Synthetic fragrance oils rely on synthetic aroma chemicals to mimic natural scents. They tend to be affordable and have excellent scent throw. Common synthetics are fruit, candy, and vanilla.
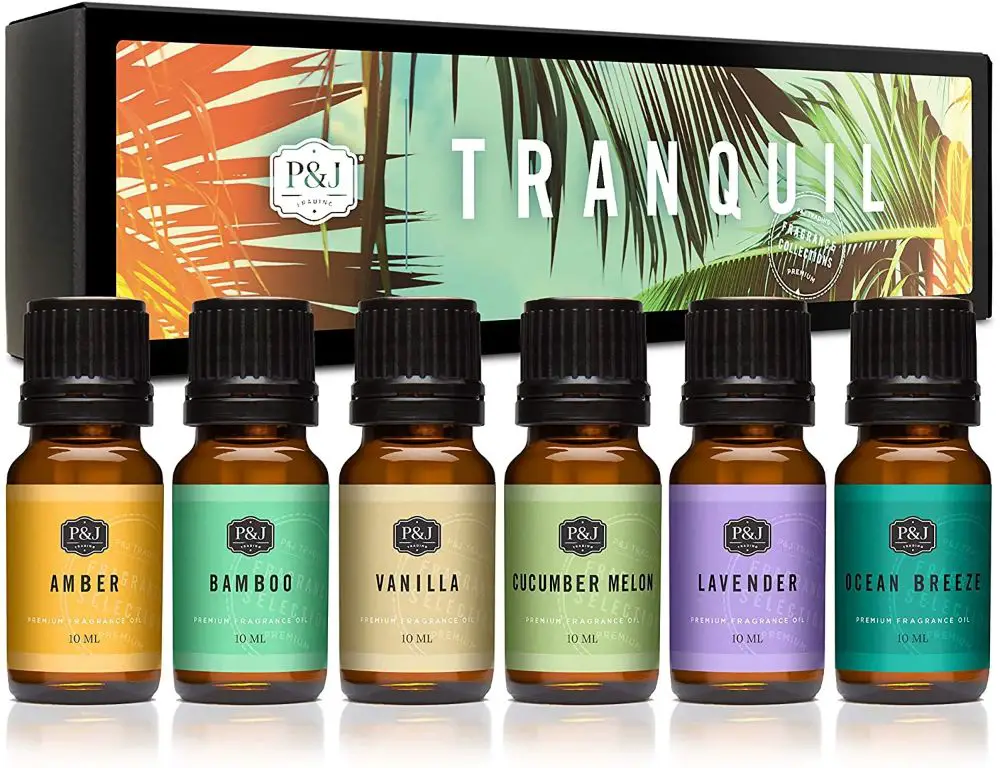
The amount of fragrance oil to use depends on the wax, but a safe starting point is 6-8% of the wax weight. It’s important to test different levels, as some fragrances require more to smell strongly.
When selecting a fragrance, consider performance in candles. Opt for fragrances known to adhere well to wax, distribute evenly, and give a strong scent. Avoid accelerant scents like citrus oils that can disrupt burn.
Adding Fragrance to Wax
Adding fragrance oil to wax is a key step in how to make fragrance candles. Ensure the following steps are taken for optimal scent throw and an even blend:
1. Heat wax to the proper temperature before adding fragrance. For soy wax, heat to 185°F. For paraffin wax, heat to 200-205°F. For palm wax, heat to 200°F (CandleScience).
2. Remove wax from heat and allow to cool slightly to around 175°F before adding fragrance. Adding at too high of a temp can burn off scent.
3. Measure out the amount of fragrance oil needed according to wax amount. A good starting ratio is 6-10% of wax weight.
4. Add fragrance oil slowly and stir continuously to fully incorporate. Stir for 2-3 minutes to ensure even dispersion.
5. Avoid mixing too vigorously or creating bubbles and pockets of fragrance, as this can lead to separation.
6. Allow the wax and fragrance mixture to sit for 1-2 minutes before repouring into containers. This helps blend further.
7. Second pour: Reheat briefly to ensure no pockets of oil before final pour into containers.
Following these steps for thoroughly blending fragrance will result in strongly scented candles with an even throw.
Wick Selection
Choosing the proper wick is crucial for getting the best results when making fragrance candles. The wick must be sized correctly to the type of wax, amount of fragrance oil, and vessel being used. Using too small of a wick can lead to poor fragrance throw, tunneling, and drowning of the wick. Too large of a wick may create an unwanted large flame and excessive soot.
For soy wax candles, braided cotton coreless wicks like HTP and L series work well. These wicks help prevent clogging from fragrance oils. For paraffin wax, use cored wicks like CD series for stability. Consult a wick guide chart for recommendations based on wax, fragrance, and vessel size.
Always test wicks before production. Test different wick sizes and monitor for proper melt pool, fragrance throw, and burn time. Trim the wick as needed to adjust the flame height and eliminate excess soot.
Pouring the Candles
Proper pouring temperature is crucial when adding fragrance oil to candle wax. The ideal pouring temperature helps ensure proper fragrance binding and wax crystallization. According to CandleScience, the recommended pouring temperature is 185°F when adding fragrance to soy, paraffin, or blended candle waxes. Higher flashpoint fragrances may allow slightly higher temperatures up to 200°F.
Pouring at the right wax temperature prevents the fragrance from burning off or evaporating. Hotter temperatures can cause fragrance to evaporate too quickly before having a chance to bind properly with the wax. Colder temperatures can lead to fragrance seepage or inadequate scent throw. The wax also needs to be an optimal temperature that is fluid enough for pouring yet cool enough to start solidifying.
Testing the temperature frequently with a thermometer is important when adding fragrance. Carefully pour the fragranced wax into pre-tabbed containers, leaving room for a second pour. Cool the candles completely before testing the scent throw and adjusting the fragrance ratio if needed.
Second Pour
The purpose of doing a second pour when making candles is to help prevent sinkholes and give the candles a smoother finish. As the wax cools after the initial pour, it will contract and shrink, often leaving an uneven, wavy surface on top of the candle. Doing a second pour involves pouring a thin layer of wax over the cooled candle to fill in any gaps, holes, or depressions caused by the contraction [1].
The second pour should be done once the candle has completely cooled and hardened from the first pour. This ensures the candle is stable enough to handle another layer of hot wax. Typically waiting 24-48 hours from the initial pour is recommended before doing the second pour [2]. The leftover wax should be reheated to just above the melting point before being slowly repoured over the surface. The second pour layer is usually thinner than the first pour, with just enough wax to create an even, smooth finish.
Curing the Candles
Curing is an essential step when making fragrance candles. It refers to allowing the candles to rest undisturbed for a period of time after they have been poured and cooled. Proper curing enables the fragrance oils to fully bind with the wax, allowing for an even fragrance throw when the candle is burned. Rushing the curing process can result in candles that lack scent when lit or have an inconsistent throw.
Curing time varies depending on the type of wax used:
- Soy wax candles require a cure time of 1-2 weeks. Soy wax has a longer cure time because it is a vegetable wax that takes longer for fragrance oils to adhere to. Allowing soy candles to cure for at least 10-14 days enables the fragrance to stabilize within the wax fully (https://armatagecandlecompany.com/blog/candle-curing/).
- Paraffin wax candles only need 2-3 days to cure properly. The petroleum-based makeup of paraffin wax allows fragrances to bind faster than vegetable waxes (https://blazeandfoam.com.au/blogs/blog/candle-curing).
During the curing period, candles should be stored in a dry, room temperature area away from direct light and heat. Lids can be placed on the candles to protect them as they cure. Once the ideal curing time has passed for the type of wax used, the candles are ready for testing and use.
Testing and Fixing
Once your candles have cured, it’s time to test them to ensure the fragrance throw is strong enough. An important test is the “cold throw” – simply smelling an unlit candle. Get a feel for the cold throw scent when you pour your candles before curing. Then after curing, compare the cold throw again. It should ideally smell the same or stronger.
To test hot throw, put the cured candle in the area where it will be burned, like a living room. Light the candle and leave the room for at least 15 minutes before coming back in. You want to get the full experience of someone first entering the room and noticing the scent. Assess if the hot throw fills the room adequately.
If the scent throw is not strong enough, there are a few fixes. Make sure you used the recommended fragrance load for that wax and fragrance oil. Try adding more fragrance oil, up to the max recommended. For soy candles, adding vybar or parasoy can help anchor the scent. Proper curing is also key for full fragrance release. Finally, using essential oils along with fragrance oils can boost scent.
Storing Fragrance Candles
Proper storage is key to preserving the scent and shelf life of your homemade fragrance candles. Here are some tips for storing candles to keep them smelling great:
Store candles in a cool, dark place like a cupboard or drawer. Fluctuating temperatures can cause the wax to melt and the scent to fade faster. Ideal storage temperature is below 80°F (source).
Keep candles away from direct sunlight and heating vents which can also accelerate scent loss. Wrapping candles in fabric can help insulate them (source).
Seal candles in airtight containers like jars or bags to prevent fragrance oils from evaporating. Plastic containers work better than glass for retaining scent. Make sure lids are tight fitting.
Store similar scented candles together and keep seasonal scents separate to prevent mixing of fragrances. Group candles by scent family like florals, bakery, etc.
With proper storage, homemade soy or paraffin candles can retain their scent for 1-2 years. Citrus and fresh fragrances may fade faster than musky or spicy scents. Always do periodic scent tests.
If candles lose their aroma, try refreshing them by removing 1/8″ of wax on top to expose fresh fragrance oil. A quick reheat can also help revive scent by bringing fragrance to the surface.

