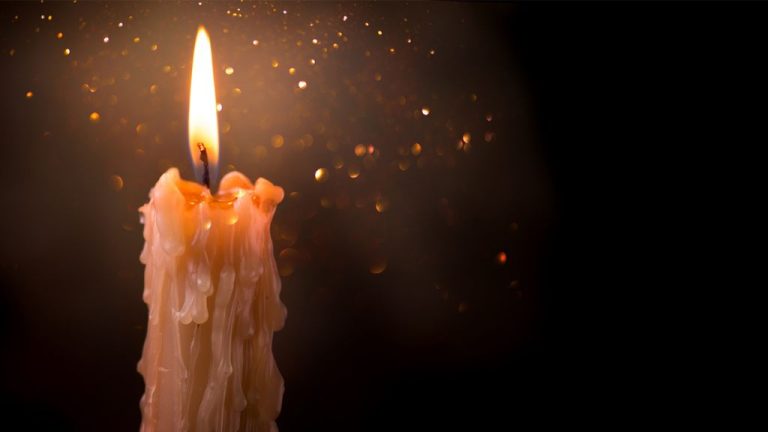
How Do You Fix Uneven Candle Wax?
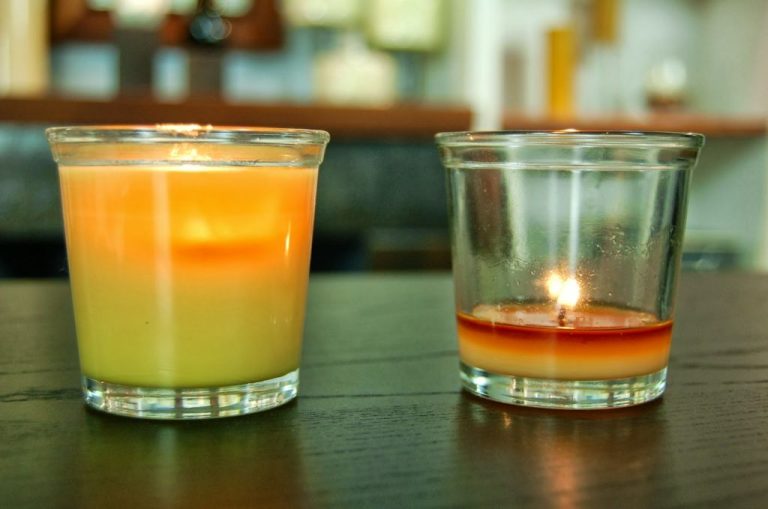
Uneven candle wax refers to when the wax on a burning candle melts or pools unevenly, causing the candle to burn in an irregular shape. This can lead to the candle developing a slant, bend, or tunnel as it burns down. Uneven wax pooling occurs due to a variety of factors:
- The wick being off-center inside the candle.
- Air currents or drafts blowing on the candle, causing wax to melt more on one side.
- The candle holder not being level, leading wax to pool more on one side.
- Using the wrong size wick for the type of wax and diameter of the candle.
- Not allowing the melted wax pool to reach the full diameter of the candle before extinguishing.
These conditions can cause the candle to burn unevenly right from the start, or develop issues partway through burning. Uneven wax can lead to tunneling, dripping, or a weak flame, and needs to be corrected for optimal candle performance.
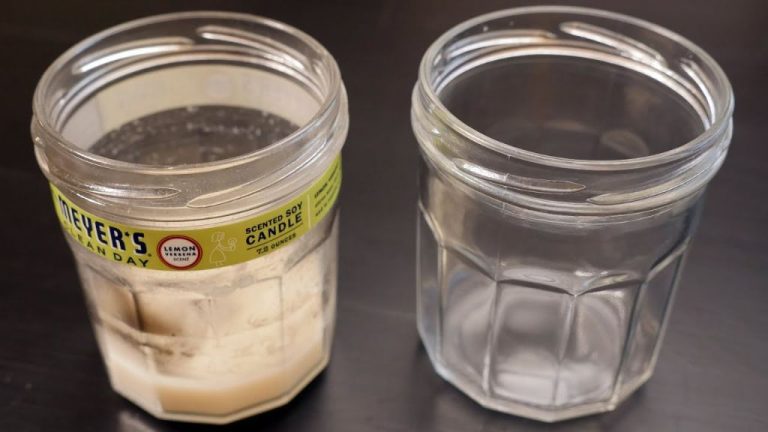
Remove Excess Wax
One way to fix uneven wax is to let the candle burn for a while to melt and even out the wax. The heat from the flame will soften and level out any lumps or ridges in the wax. Allow the candle to burn for at least an hour, keeping a close eye to make sure the melted wax doesn’t overflow the container. The wax should redistribute itself into a smooth, even surface as it melts. This is the easiest and most effective way to fix small uneven spots and smooth out the top layer of wax. Just be patient and give the candle time to fully melt and pool.
According to an article on the Startribune website, letting a candle burn for a while can help smooth and even out lumpy or uneven wax.[1]
Freeze and Re-melt
One effective method for evening out uneven wax is to freeze the candle to harden the wax, and then re-melt it to create an even surface. This technique works because freezing causes the wax to contract and solidify into a uniform shape.
To freeze a candle with uneven wax:
- Place the candle in the freezer for at least 2 hours. Overnight is ideal. The wax needs to be completely solid and contracted.
- Remove the candle from the freezer and let it come to room temperature, about an hour.
- Use a knife heated in hot water to gently shave off any excess hardened wax so the surface is flat.
- Return the candle to the freezer for another 30 minutes.
- Remove the candle and let it come to room temperature again before lighting.
When you light the candle, the previously uneven wax will melt evenly across the surface into a flat pool. The freezing process resets the candle wax to create an even burn.
Just be careful not to put a lit candle in the freezer! Only freeze an unlit candle. This technique can rescue many candles from the trash by restoring their burnability.
Source: https://www.reddit.com/r/ZeroWaste/comments/dywf13/pro_tip_freeze_your_old_candles_for_a_couple/
Use a Knife
Using a knife is one of the quickest and easiest ways to fix uneven candle wax. Make sure to use a knife that you don’t need for cooking, like a butter knife, so you don’t get wax in your food. To use a knife:
1. Heat the blade of the knife briefly over the candle flame. This will warm up the metal so it can slice through the wax more easily.
2. Holding the knife at a 45 degree angle, carefully shave off any high spots or ridges around the top of the candle. Apply light pressure and scrape away just a thin layer of wax at a time.[1]
3. Work slowly and gently. Repeatedly pass the heated knife over any problem areas until the top of the candle has an even, flat surface.
4. Be very careful not to cut yourself on the hot knife. Also make sure not to trim too much wax off the top. Just remove enough to eliminate ridges and high spots.
This knife scraping method allows you to precisely shave away excess wax and achieve a smooth, level surface. It’s quick and easy, and helps get your candle burning evenly again.
Use a Hair Dryer
A hair dryer is a quick and effective way to smooth out uneven wax and tunneling in candles. To use this method, start by extinguishing the candle if it is lit. Then position the hair dryer about 6 inches above the candle and turn it on high heat. Slowly move the hair dryer back and forth over the uneven wax, concentrating on the tunneled areas (https://hotellobbycandle.com/blogs/candle-tips/how-to-fix-candle-tunneling). The concentrated heat from the hair dryer will melt the wax. Continue heating until the tunneled wax is fully melted and even with the rest of the candle surface.
Next, use a brush, toothpick, or other small utensil to gently spread the melted wax and blend it into the rest of the candle. Try to smooth over any remaining ridges or uneven spots. Work carefully to avoid scratching the wax or pulling up the candle’s wick. Once the surface looks smooth, allow the candle to fully cool and harden again before relighting. The hair dryer method allows you to quickly resurface candles with minimal effort and reuse uneven candles.
Sand the Candle
One method for smoothing uneven candle wax is to gently sand down any drips or bumps. Use a fine grit sandpaper, between 220-400 grit, for sanding candles. Coarser sandpaper may scratch the candle’s surface. Gently rub the sandpaper over dripped wax or bumps in the candle wax to level them out.
When sanding, apply light pressure and work in a circular motion. Slowly smooth down the wax until it’s even with the rest of the candle surface. Take care not to sand away too much wax. Periodically stop sanding to check your progress.
Make sure to clean up any wax debris when finished sanding. You can also follow up with a hair dryer or heat gun to re-melt the sanded wax and blend it. Allow the candle to fully cool and harden before assessing if any touch-up sanding is needed. With a delicate touch, sanding can neatly fix drips and smooth bumps on the sides or top of candles.
Source: CCS Granulated White Sand Wax
Submerge in Hot Water
One effective method is to submerge the entire candle in hot water to melt and redistribute the wax. Fill a pot or bowl with hot water from your tap and place the candle in the water, making sure it’s fully submerged. The hot water will melt the wax and allow it to pool at the bottom of the container. Let the candle soak for 5-10 minutes. As the wax melts, you can gently tilt and rotate the candle so the wax evenly coats the inside of the glass. Be very careful when handling the hot candle and water. Once finished soaking, remove the candle and place it on a heat-safe surface to dry completely before relighting. The wax will harden and create a smooth surface [1]. This hot water method realigns and redistributes the wax to stop tunneling without having to scrape out old wax or add anything new.
Avoid Direct Flames
When fixing uneven wax, it’s important not to use direct flames from matches, lighters, or candles to melt the wax. Applying a direct flame can scorch or burn the wax, damaging the candle.
The high heat of an open flame like a match or lighter can overheat and discolor wax. It can also create soot marks, affect fragrance, and produce smoke. Open flames used carelessly around candles present a fire hazard as well.
Instead of using direct flames, it’s safer and more effective to use indirect heat from a hairdryer, heat gun, or by submerging the candle in hot water to smooth uneven wax. These methods heat gradually and evenly, protecting the appearance and quality of the candle.
Take care not to overheat wax when fixing uneven surfaces. While direct flames should always be avoided, too much heat from other sources can still damage wax.
Gently warming until the wax softens and smoothing with a knife or hands is sufficient in most cases. With a careful indirect warming approach, candles with imperfect surfaces can easily be returned to their original pristine condition.
Prevent Future Unevenness
If you often struggle with unevenly melting candles, there are some proactive steps you can take to help prevent it from happening in the future:
First, be sure to trim the wick before each use to a length of 1⁄4 inch. Long wicks are more likely to create uneven burning and tunneling (https://hotellobbycandle.com/blogs/candle-tips/how-to-fix-candle-tunneling).
Additionally, burning candles in appropriate candle holders can help with even melting, as the holder keeps the candle upright and centered in the melted wax pool (https://www.harlemcandlecompany.com/blogs/journal/candle-care-101-how-to-fix-prevent-candle-tunneling).
Finally, avoid burning candles for too long at one time. 2-4 hours is ideal for most candles. Burning for longer periods can result in tunneling or uneven wax pools, especially for large pillar candles.
When to Get a New Candle
If the wax has become extremely uneven, with deep ridges, holes, or tunnels, it can be difficult or impossible to fully repair and achieve an even burn. At a certain point, the structural integrity of the wax has been compromised too far.
Signs it may be time for a new candle include:
- The wax has caved in or collapsed on itself, leaving large gaps and making wick maintenance difficult.
- There are divots more than 1 inch deep that fail to melt out with standard fixing techniques.
- Wax shards have broken off, taking layers of wax with them.
- The center core of wax is so narrow that the wick is unstable.
While mild to moderate unevenness can be remedied, once the wax shape is severely distorted, the candle may not burn properly even after repairs. The memory of the wax has been altered too far. Starting fresh with a new candle is recommended when unevenness is very pronounced.