How Do You Add Glitter To Taper Candles?
Adding glitter to taper candles is a fun way to create beautiful, sparkling candles for your home decor, events, gifts, and more. Glitter candles add a festive and elegant touch wherever they are displayed. The glitter catches the light, providing a lovely shimmering effect when the candles are lit. Making glitter candles is also a simple DIY project that allows you to customize candles with your choice of colors and glitter types.
Glitter taper candles have many benefits over plain candles. The glitter makes them look more special and decorative. The glittering effect is eye-catching and gives off a joyful, celebratory vibe. Glitter candles add flair to dinner tables, mantels, shelves, centerpieces, and more. They can match any decor theme or color palette. Glitter candles also make wonderful gifts and work for any occasion or holiday. Overall, adding glitter provides an easy way to take basic taper candles up a notch.
Materials Needed
Before adding glitter to taper candles, you’ll need to gather a few supplies:
-
Taper candles – These are tall, skinny candles with a pointed tip. Pillar candles and votives won’t work as well since part of the tapered shape will be covered.
-
Glitter – Choose fine or coarse glitter in your desired colors. Try mixing glitter sizes and colors for a cool effect. Craft glitter tends to have nicer sparkle than generic glitter.
-
Adhesive – A glue that dries clear like Mod Podge, decoupage glue or clear-drying tacky glue. Avoid super thin glues that will soak into the candle.
Make sure your work surface is protected – glitter gets everywhere! Lay down some newspaper or a disposable tablecloth before starting.
Prepare Workspace
Before adding glitter to taper candles, it’s important to properly prepare your workspace. This will help keep the glitter contained and make the process easier.
Cover your work surface with newspaper, paper towels, or even a disposable tablecloth. Glitter tends to get everywhere, so protect your tables and counters by laying down an easy-to-clean covering first. Tape down the edges of your covering to keep it secure.
Make sure you have all your materials assembled and ready to use. Have your taper candles, glitter, adhesive and any tools you plan to use laid out. Consider putting down a tray that you can move your candles around on while working on them. Being organized ahead of time will allow you to focus on the glitter application process.
Choose Glitter
Glitter comes in a variety of sizes and colors, so think about the look you want to achieve before making a selection. The most common glitter sizes are:
- Fine (.008″ -.019″): Produces a smooth, shimmery look.
- Medium (.020″ – .039″): Provides nice sparkle and coverage.
- Coarse (.040″ – .079″): For a chunkier, textured effect.
You can use a single color of glitter for a clean, classic style. Or, mix two or more colors in complementary hues for a fun, multi-dimensional effect. Mixing sizes, like fine and coarse, also creates visual interest.
Sample color combinations:
- Silver and gold
- Red and green (for Christmas candles)
- Pink, purple, and blue
Get creative and choose glitter that fits the theme or purpose of your taper candles!
Apply Adhesive
The key to getting the glitter to properly stick to the candle is applying the right amount of adhesive. You’ll want to use a glue that is specifically made for candle making. A craft glue like Mod Podge or a glitter adhesive will work well.
Only use a small amount of adhesive at a time. It’s better to add thin layers rather than globbing on a thick coat. This will help prevent clumping or globs of glue showing through the glitter. Use a foam brush to evenly distribute a thin layer over the surface of the candle. Make sure to get full coverage, but avoid any drips or build up of adhesive.
Let the adhesive dry slightly before moving to the next step. It should be just tacky to the touch – not completely dried, but not wet. This tackiness will help the glitter properly adhere.
Add Glitter
When adding glitter to your candles, it’s important to apply it evenly to avoid clumping. Here are some tips for applying glitter smoothly:
Use a soft bristle brush or foam applicator to pick up a small amount of glitter. Gently brush the glitter onto the adhesive in light, sweeping motions. Apply an even layer over the entire candle surface, taking care not to press too hard or overload any single area with glitter.
Alternatively, hold the candle over a tray and sprinkle glitter lightly overall, turning the candle to coat all sides. Let any excess glitter fall back into the tray to reuse.
Work in sections, adding more adhesive and glitter until the candle is fully coated. Check for any bald patches and touch up. But take care not to overdo it with too much glitter, which can create clumps.
Gently tap the candle to shake off any excess, loose glitter. Use a soft brush to lightly dust away any clumps or thick areas of glitter, redistributing it smoothly.
Applying glitter gradually with a light hand ensures even coverage for a flawless, sparkling finish on your handmade candles.
Let Dry
After adding the glitter, it’s important to give it plenty of time to dry before handling the taper candle. The exact drying time will vary based on the type and amount of adhesive used, as well as environmental factors like temperature and humidity.
As a general guideline, allow the glitter-coated candle to dry for at least a few hours before touching or moving it. If possible, leave it overnight to fully cure. Make sure the area is free of dust or debris that could stick to the wet adhesive.
Be patient and avoid the urge to touch the glitter or move the candle before it has dried. Even a light brush could smear the glitter and ruin your hard work. Check carefully to confirm the adhesive is no longer tacky before handling.
If using a fast-drying adhesive like super glue, the glitter may set more quickly, but still give it an hour or more of drying time to be safe. The longer you leave the glitter undisturbed as it cures, the better it will adhere.
Letting the glitter dry completely will help create a beautiful, sparkly taper candle you’ll be proud to display and enjoy!
Second Coat (Optional)
Once your first coat of glitter is completely dry, you may want to consider adding a second coat for extra sparkle and dimension. This is especially recommended if your candle has deep crevices or an intricate design that didn’t get completely covered on the first pass.
When adding a second coat, make sure the previous layer is fully set first. Then simply repeat the adhesive and glitter application process. You’ll likely need less adhesive this time around since the candle already has a base layer.
The second coat is all about building up layers of glitter to create more depth and dimension. Focus on getting glitter into the detailed areas that need a bit more coverage. You can use the same glitter or switch to a different color for more visual interest.
Don’t be afraid to really pack on the glitter! The more you apply, the more dynamic and vibrant the finished candle will look when the light catches all those tiny flecks of sparkle.
After the second coat has dried completely, you can follow up with finishing touches like blowing off excess glitter or using a soft brush to smooth the surface. Then it’s time to light up your glittery masterpiece!
Finishing Touches
Once the glitter on your taper candles has dried completely, it’s time for the finishing touches. Carefully look over each candle to spot any imperfections that need fixing. Use a tweezers or toothpick to gently smooth down any pieces of glitter that may be sticking up or out of place. If there are any spots that didn’t get enough adhesive or glitter, you can use a small paintbrush or applicator to add more. Be precise and delicate as you add the adhesive and glitter to fill in these spots.
Also inspect the base and top of the candles closely. These edges often need extra attention. Add a thin layer of adhesive and glitter along the bottom edge if it looks sparse. For the top, make sure the wick is straight and centered. Trim the wick if needed so it is just above the top of the candle. You may also wish to wipe down the outside of the glass votive or container with a clean cloth to remove any leftover adhesive or glitter remnants.
Take a step back and look at your glittery taper candles as a whole. If the glitter coverage looks uneven, you can go back and add another complete coat to ensure they are fully saturated. With a final inspection and fixing any imperfections, you can now enjoy your sparkling personalized taper candles!
Enjoy Your Glitter Candles
After all your hard work, it’s time to sit back and enjoy your beautiful glitter candles! Here are some tips for getting the most out of your glittery creations:
Display Tips:
- Place your taper candles in elegant candlesticks, hurricane lamps, or decorative holders to show off the sparkle.
- Arrange glitter candles of different colors together for an eye-catching display.
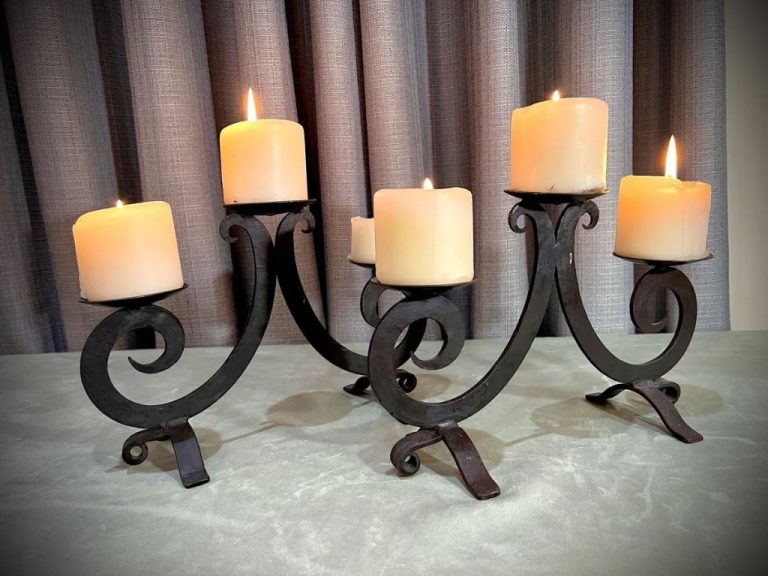
- Put several glitter tapers in a candelabra for dramatic lighting at your next dinner party.
- Alternate glitter candles with plain tapers down the center of your dining table.
- Group glitter candles on a candle tray or platter for a dazzling centerpiece.
Gift Ideas:
- Glitter candles make wonderful gifts for birthdays, weddings, anniversaries, housewarmings, and holidays.
- Tie glitter tapers with raffia or ribbon and attach a gift tag for easy gifting.
- Bundle a few glitter candles in cellophane with a bow for a gorgeous gift presentation.
- Pair glitter tapers with candle holders or an antique candle snuffer for a complete gift.
- Give glitter candles along with massage oil or bath salt for a relaxing spa gift set.
However you choose to use your handmade glitter candles, their shimmering glow is sure to brighten any space and add a special touch to every occasion.