How Can I Make My Own Candle Wax?
Candle making has become an increasingly popular DIY hobby and craft over the last few years. With more people spending time at home and looking for creative activities, making your own candles is a fun way to personalize your living space. The candle market has grown steadily, with sales of scented candles in particular rising as people use them to create an ambiance and as part of self-care routines. The satisfaction of making something with your own two hands and customizing candles to suit your style and scent preferences makes homemade candle crafting appealing. This guide will walk you through the entire process so you can start making your own quality candles at home.
Equipment Needed
Making candle wax at home doesn’t require a lot of specialty equipment. Here are the basic items you’ll need:
- A large pot or microwave-safe container for melting the wax. Stainless steel or glass work best.
- Wax thermometer. This helps monitor the temperature as you melt the wax.
- Wax additives like dyes, scents, or hardeners (optional).
- Candle wicking in the appropriate size.
- Candle molds or jars to pour the melted wax into.
- Popsicle sticks or specialty candle dipping tools.
- Oven mitts or gloves for protection from the hot wax.
Most of these supplies can be found affordably at craft stores. With just a few simple items, you’ll be ready to make your own candle wax creations!
Choosing Wax
There are several types of wax commonly used for candle making, each with their own characteristics and pros/cons to consider:
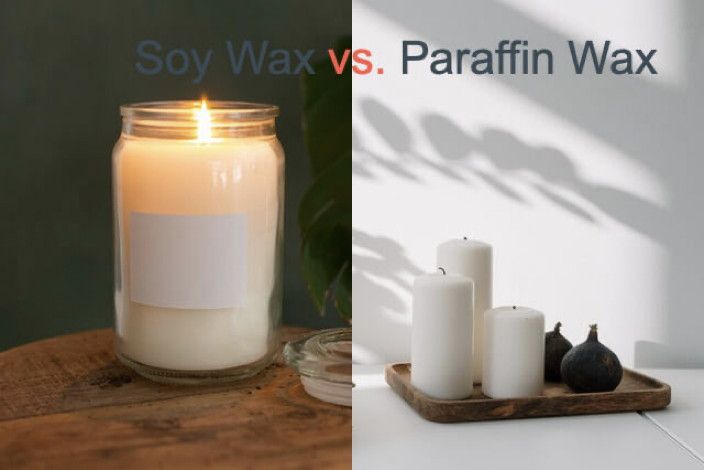
Paraffin wax is a byproduct of petroleum refining. It is relatively inexpensive and makes candles that burn cleanly and smoothly. However, some find the natural petroleum odor unpleasant, and paraffin releases more soot as it burns (https://www.marthastewart.com/8061950/candle-wax-type-guide).

Soy wax is made from hydrogenated soybean oil. It has a lower melting point so tends to burn cooler than paraffin. Soy wax is biodegradable and renewable. The natural scent is mild and pleasant. However, soy wax does not hold scent as well as paraffin (https://shoparchipelago.com/blogs/blog/types-of-candle-wax).
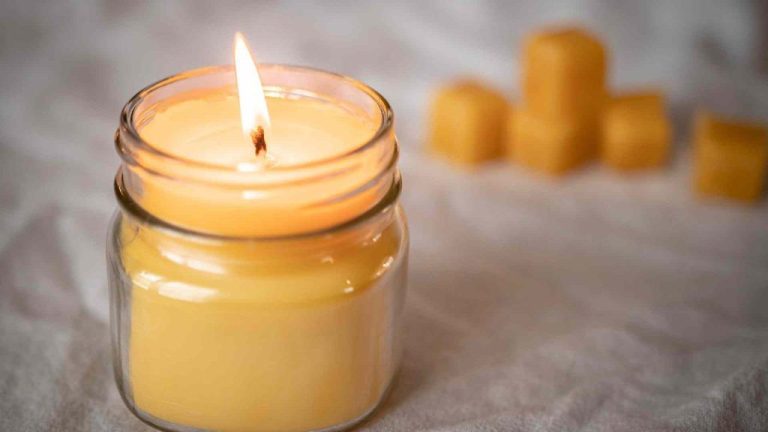
Beeswax is natural wax produced by honey bees. It has a pleasant, honey-like scent when burning. Beeswax candles burn brighter and slower than other waxes. However, beeswax is expensive and can be tricky to work with (https://shoparchipelago.com/blogs/blog/types-of-candle-wax).
There are also wax blends combining materials like paraffin, soy, coconut, and palm waxes. These blends allow candle makers to balance qualities like scent throw, burning temperature, and cost.
Melting the Wax
When making candles, it’s crucial to melt the wax properly and safely. There are several methods you can use to melt candle wax:
- Stovetop – Place candle wax in a heat safe container and melt over low heat, stirring constantly. Never leave melting wax unattended on the stove due to fire risk. Use a thermometer and heat the wax to the manufacturer’s recommended temperature – usually between 185-200°F.
- Double boiler – Place candle wax in the top pot of a double boiler to gently melt over simmering water in the bottom pot. This allows more control over the temperature.
- Microwave – Melt candle wax on 30 second intervals, stirring between each. Microwaves can overheat wax quickly so monitor temperature closely.
- Electric wax melter – Designed specifically for candle making, these melters allow precise temperature control. Recommended for their ease of use.
Different waxes have varying melt points: soy wax melts at 115-165°F, paraffin wax at 135-150°F, and beeswax at 144-147°F. Always melt wax slowly and avoid overheating, which can discolor it or make it lose its fragrance. Take safety precautions like wearing gloves and eye protection when melting hot wax.
Adding Color and Scent
Candle dyes are specially formulated to color candle wax. The most common types of candle dyes are liquid dyes and powdered dyes. According to Bramble Berry, a leading supplier of candle making materials, liquid dyes are easiest to use for beginners (https://www.brambleberry.com/how-to/candles/art0152-color-candles.html). Only a few drops of liquid dye per pound of wax are needed to achieve vibrant colors. Popular options include xylene-free liquid dyes that are non-toxic and safe to use.
To add color, wait until the wax has completely melted and reached the recommended temperature of 185°F. Then, carefully stir in a few drops of dye at a time until the desired color intensity is reached. Essential oils and fragrance oils can also be added at this stage since scent throw improves at higher temperatures. Use .5 to 1 ounce of fragrance oil per pound of wax, adjusting to suit personal preference. Stir thoroughly to incorporate.
Take care not to add too much dye or fragrance, as this can negatively impact burn quality. Test a small amount first to find the ideal usage rate. Proper wick sizing may need to be adjusted based on additives. Cool colored wax slowly to retain vibrancy.
Preparing the Wick
Properly preparing the wick is an essential step for high-quality candles. The wick serves the important purpose of bringing wax to the melting point so it can fuel the candle’s flame. There are a few key aspects of preparing candle wicks:
Wick Types: The most common wick materials are cotton, paper, zinc, and wood. Cotton wicks are soft, flexible, and excellent at absorbing wax. Paper and wood wicks are stiffer and shaped into cores that keep the wick upright. Zinc wicks provide a brighter flame but can produce more soot.
Priming: Before use, the wick should be “primed” to maximize absorption potential. This involves soaking the wick in wax so the fibers fully saturate. Allow wicks to dry completely after priming before adding to the candle mold.
Centering: Wicks need to be centered in the candle mold so they remain upright when the wax is poured. Secure wicks to the bottom using special adhesive tabs, or hold taut with stakes or rods. Check for proper centering from all angles.
Properly preparing wicks is crucial for even burning, wax pool formation, and preventing tunneling. Following the steps of selecting the right wick, priming, and centering will lead to successful candle results.
[Sources: https://www.youtube.com/playlist?list=PL6hHfgStIEBVNGPBq7UJtM-pIKcMiIBku]
Pouring the Wax
Proper pouring temperatures are crucial for achieving a smooth finish and complete pour when making candles. The recommended pouring temperatures vary based on the type of wax:
- Paraffin wax: 135-145°F (57-63°C) (Source)
- Soy wax: 135-160°F (57-71°C) (Source)
- Beeswax: 155-165°F (68-74°C)
- Palm wax: 135-145°F (57-63°C)
Pour temperatures also depend on the candle vessel. For containers, aim for lower end of the temperature range. For pillars or votives, temperatures at the higher end allow more time to fully fill the mold before the wax starts to set up. Work quickly once you reach optimal temperature, and pour in a thin stream close to vessel walls to minimize air bubbles. Let candles fully cure 24-48 hours before burning.
Cooling and Curing
Properly cooling and curing your homemade candles is a crucial step for achieving the best quality candles. After pouring the wax into containers, allow the candles to sit undisturbed as they cool and harden. Cooling times can vary based on factors like wax type, container size, and environmental temperature, but plan for at least 6-12 hours of cooling before handling the candles. Attempting to move or package candles before they have fully set up may cause defects like cracks or indentations.
In addition to cooling, a proper curing time allows candles to become firmer, release trapped air bubbles, and allows subtle chemical processes to occur. Expect to cure candles for 1-2 weeks before burning to allow the wax to fully stabilize. During curing, store candles in a room temperature area away from direct light or heat. According to this source, a good cure optimizes fragrance strength and burn properties.
Troubleshooting Common Candle Issues
Making candles is a fun hobby, but you may run into some problems from time to time. Here are some of the most common candle issues and how to troubleshoot them:
Wet Spots
Wet spots, or oil slicks, occur when the wax pool becomes too hot. This can happen if the candle burns for too long or if the room is excessively hot. To prevent wet spots, avoid burning candles for more than 4 hours at a time and keep the room temperature moderate.
If you do get a wet spot, try pouring off the melted wax or gently scraping it with a knife. Avoid wet spots by not overheating the wax pool. See this guide for more tips.
Frosty Appearance
If your candle develops a frosty or grainy texture on the surface, this is caused by additives and dyes coming out of solution. To fix, heat the candle to 180°F to re-melt the wax fully. Avoid cooling candles too quickly after pouring. See this guide for troubleshooting frosted candles.
Sinkholes
Sinkholes occur when the wax around the wick melts faster than the rest of the candle. This can be caused by the wick being too large. To prevent sinkholes, trim your wicks to 1/4″ before lighting. You can fix small sinkholes by pouring additional wax to fill them.
For more tips on troubleshooting common candle issues, check out the references cited.
Enjoy Your Candles!
After all the hard work you’ve put into making your own candles, it’s now time to sit back, relax and enjoy the fruits of your labor. Homemade candles make wonderful gifts or can be used to create a cozy, inviting atmosphere in your own home. As you light your handcrafted candles, think about the benefits you are enjoying compared to store-bought candles:
Your candles are free of harsh chemicals and made with natural ingredients you carefully chose yourself. Lighting a homemade candle fills the air with subtle, pleasant scents using essential oils instead of artificial fragrances. The soft glow of the flame creates a calming ambiance. You can reuse your candle jars and make new candles whenever you desire. And each candle is a unique creation that reflects your personal style and tastes.
Making candles requires patience and care, but the satisfaction you’ll feel when your homemade candles are finally finished and ready to burn makes the effort completely worthwhile. Feel proud of your handmade creations. Experiment with different scents, colors and designs. Most importantly, make some time to unwind and enjoy the wonderful candles you produced.