How Are Candles Made Traditionally?
Candles have been used for thousands of years to provide light and fragrance. Archaeological evidence shows that candles were used in ancient Egypt, China, and Rome. Early candles were made from tallow, animal fat, beeswax, and plant waxes (History of Candlemaking – Candlewic: Candle Making …). Candlemaking became an established craft during the Middle Ages, relying on beeswax from domesticated bee colonies. Today, most candles are made from paraffin wax, a petroleum byproduct.
The basic process of candlemaking involves melting wax, preparing the wick, adding fragrance and color, and pouring the wax into molds. As the wax cools, it solidifies around the wick, forming the candle. The candles are then removed from the molds, trimmed, and packaged. Traditional candlemaking is largely done by hand, though some steps may be mechanized in large productions. This overview will walk through the key steps for making candles the traditional way.
Wax Selection
There are several types of wax commonly used in candle making, each with their own unique properties and characteristics.
Beeswax is a natural wax made by honey bees. It has a sweet, honey-like scent and produces a bright, golden colored flame when burned. Beeswax is compatible with essential oils and makes excellent container candles. However, it can be more expensive than other waxes. Archipelago
Paraffin wax is a petroleum byproduct, making it the most widely available and affordable candle wax. It has excellent burn properties and makes hard, long-lasting candles. However, some find the scent unpleasant and prefer natural waxes. Paraffin also tends to release more soot.
Soy wax is made from hydrogenated soybean oil. It’s a clean burning, renewable and biodegradable wax. Soy candles have a lower melting point than other waxes, making it better for containers versus pillars or tapers. Soy can also hold fragrances well. The drawback is a shorter burn time. Martha Stewart
Palm wax comes from the fruit of palm trees and is vegan friendly. It makes smooth, opaque candles that hold scent well. However, palm wax has a low melting point, limiting options for pillar or taper candles.
There are pros and cons to each type of candle wax, so crafters should consider the desired use, scent, cost, and environmental factors when selecting their material.
Wick Selection
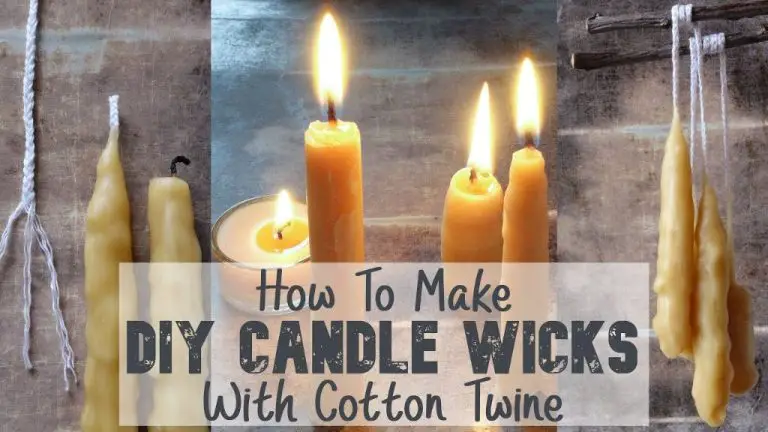
An important step when handcrafting candles is choosing the right wick. Wicks are typically made from braided cotton [1]. Cotton fibers draw wax up through the wick via capillary action and provide a clean, even burn. Other natural materials like hemp, beeswax, and wood splints can also be used, but cotton remains the most common [2].
Proper wick sizing helps ensure the candle burns at the right temperature and does not tunnel or smoke. Wicks are sized by “ply” – the number of braided strands – and diameter. More plies create a larger wick. When choosing a wick, consider the wax type, vessel size, and desired burn time. Larger candles need larger wicks. A thicker or natural wax needs a larger wick than a thin paraffin. Wick charts provide guidelines on ideal sizing [3].
Melting the Wax
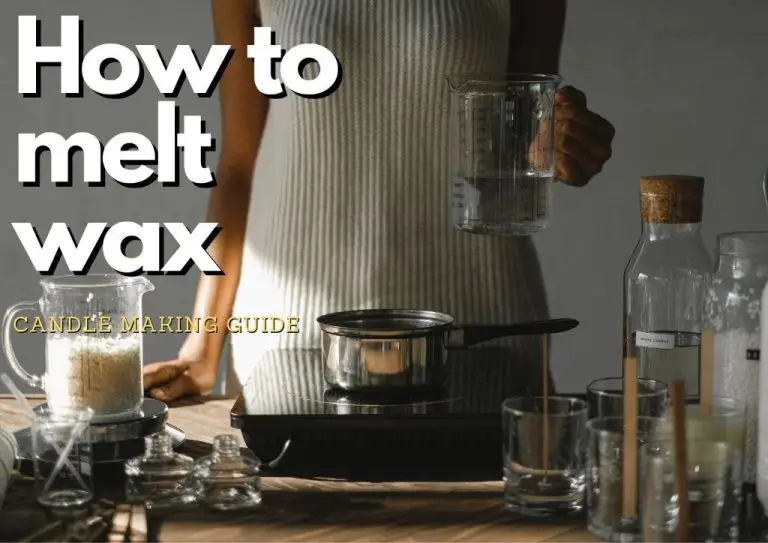
There are a few different methods for melting wax when making candles. The most common options are using a stovetop or a double boiler. When using a stovetop, you can place the wax directly into a pot or melting vessel on low heat. It’s important not to overheat the wax, which can cause it to discolor or lose its scent. A double boiler provides more even, gentle heating by using steam from a pot of boiling water below to melt the wax in a container above it. This helps prevent scorching or burning the wax.[1]
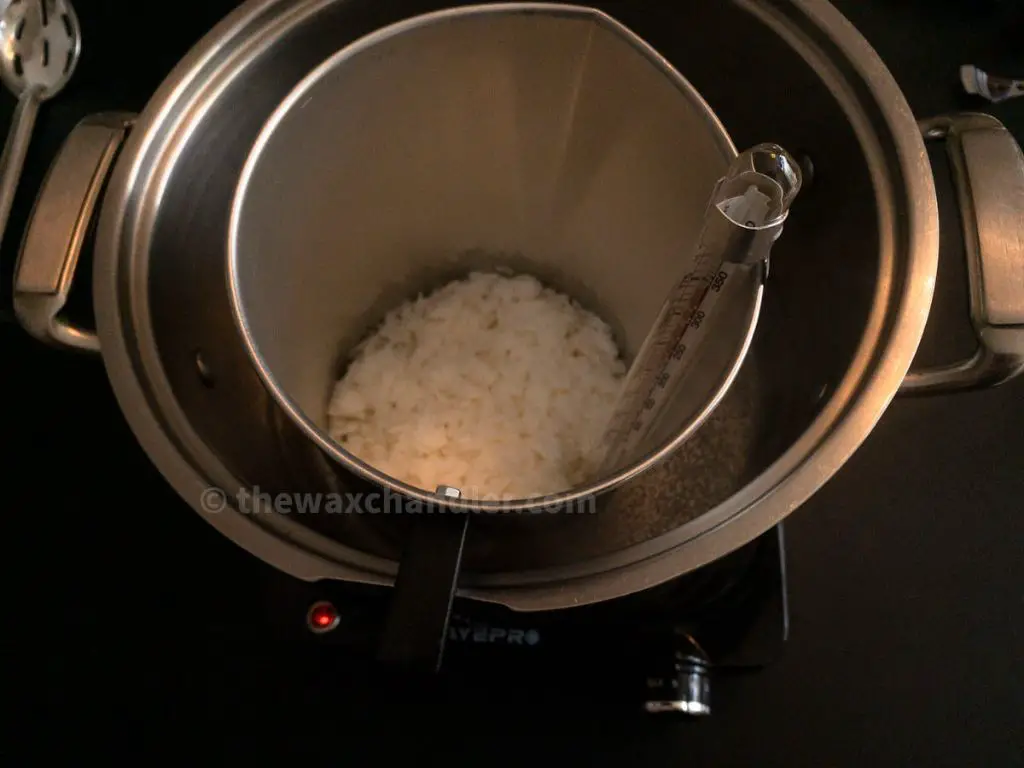
Different types of wax have varying melting points. Paraffin, a common candlemaking wax, melts between 46–68°C or 115–154°F. [2] Beeswax melts at a higher temperature of 62–64°C or 144–147°F. It’s important to avoid overheating the wax, so monitoring the temperature with a thermometer is recommended. Once the wax is fully melted with no lumps, you can remove it from the heat source and add other ingredients like fragrance or dye before pouring into containers or molds.
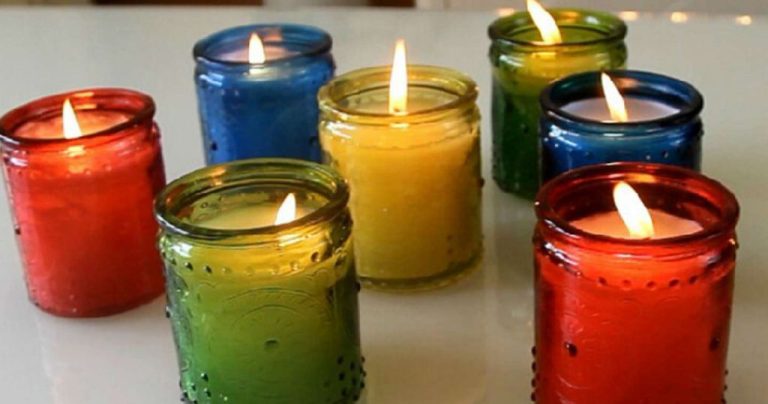
Adding Fragrance and Dyes
Fragrance and dyes are typically added after the wax has fully melted. But it’s important not to add them too early while the wax is still extremely hot (over 175°F) as the heat can cause the scents and colors to burn off or morph. For best results, let the melted wax cool down to between 135-165°F before adding fragrance and dyes. The fragrance load (the amount of fragrance oil added) commonly ranges from 6% to 10% of the total weight of wax. Adding more than 10% fragrance oil can make the candles prone to sooting. As for dyes, liquid and block candle dyes are added in very small amounts like a couple of drops or shavings. Always follow the specific dye manufacturer’s instructions. Too much dye can clog the wick and inhibit proper wax pooling.
Preparing the Wick
An important step in traditional candle making is properly preparing the wick before pouring the melted wax. This involves priming the wick and securing it to the bottom of the candle mold.
To prime the wick, the wick must first be cut to size for the specific candle being made. The wick should be a few inches longer than the height of the candle mold. Once cut, the bottom of the wick can be primed by dipping it into the melted wax briefly before securing to the bottom of the mold. This helps the wick adhere to the bottom and stand upright when the rest of the wax is poured in. According to sources like https://www.mycandlemaking.com/lard-candle-making/, priming the wick helps sustain an even burn.
After priming, the wick can be secured to the bottom of the candle mold. This is done by tying a knot at the base of the wick, or using special wick stickers or glue dots to adhere it to the bottom. Properly securing the wick will prevent it from floating around when the melted wax is poured in. The wick must be centered and straight to ensure proper burning.
Pouring the Wax
The temperature for pouring wax is extremely important for achieving the desired finish on candles. The wax should be poured between 115-125°F to ensure proper adhesion to the wick and vessel as well as an attractive finish. If wax is poured while too hot, above 150°F, it can cause sink holes, cracks, and an uneven finish on the candle. If wax is poured below 115°F, it may start to thicken and setup too quickly leading to poor wick adhesion. The optimal wax temperature for pouring is typically 120°F (Source: https://www.youtube.com/watch?v=jSOZQMw6y2U).
There are a few key techniques for properly pouring wax into containers and molds:
- Pour wax in a circular pattern around the wick to help with adhesion
- Pour from close to the vessel, no more than 12 inches above
- Pour at a moderate pace, not too fast or slow
- Stop pouring before the vessel is completely full to allow for shrinkage as the wax cools and contracts
Using a candle pouring pitcher can help make this process fast and easy (Source: https://www.procandlesupply.com/products/candle-pouring-pitcher). The right pour temperature and technique will result in a smooth finish and properly set wick.
Cooling and Curing
After the candle wax has been poured into the container, it needs time to cool and cure properly before the candle can be used. The cooling process allows the wax to harden and the curing process allows the wax to settle and stabilize.
The cooling process is important to allow the wax to completely harden. The candle should be left undisturbed while cooling. Drastic temperature changes or vibrations can cause cracks or imperfections in the finished candle. Most waxes will be completely hardened within 24 hours. Paraffin wax cools more quickly while vegetable waxes take longer.
Once cooled, the candle still needs additional time to cure. Curing allows the wax to settle and stabilize which can take 1-2 weeks. During the curing process, the wax contracts slightly which allows the wax to pull away from the sides of the container, making it easier to remove the candle later. Curing also allows any trapped air bubbles to rise to the surface. According to the guide “Candle Making Made Soy Easy” [1], candles should cure for at least 48 hours before lighting.
Unmolding
Knowing when to unmold a candle is an important part of the traditional candle making process. Generally, you should wait at least 24 hours before attempting to remove the candle from the mold. This allows the wax adequate time to set up and harden.
There are a few techniques for properly unmolding a candle:
- Gently loosen the sides of the candle with a knife or spatula. Slowly peel the mold away from the sides and bottom of the candle.
- Place the molded candle in the refrigerator for 1-2 hours before unmolding. The cold temperature will help shrink and contract the wax, making it easier to release.
- Dip the bottom of the candle mold in hot water for 10-20 seconds. This will slightly warm and expand the wax, loosening it from the mold.
- Turn the mold upside down and tap gently to release the candle.
Be patient and work slowly when unmolding to avoid damaging the candle’s shape. Allowing adequate cure time and using proper unmolding techniques will help preserve the candle’s form.
For a helpful visual demonstration, see this video on unmolding candles from Tiktok.
Finishing Touches
Once the candle has completely cured, there are just a few finishing touches to complete the candlemaking process. An important step is trimming the wick to an ideal height, usually around 1⁄4 inch. This helps ensure clean, even burning once the candle is lit. Any wick that extends too far above the wax pool risks producing excess soot. Trimming to the right height prevents this.
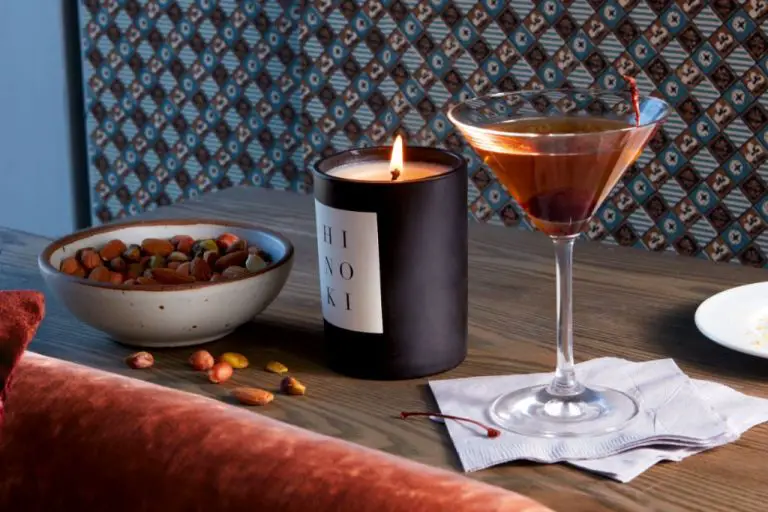
Next, the candle maker may choose to add a label. This not only gives the candle an extra decorative touch, but serves the functional purpose of identifying the candle scent or any other relevant details. The labeling can be as simple or elaborate as desired.
Finally, many candle makers like to give their finished candles one last polishing before declaring them complete. This removes any final drips, fingerprints, or small imperfections from the wax surface. A quick buff with a lint-free cloth is often sufficient to make the candle shine.
With these last finishing steps taken care of, the traditionally handmade candle is ready to be enjoyed!